Cisco RV340W Router Quick Start Guide 3
WARNING This equipment must be grounded. Never defeat the ground
conductor or operate the equipment in the absence of a
suitably installed ground conductor. Contact the appropriate
electrical inspection authority or an electrician if you are
uncertain that suitable grounding is available. Statement 1024.
Desktop Mounting
For desktop mounting, place the device on a flat surface so that it sits on its
four rubber feet.
WARNING
For safety, ensure that the heat dissipation holes are facing
sideways
.
Wall Mounting
The router has two wall-mount slots on the bottom panel. To mount the
router on a wall, you will need the mounting hardware (not included).
Please refer to the following note for the additional screw size required for
installation instructions.
NOTE Use two use two M3.5*16.0L (K) W-NI #2 screws.
STEP 1 Drill two pilot holes, approximately 109 mm apart, into the surface.
STEP 2 Insert a screw into each hole, leaving a gap between the surface
and the base of the screw head of 1 mm to 1.2 mm.
STEP 3 Place the router wall-mount slots over the screws and slide the
router down until the screws fit snugly into the wall-mount slots.
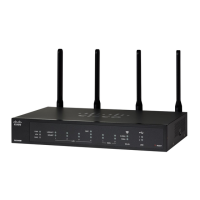
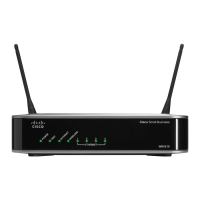
Cisco RV340W Features
Front Panel
PWR
Off when the device is powered off.
Solid green when the device is powered on and
booted.
Flashing green when the device is booting up.