Page 30
• Remove the protection foil from the displays.
• Make sure that the camera can move freely.
• Insert the network and power cables into the wall outlets.
• Switch on the system.
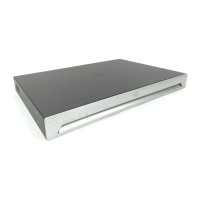
The power switch is located directly below the codec, next to the
power connector.
Wait a few minutes while the system starts up. The start-up may
include automatic software upgrade and restart of Touch 10 and
camera.
If the right monitor does not turn on after the start-up sequence,
check that the power cable between the monitors are properly
connected (refer to step 10 and step 12).
• Follow the instructions on the Touch controller.
Cisco Spark: To find more information on how to get started with
Spark registered systems, visit http://help.ciscospark.com and look
for Getting Started articles for room systems.
Other services: For further information on set-up and configuration,
download the Getting Started Guide from the Cisco web site,
http://www.cisco.com/go/mx-docs
 Loading...