Cisco WRP500 Wireless-AC Broadband Router with 2 Phone Ports Quick Start Guide
Connect and Configure the Cisco WRP500
6
Cisco WRP500 Wireless-AC Broadband Router with 2 Phone Ports Quick Start Guide
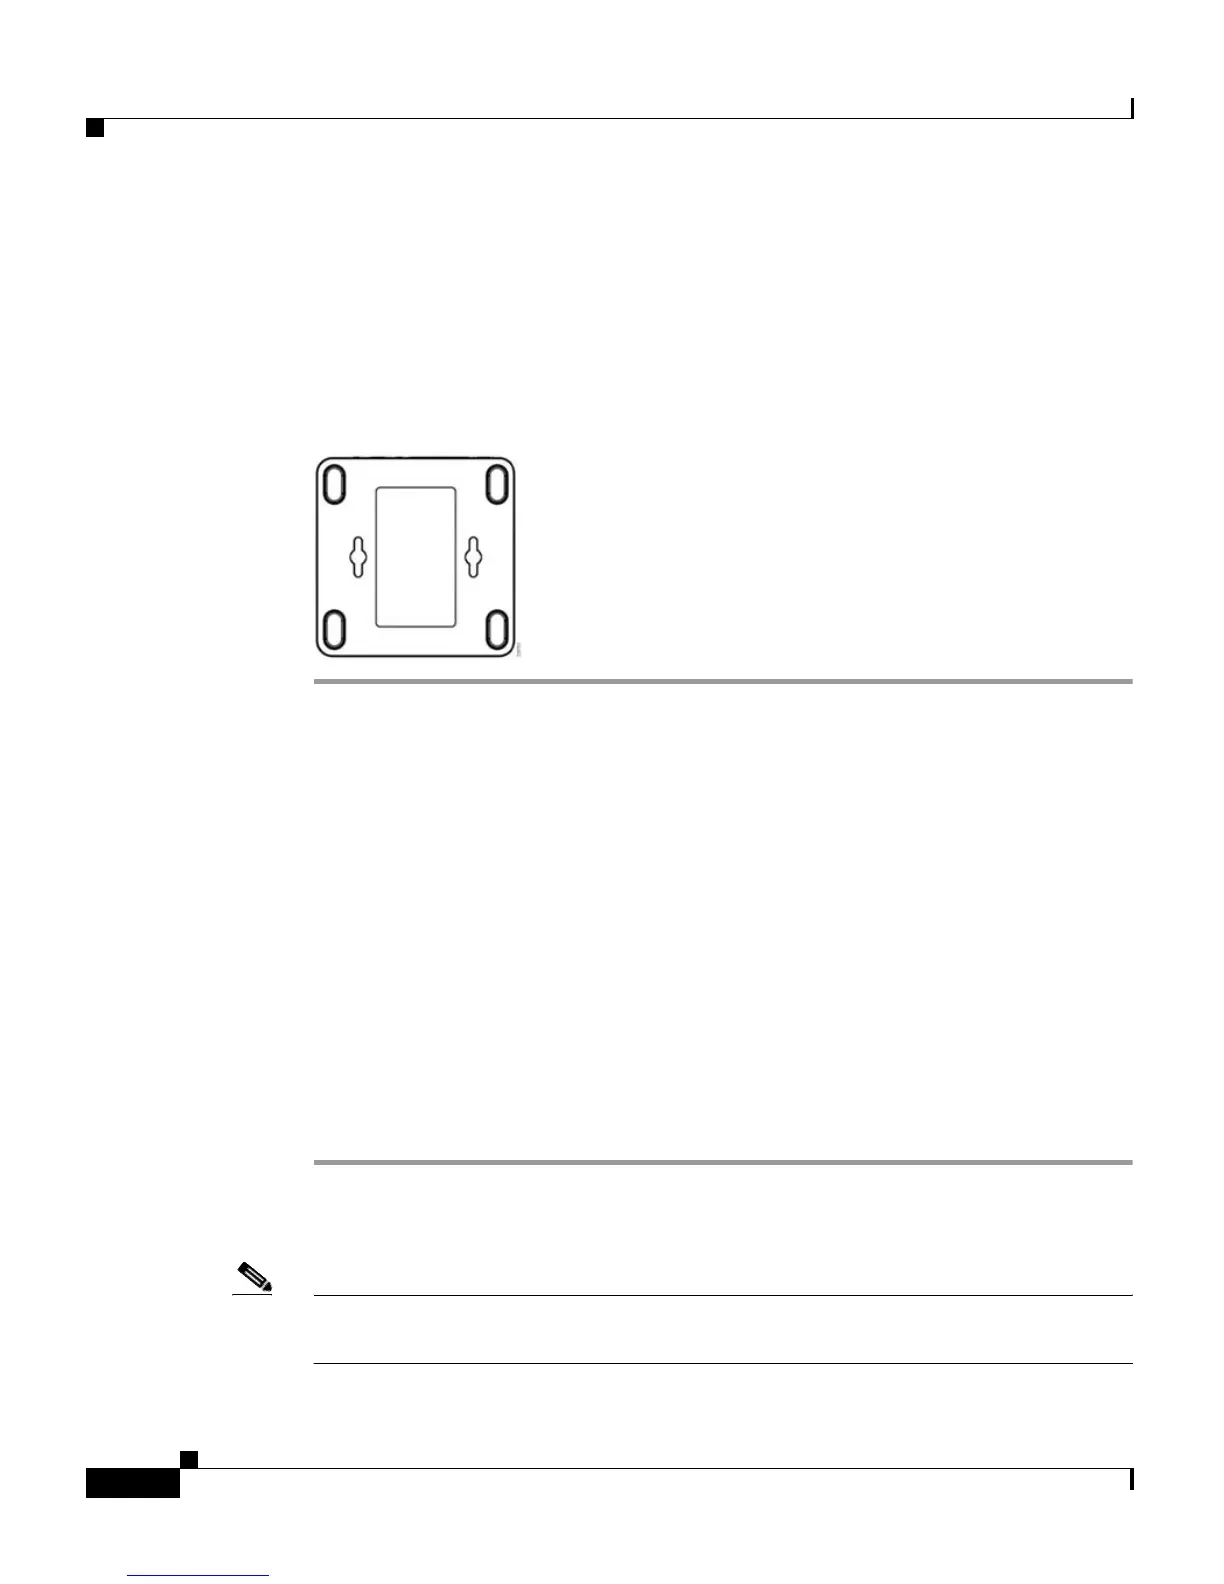
Step 2 Drill two pilot holes into the surface 100 mm apart (about 3.94 in.). Take care to
ensure that the WRP500 will be level and secure in either of its two
safety-certified orientations.
Step 3 Insert a screw into each hole, leaving a gap of 5.5 mm (0.217 in.) between the
underside of each screw head and the surface of the wall.
Step 4 Place the unit wall-mount slots over the screws and slide the unit down until the
screws fit snugly into the wall-mount slots.
Connect and Configure the Cisco WRP500
Connect the Cisco WRP500
This section discusses how to enable Cisco WRP500 web access, by which the
user can configure the device through a web GUI.
Procedures assume that a user has these items:
• Cisco WRP500 with factory default settings
• PC with Ethernet network adapter
Step 1 Connect a PC to one of the Cisco WRP500 LAN ports.
Step 2 The PC receives an IP address that the Cisco WRP500 publishes by LAN.
Note Generally, the IP address is in 192.168.15.xxx format, and WRP500 IP address is
192.168.15.1.