Resetting the watch - All Reset
1.
Press and release button
A
,
B
,
C
and
M
at the same time.
The alarm sound and all reset is executed.
After All Reset
After All Reset, set the time and calendar and other settings.
Setting the calendar
The calendar of this watch does not have to be adjusted manually until December
31, 2099 including leap years.
• The year and month are indicated only when setting the calendar.
1.
Press and release the upper left button
M
repeatedly to change
the mode to [DATE].
2.
Press and hold the upper right button
B
for 2 seconds or more.
The “month” on the digital indication starts blinking and becomes adjustable.
3.
Press and release the upper right button
B
repeatedly to
change the target to be set.
• Each time you press the button, the target changes as follows:
Month → date → year
• The day of week is set automatically.
4.
Press and release the lower right button
A
to adjust the target.
• Pressing and holding the button changes indication continuously.
5.
Repeat steps 3 and 4 to set other targets.
6.
Press and release the upper left button
M
to finish the
procedure.
Using the dual time
You can see the time of another place in the [DU. T] (dual time) mode.
• You can adjust the dual time in 10-minute increments.
Indicating the dual time
1.
Press and release the upper left button
M
repeatedly to change
the mode to [DU. T].
“L” appears in the next of the second of the digital indication and the dual
time is indicated.
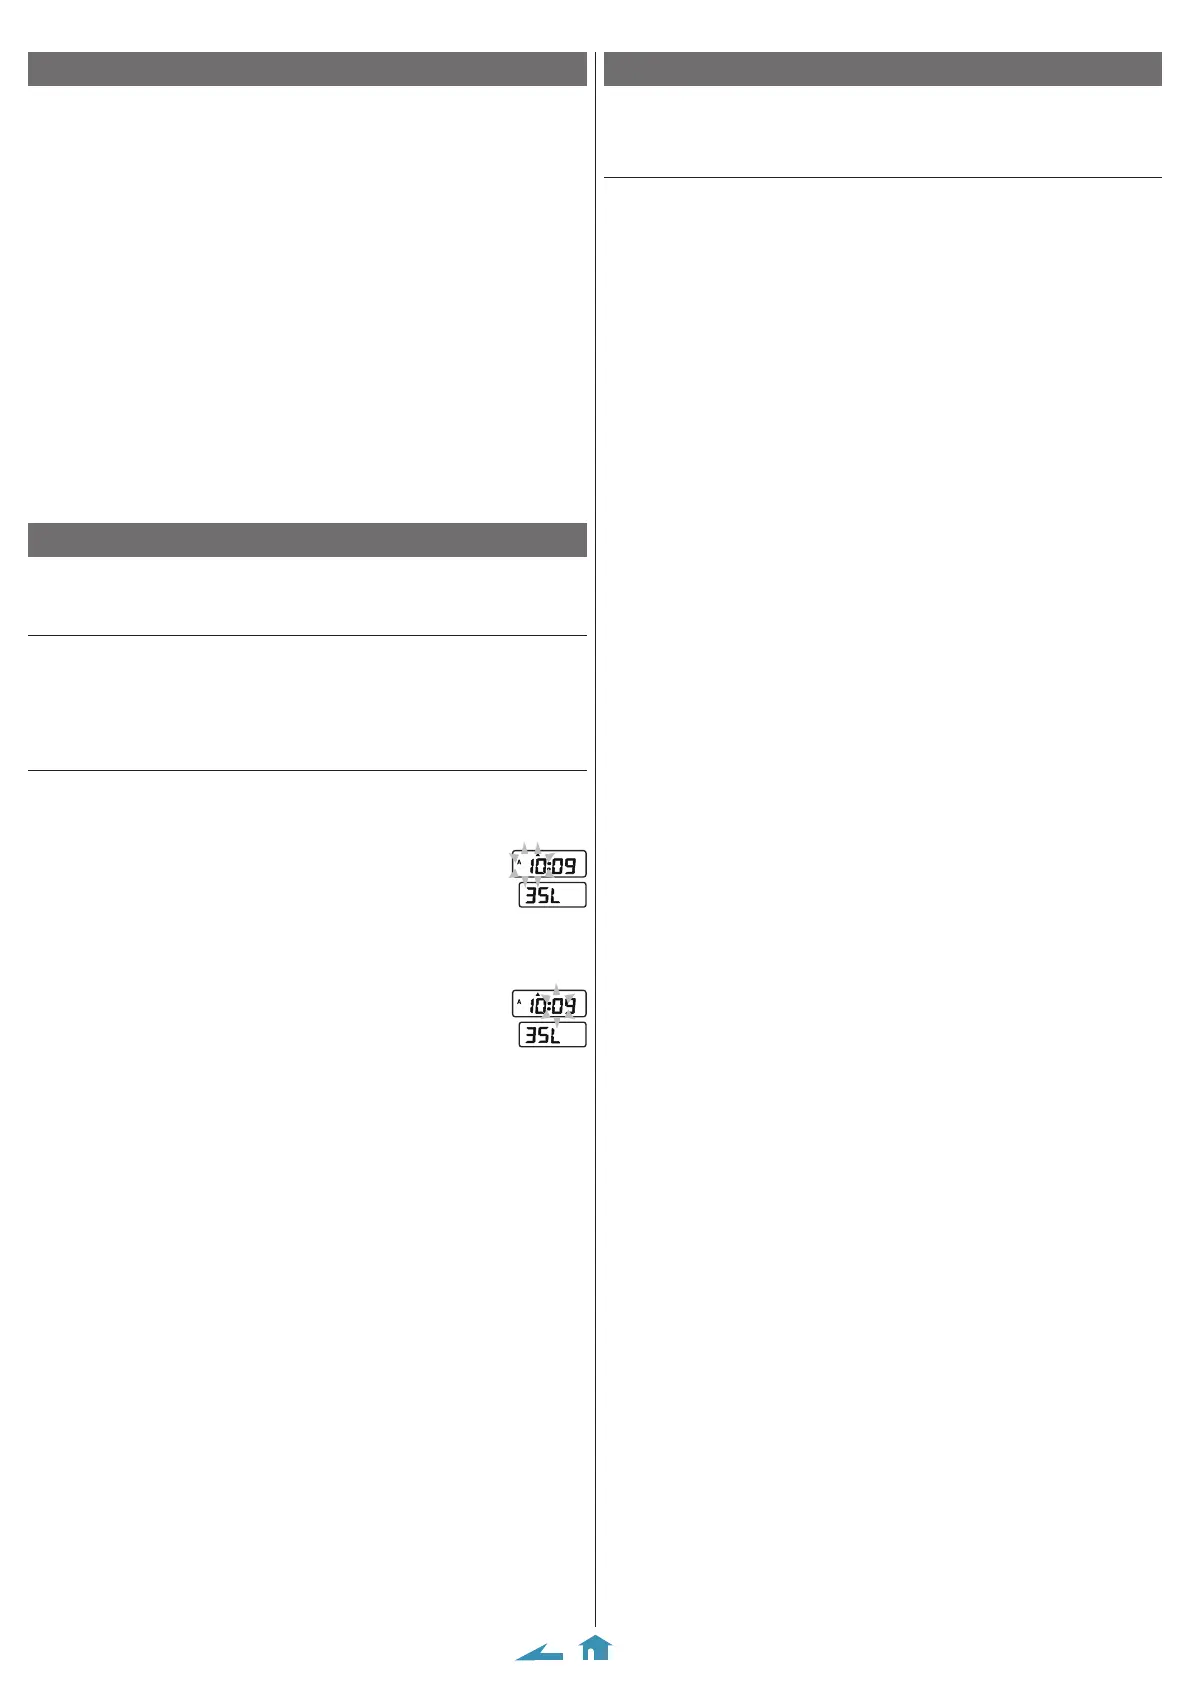
Setting the time of the dual time
1.
Press and release the upper left button
M
repeatedly to change
the mode to [DU. T].
2.
Press and hold the upper right button
B
for 2 seconds
or more.
The “hour” on the digital indication starts blinking and becomes
adjustable.
3.
Press and release the lower right button
A
to adjust the hour.
• Pressing and holding the button changes indication continuously.
4.
Press and release the upper right button
B
.
The tens digit of the “minute” on the digital indication starts
blinking and becomes adjustable.
5.
Press and release the lower right button
A
to adjust the
minute.
• Pressing and holding the button changes indication continuously.
6.
Press and release the upper left button
M
to finish the
procedure.
8989 Abbreviated instruction