SAFETY INSTRUCTIONS
Please fully understand and follow all safety
instructions
outlined in this booklet. Failure to do so could result in
severe injury.
•
Do not use open flame heaters in your ice shelter.
Open vents for cross ventilation.
•
Ice Armor fabric will melt when contact is made with
hot surfaces (i.e., heaters).
•
Never leave shelter unattended when set up.
•
Due to the increase in traffic (snowmobiles, autos,
etc.) on area lakes, ice fishing can be hazardous at
night. If you choose to fish at night or in poor visibility
conditions, be sure to take precautions with lights or
reflectors to show drivers your whereabouts.
•
Use external anchors during excessive wind (15+mph)
PARTS LIST
customerservice@clamcorp.com
HUB ASSY
ICE ANCHOR
EXTERNAL ANCHOR STRAP
HUB & POLE KIT (4 POLES & 1 HUB)
CARRY BAG
BUCKLE ASSY WITH STRAP
INSTRUCTIONS/OWNER’S MANUAL
106182
OPTIONAL FLOOR ACCESSORY AVAILABLE - PN 114510
SET-UP INSTRUCTIONS
BEFORE ATTEMPTING TO USE THIS PRODUCT ON THE ICE go to www.clamoutdoors.com,
click on your s helter model, and watch the set - up video provided . T h en practice setting up
and taking down at home in the comfort of a heated area such as a garage or basement. Repeat
several times until comfortable. This will make your on-ice set-up much easier.
NO TOOLS ARE NEEDED FOR SET-UP OF
YOUR CLAM HUB SHELTER.
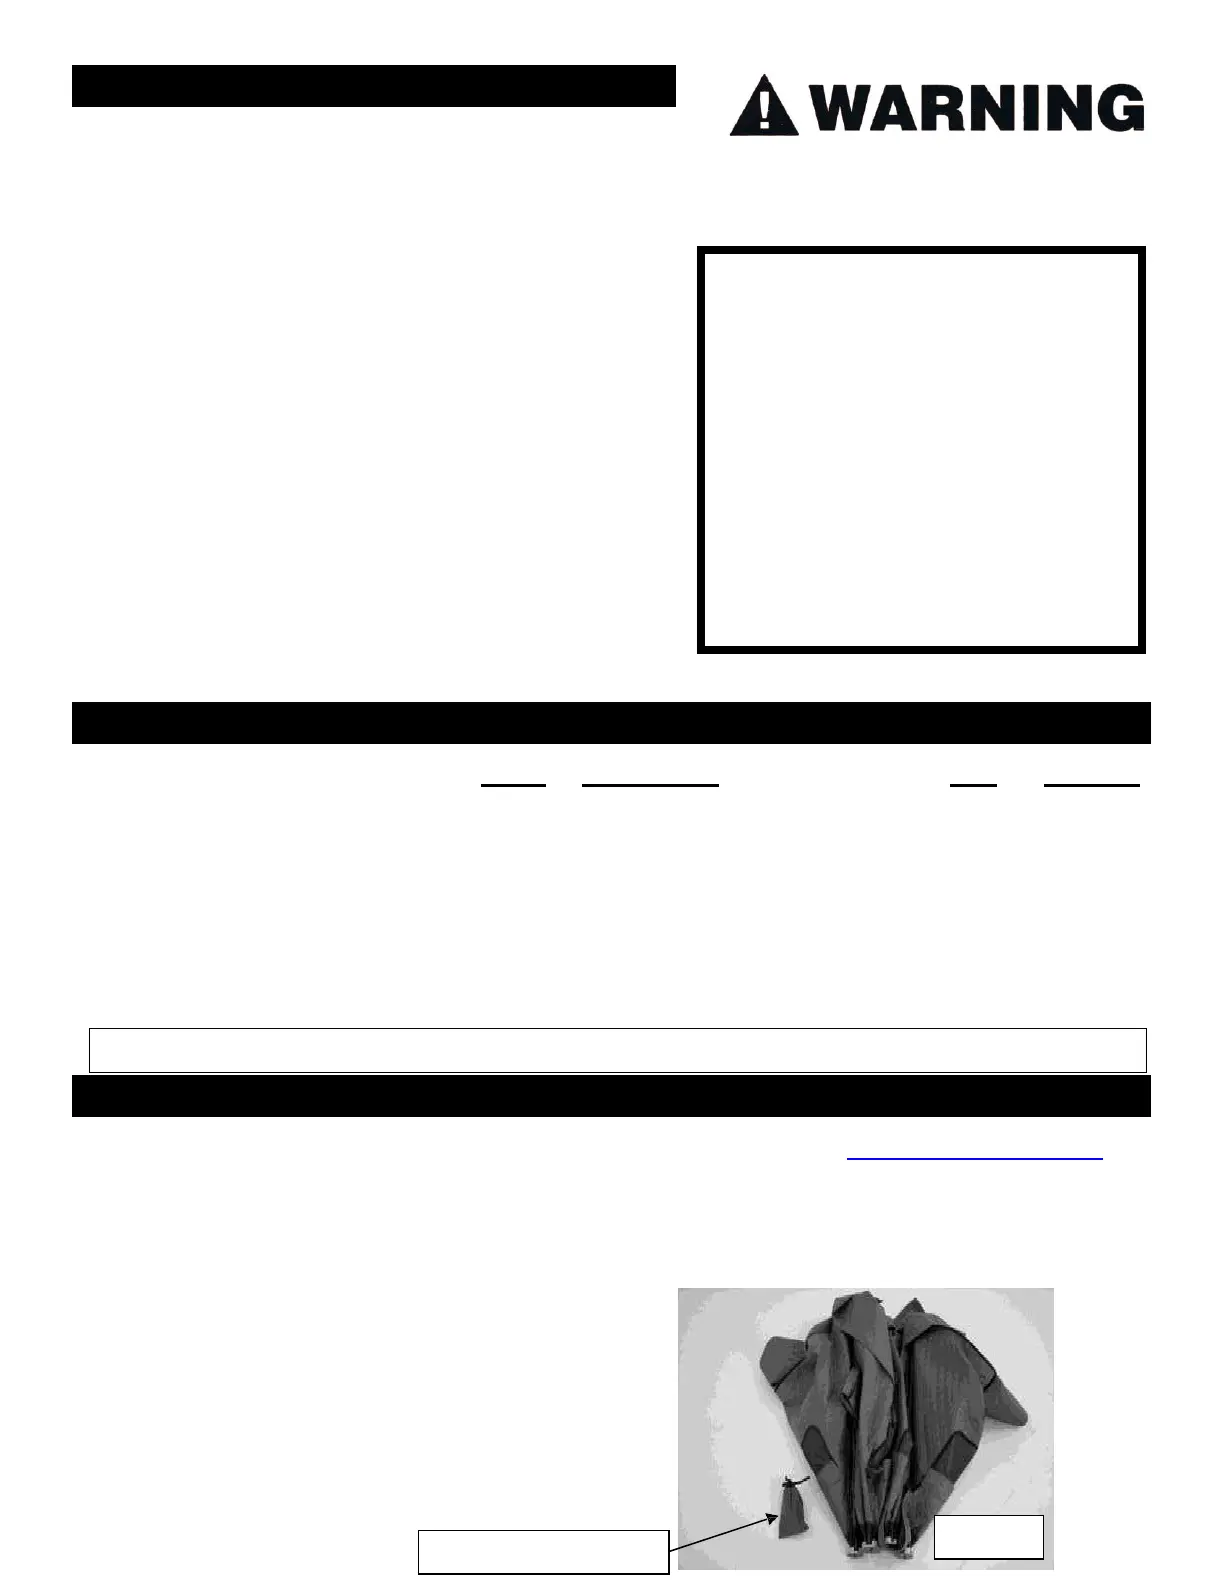
1.
Unzip the storage bag completely and remove
the shelter. Use care not to misplace the anchor
pouch (Photo 1). It is advised to store your
anchors and pouch in the storage pocket of
Your carry bag.
Replacement parts can be ordered on-line at www.clamoutdoors.com
Death from asphyxiation may result from use of
oxygen depleting heaters. Open all vents
for fresh air ventilation.
Injury or death may result from fire if tent fabric is
exposed to open flame.
Tent fabric is not fireproof. Fabric will burn with
extended exposure to open flame. Do not use open
flame products inside tent. Tent fabric is treated
with fire retardant. Application of any for foreign
substance may render the flame retardant properties
ineffective.
Nighttime: exterior reflectors must be visible
to reduce risk of collisions.
This tent is made with flame resistant fabric,
which meets CPAI-84 specifications.
 Loading...