8 M301RC-RET
1. Determine the mounting location is a flat surface with
sufficient rear clearance (2.5”) and access. Ensure
that the installation can be successfully completed
before continuing! If the cable is not long enough, a
24’ extension is available - P/N M101RXC-RET.
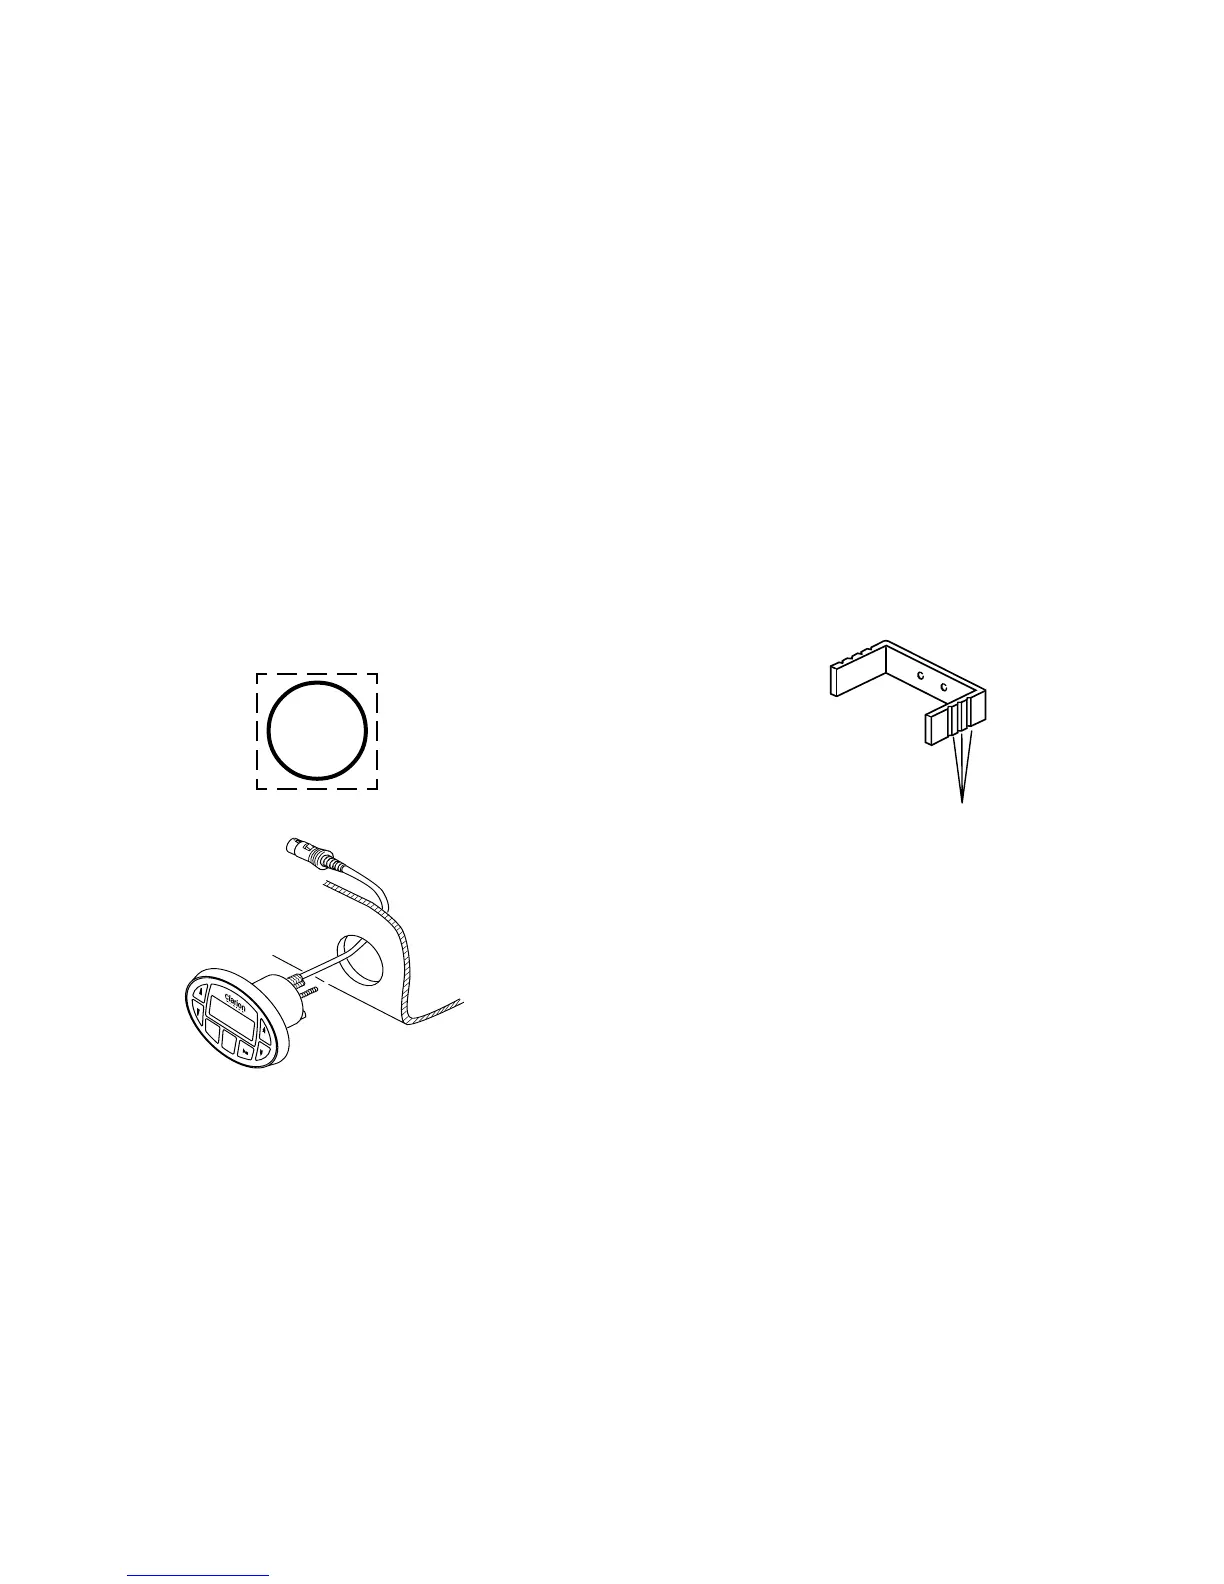
2. The remote control panel requires a 2” (51mm) diameter
round hole. Cut the hole and insert the remote control
panel as shown.
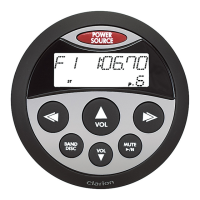
VOLUME
VOLUME
SELECT
SELECT
BAND
SOURCE
POWER
MUTE
3. The mounting bracket is scored with “break lines’ to allow
use with panels of different thicknesses. Determine if the
bracket needs to be shortened, and remove the appropri-
ate number of breakaway segments using a pair of pliers.
Each segment is 1/4” long.
Break Lines
4. Insert the remote control panel into the opening. Make
sure that the gasket behind the remote control panel face
seats completely against the mounting surface.
2” (51mm)
Diameter
Hole
Mounting Bracket
 Loading...