Terminator Iron Filter Installation & Startup Guide
Page 4 www.cleanwaterstore.com Rev 042414
Pre-Installation
1. Review your packing list and make sure you have received all the parts before beginning installation.
2. If you are going to be turning off the water to the house and you have an electric water heater, shut
off the power to the water heater before beginning installation in case water heater is accidentially
drained.
3. Pick a suitable location for your filter system on a dry level spot where it won’t be exposed to freezing
temperatures. A minimum of 20 PSI is required. Maximum pressure is 90 PSI.
4. Get all of your plumbing parts together before beginning installation. Installation typically takes 4 - 6
hours. However after installation the Terminator Filter must be allowed to run through a complete
backwash and rinse cycle.
5. After the system is installed and running, your water may be discolored, or full of sediment or rust,
particularly if this is older or corroded piping. Typically this clears up over a day or two.
Best Practices for Piping & Drain Installation
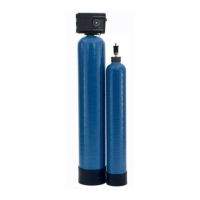
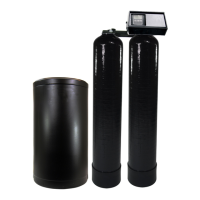
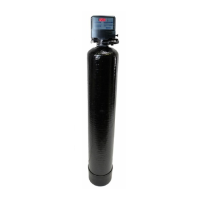
1. See typical installation (see Fig 1). The Terminator iron filter is installed after the pressure tank. If
you are also installing a water softener, install the softener after the Terminator iron filter.
2. Make sure to follow to connect the in pipe to the Fleck 2510 inlet and the outlet to the outlet. As you
face the Fleck 2510 control from the front, the water enters on the right and exits on the left. From
the back (see Fig 2) the water enters on the left. The inlet and outlet are attached to the bypass valve
which is marked with arrows as well.
3. Make sure there is a working gate or ball valve before the Fleck 2510 Terminator iron filter and also
one after as shown in the diagram Fig 1. The pressure gauges are optional and perhaps not
necessary but a hose bib (which is a faucet that you can attach a garden hose to) is strongly
recommended after the Terminator iron filter before the second ball valve. This makes it easy to
rinse your new Terminator iron filter on start-up and gives you a place to test the water before it
enters your household plumbing.
4. If you will be using copper piping, do not sweat the copper pipe directly on to the Fleck 2510 control
valve. Avoid heating up the Fleck 2510 control valve plastic with the torch.
5. You do not need unions to install your Fleck 2510 control. If you need to remove it, the Fleck 2510
has quick-release couplings that make it easy to put the Terminator filter on by-pass and remove the
filter system from the piping.
6. The drain line tubing (not supplied) is connected to a drain from the drain outlet using flexible ½” ID
tubing. If the drain line will be over 10 feet, use a ¾” or 1” drain tubing or PVC pipe.