Page 10
Step 5: Alignment / Drip Loop Instructions
Aligning The Lights:
• As Krista is designed as an auxiliary light, adjustment is up to the
user depending on his needs. Ask an assistant to help you with this
procedure. Make sure the bike is on level ground and have an assistant
sit on the bike. With a right angle board or object, position the board on
the floor and slide it up to the light. The goal is to adjust the lights so that
the light is level with the ground. Passengers and luggage may alter the
alignment of the light, so further adjustments may be needed. You may
find that a slight downward angle (5 degrees) is helpful. Often times it is
helpful to angle the right side light toward the right side of the road. This
helps with identifying road terrain and potential critters.
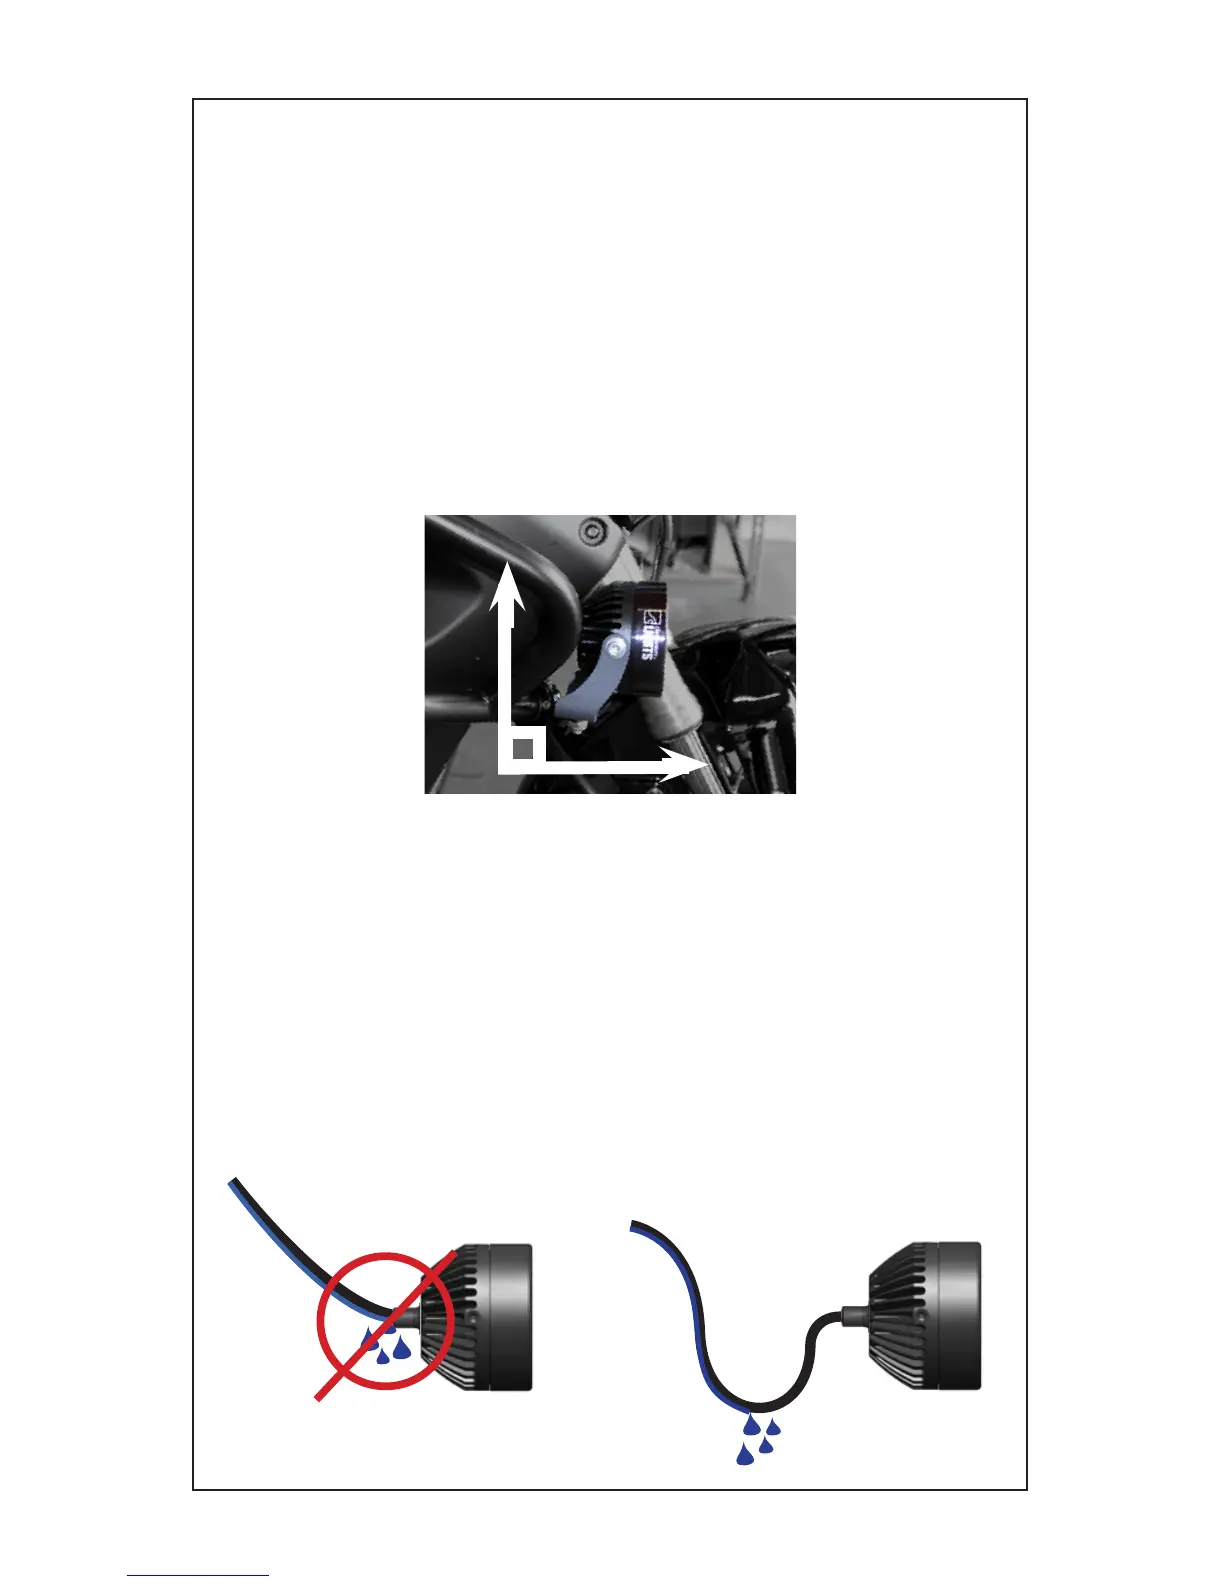
No Drip Loop
With Drip Loop
Using a Drip Loop
• Though our lights are sealed for ultimate all weather use, sometimes water
sneaks by. To make sure this doesn’t happen, we highly suggest using a drip loop.
When installing the wiring to your lights, use a drip loop as shown below. This will
keep water from dripping directly into the light and instead fall off before it can
reach the back of the body.
• To do this just leave a bit of extra wiring and let it hang below the light. You
could make a complete loop if you like, but just make sure the wire hangs below
the light as shown below.
 Loading...