APOLLO HIGH PRESSURE SUPPLIED-AIR RESPIRATOR Page 13
HELMET MODEL 600
© 2011 CLEMCO INDUSTRIES CORP. www.clemcoindustries.com
Manual No. 23930
Rectangular Lens: Protects inner lens.
NOTE: Choose one of the following lens system options
a. Fixed inner – one intermediate – up to three
perforated outer lenses.
b. Fixed inner – one intermediate – no perforated outer.
c. Fixed inner – one rectangular – no perforated outer.
9.1.1 Perforated Outer Lenses
For maximum visibility, install only enough lenses to last
during a work period, but no more than three. Preparing
lenses in the following manner will permit the outer
lenses to be torn off while blasting to expose a fresh lens
as needed, while preserving the innermost perforated
lens to protect the intermediate lens.
9.1.1.1 Stack up to three lenses on a clean, flat surface.
Arrange them with the flat-edge at the top and the pull-
tabs on the left. Fold up the pull-tab on the center lens
up, so the pull tab is against the top lens.
9.1.1.2 Unlatch the window frame and remove remnants
of old lenses.
9.1.1.3 Inspect the window gasket and inner lens. If
necessary replace per Section 9.2.
9.1.1.4 Place the stack of lenses inside of the opened
window frame. Align them with the straight edge toward
the top of the frame, and the pull-tabs at the hinged
end.
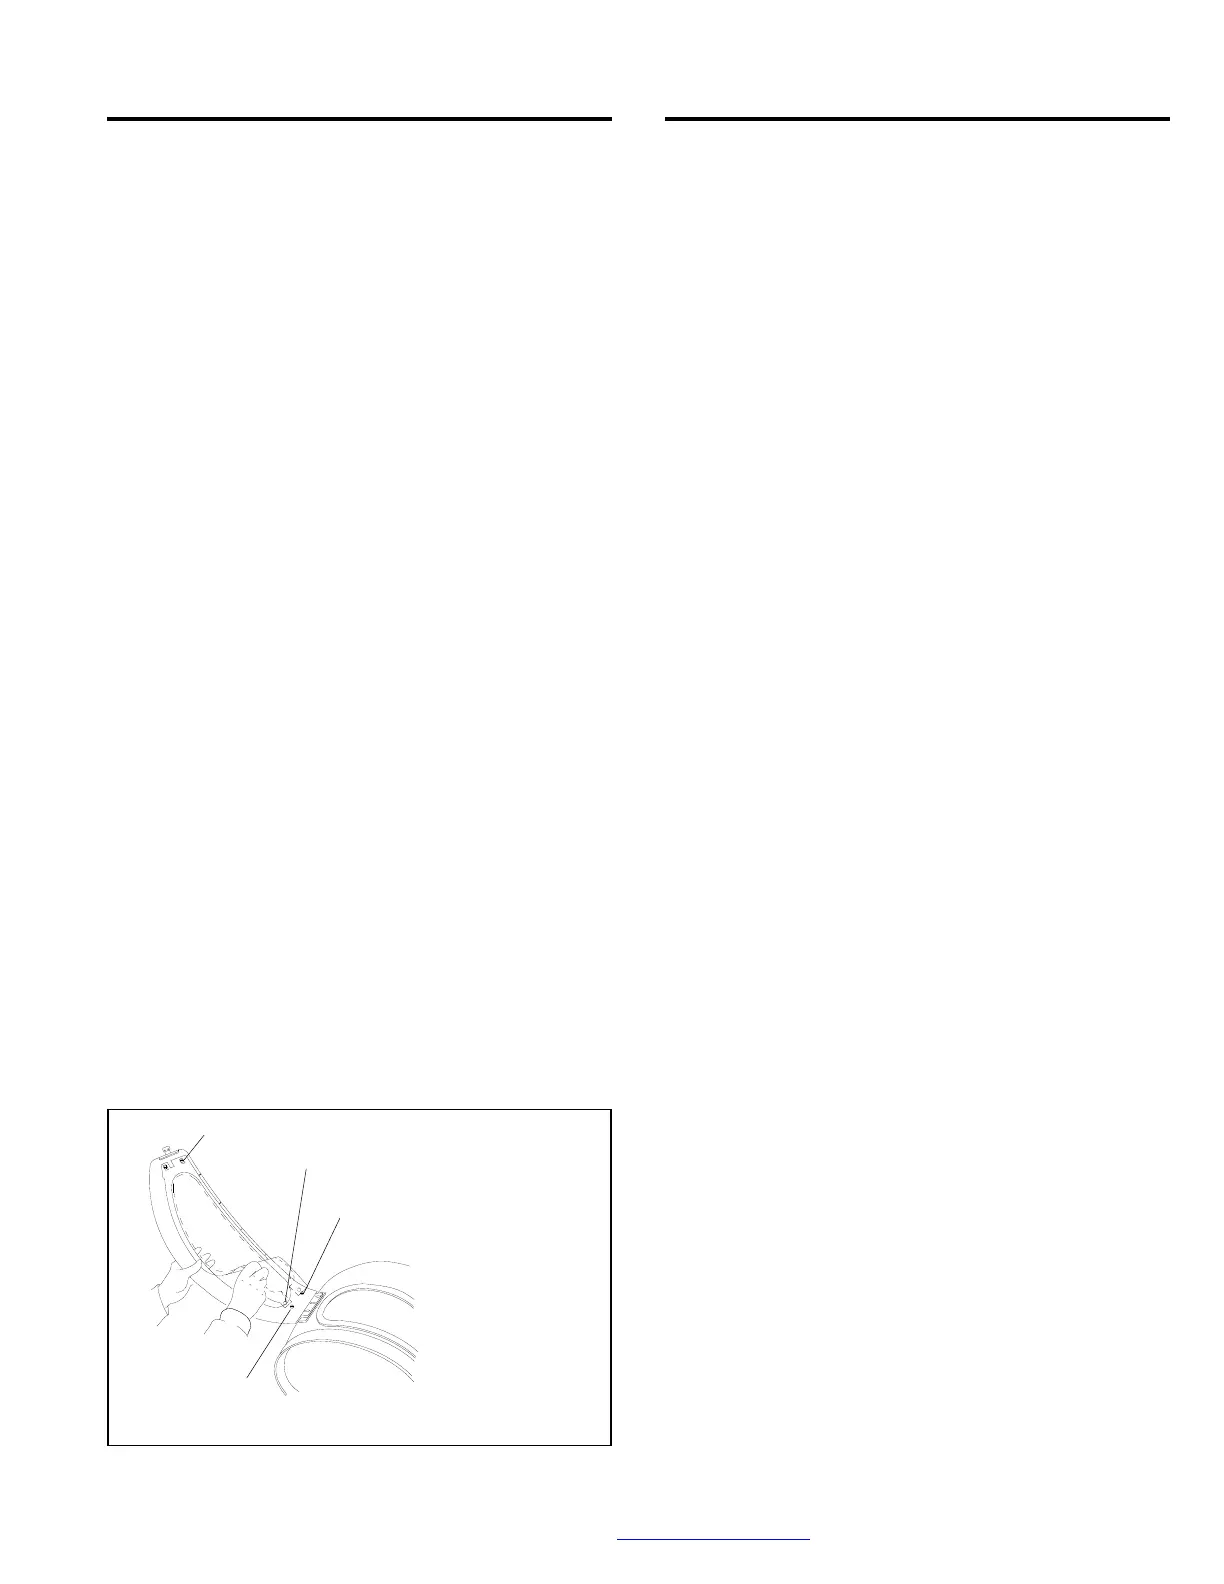
9.1.1.5 Insert the pull-tab of the outermost lens through
the frame opening. The pull-tab of the innermost lens
should remain on the inside. Placing the pull-tabs as
described will prevent unintentional removal of the last
lens and prolong the life of the intermediate lens.
Figure 5
9.1.1.6 Secure the lenses to the frame by pressing the
lens mounting holes on the pull-tab end of the lenses
onto the mushroom-shaped locating lugs. The slots on
the other end of the lenses fit over the locating lugs on
the latch end of the frame.
9.1.1.7 Using the same locators, install the intermediate
lens atop the perforated lenses while the window frame
is open.
9.1.2 Intermediate Lens
9.1.2.1 Unlatch and open the window frame, and
remove the old lens.
NOTE: It is not necessary to use perforated outer
lenses, but they will protect the intermediate lens when
rapid frosting occurs. If outer lenses are used, they must
be installed before the intermediate lens, per Section
9.1.1.
9.1.2.2 Inspect the window gasket and inner lens. If
necessary replace per Section 9.2.
9.1.2.3 Align the new lens with the straight edge toward
the top and round mounting holes on the hinge end of
the frame.
9.1.2.4 Secure the lens to the frame by pressing the
round mounting holes onto the mushroom shaped
locating lugs. The oval holes on the other end of the lens
fit onto the lugs on the latch end of the frame.
9.1.2.5 Close and latch the window frame.
9.1.3 Rectangular Cover Lens
9.1.3.1 Open the window frame and remove the old
lens.
9.1.3.2 Place a new lens between the locating lugs and
close and latch the window frame to secure.
9.2 Removing and Replacing the Inner Lens and
Window Gasket
Note: The following instructions explain the method of
first installing the gasket onto the helmet, and then the
lens. Spraying a small amount of water or food grade
silicone into the gasket grooves will reduce friction and
ease installation. Alternatively, install the lens into the
window gasket and then install the lens and gasket onto
the helmet as an assembly.
9.2.1 Replace the inner lens when it becomes dirty or
scratched.
Insert pull-tabs through the opening
Secure the lens to the frame
by pressing the holes over
the locating lugs
Locating lugs
Locating lugs

 Loading...