English - 5
Grill Assembly
IMPORTANT: Remove all packing material prior to assembly/
use.
During assembly, grill lid should be latched and grill should
lie on carpet or cardboard.
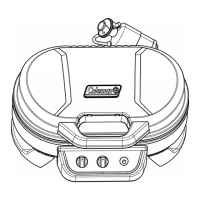
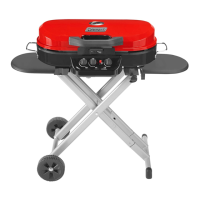
1. Inspect and remove all components from package. (Fig. 3
and Fig. 4)
2. See carton for parts and hardware packet included with your
unit. Tools required for assembly (wrench and Phillips head
screw driver) are included in hardware packet.
B (2)
X 2
Fig. 4Fig. 3
C (1)
D (1)
3. Move the lid latch to unlock position and open the lid.
(Fig. 5 and Fig. 6)
Fig. 5
4. Remove the water pan and set aside. (Fig. 7)
Fig. 7
Fig. 6
5. Turn over the grill and place onto a soft surface. (Fig. 8)
Fig. 8
6. Extend the legs and put the ends of the wheeled leg into leg
brackets (Fig. 9).
Fig. 9
Leg brackets
7. Attach the handle leg to the grill base with bolt C and spacer
D. (Fig. 10)
Fig. 10
C
D
8. Attach each wheel to axle using one bolt and one washer.
Use the wrench to screw tightly. (Fig. 11)
Fig. 11
B
 Loading...