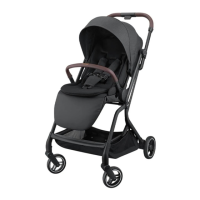
Citta
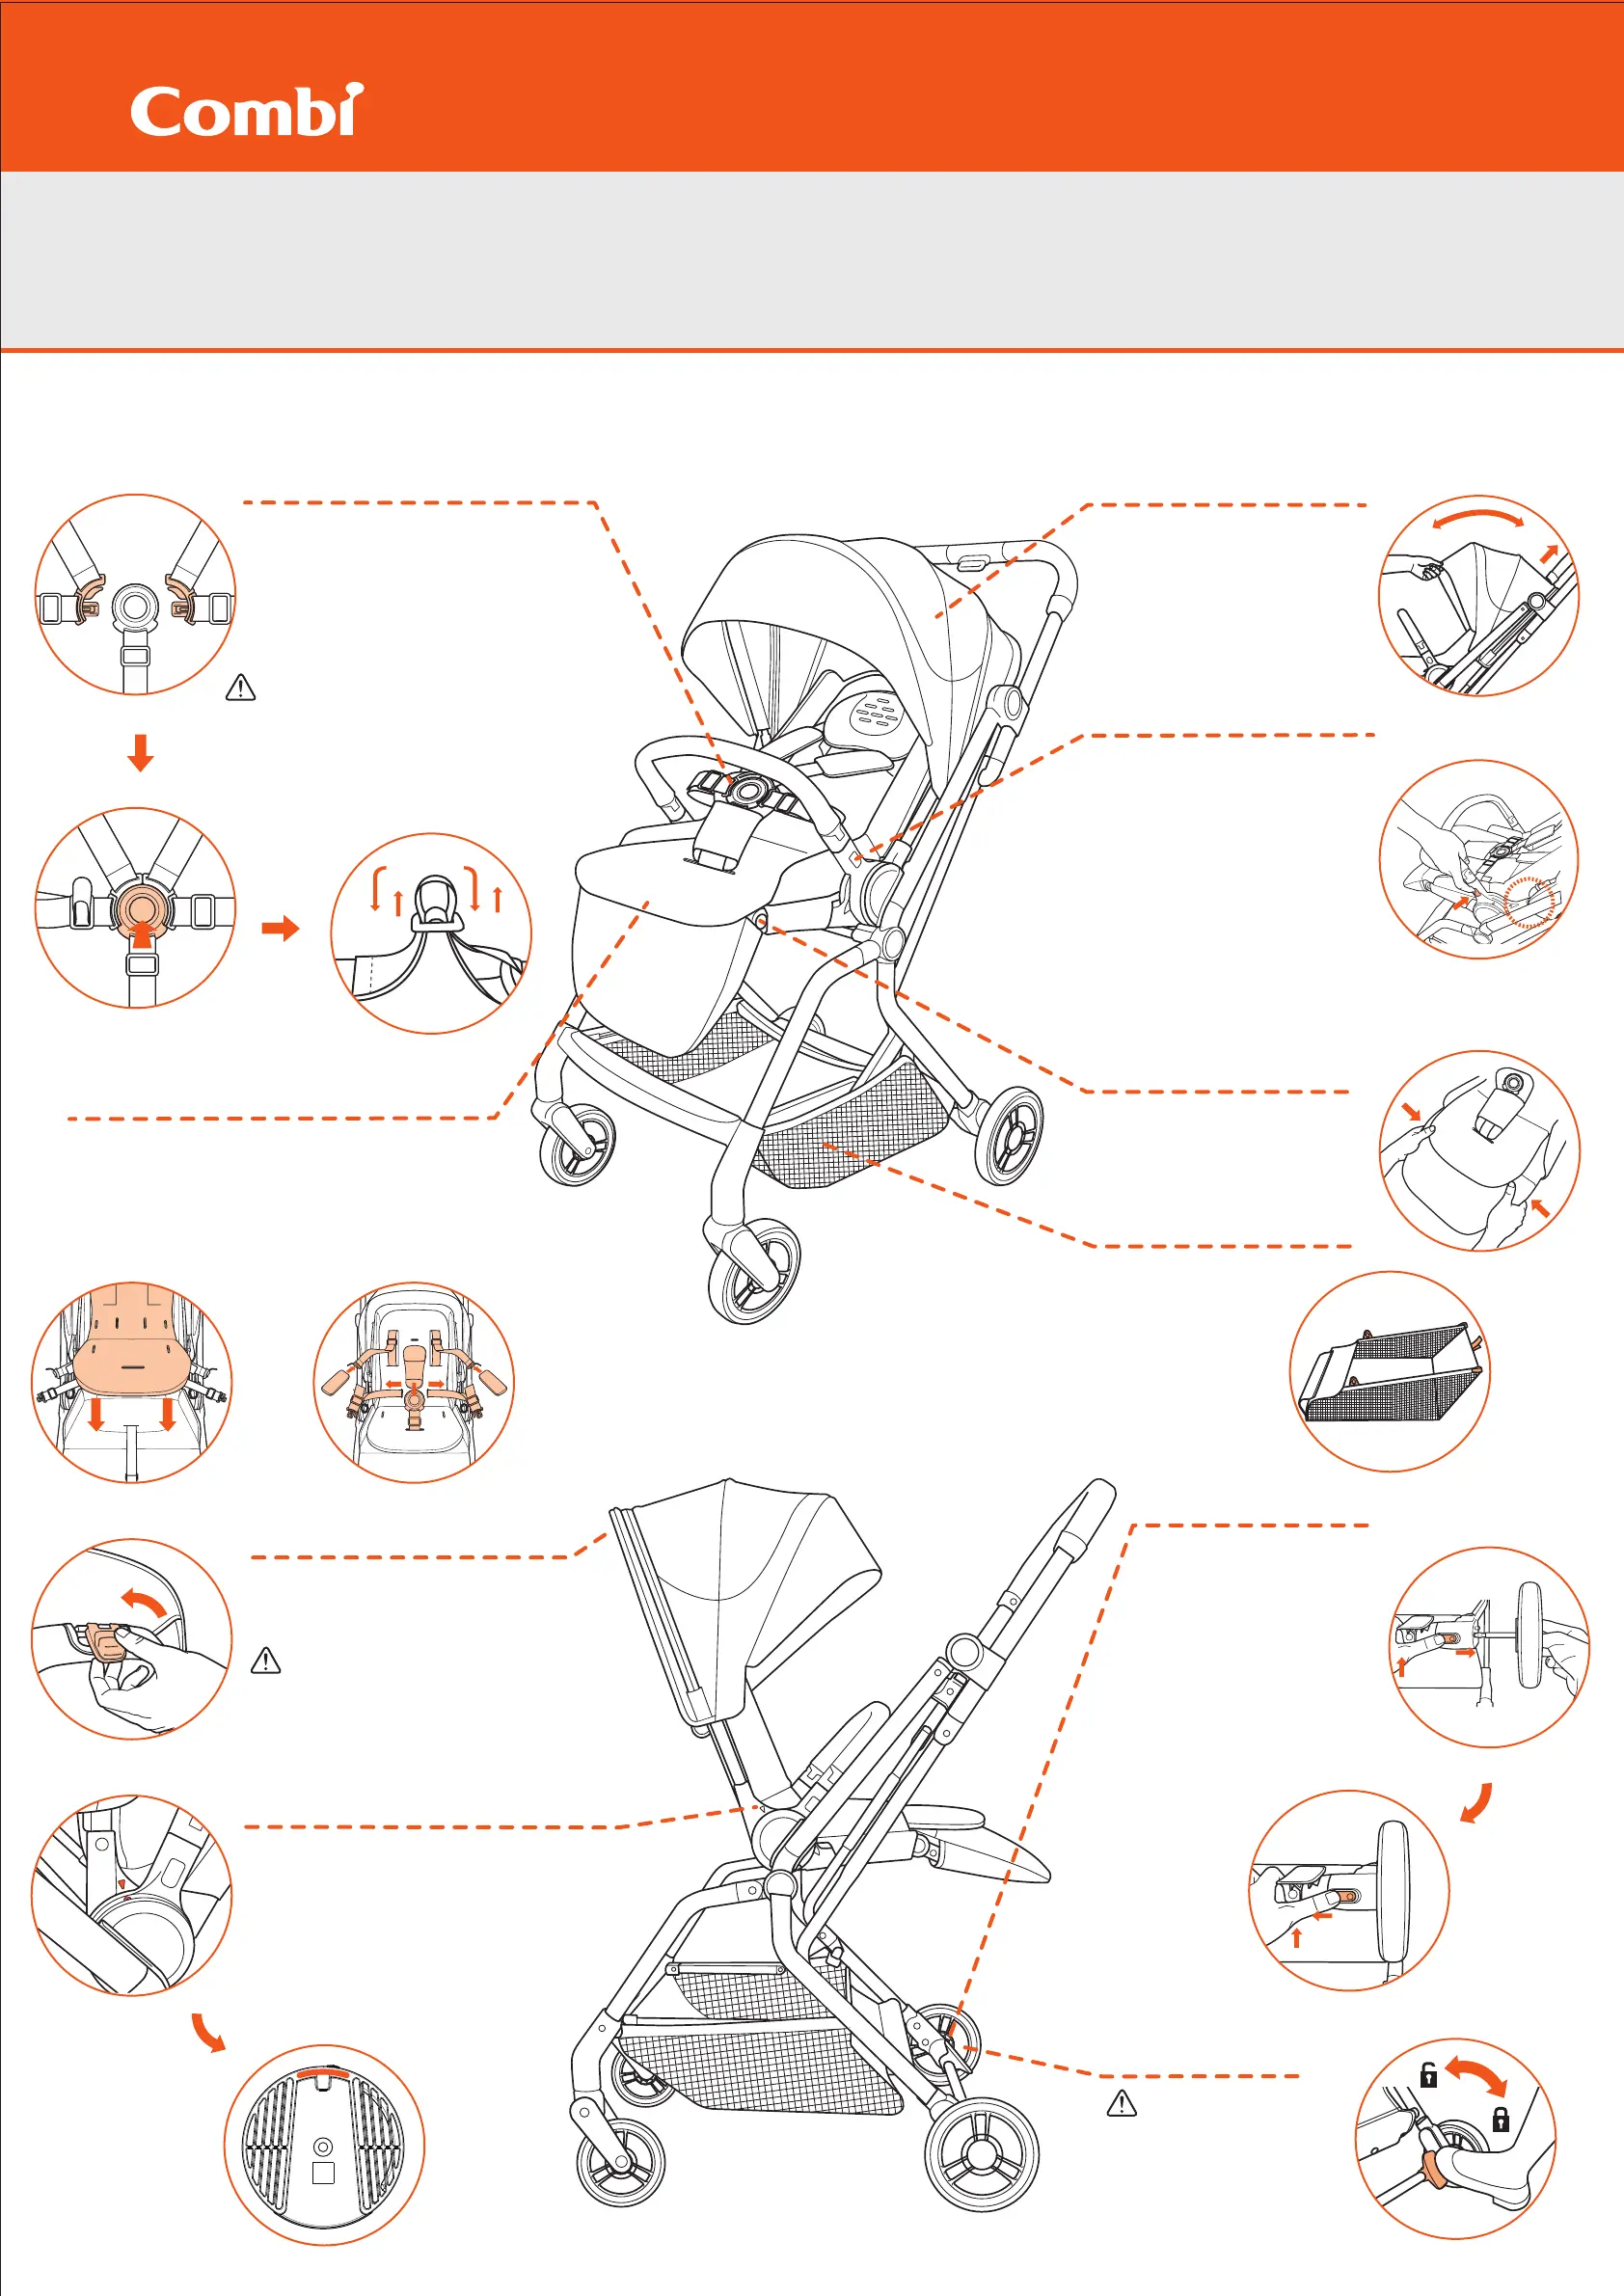
Canopy
1. As shown in the figure, pull the canopy
forward or backward to open or close
the canopy.
2. As shown in the figure, grasp the
canopy bracket and pull it up until the
slide rail is positioned, and the canopy
can be placed raise and lower; to
lower the canopy, grasp the bracket
and operate it in reverse.
Handrail
1.Adjust the backrest to align with the triangle mark on the
seat and frame and the seat can be removed for reversal.
2.After turning the seat (do not align with the triangle mark),
insert it downwards until you hear a "click" sound. The white
long strip mark on the connector is completely covered,
indicating that the joint is fully connected.
3.Please try to pull the seat up and confirm that
it is securely fixed before placing the child.
Note:please pay attention to installation methods
to avoid pinching.
1. Push the adjustment buckle behind the
head upwards to adjust the backrest angle.
2. Three angles (upright, reclined and flat)
are adjustable.
Handrail: Adjust the slider with a protruding
square button on the handrail plug to align
with the square hole of the handrail socket
on the stroller and insert it until you hear
a "click" sound. Unilateral removal allows
for 360° rotation.
Note: 1. When installing the handrail,
please aim the handrail button
at the handrail seat to avoid
incorrect assembly, and pay
attention to the installation method
to avoid pinching.
2. When using the stroller, please
pay close attention to the gap of the
position marked with dotted lines in the figure to prevent
the child's hands and feet from getting stuck accidentally.
1. Buckle: When you hear a "click" sound, the safety
harness is securely buckled.
2. Length adjustment of safety harness
Lengthen: Lengthen the adjustment belt in the
direction a1, and then tighten it in the direction a2.
Shorten: Lengthen the adjustment belt in the direction
b1, and then tighten it in the direction b2.
Note: For the safety of children, please make sure that the
safety harness is securely buckled when using the stroller.
1. Insert the sleeping mat through the shoulder belt, waist
belt, and crotch belt on the seat to install the sleeping mat.
2. Put on the shoulder belt covers and crotch belt cover in turn.
Note: To prevent the shoulder belt covers and the crotch belt
cover from slipping off, insert the internal buckles of the shoulder
belt covers into the bottom buckles of the stroller shoulder belt.
To fix the crotch belt, the crotch belt should pass through the internal
elastic band of the crotch belt cover.
IMPORTANT – READ CAREFULLY AND KEEP FOR FUTURE REFERENCE.
Press the buttons on both sides of the
arrow with both hands to adjust the
foot support.
The basket can carry a maximum
weight of 5kg.
Foot support
Basket
For easy cleaning and storage,
the rear wheels support the quick
release function.
1. Press and hold the rear wheel
quick release button H to pull
out the rear wheel.
2. When installing the rear wheel,
insert the bearing inward and
pull the wheel to ensure the
installation is complete.
Note: Do not insert foreign objects
into the axle holes because
the objects may cause incorrect
installation of the rear wheels.。
Wheel function
H
H
Instructions for installing the seat cushion
with shoulder/waist/center strap cover
The stopper
WARNING
CAUTION
Always engage the stopper
when you leave the stroller.
1. Always use the restraint system.
2. Do not cross or adjusting it too tight the
shoulder belts with each other when securing
the shoulder to the insert plastic.Otherwise
excessive pressure may be caused to
child’ s neck.
No continuous use for a long period, continuous
use for a long period of time may exhaust baby.
No continuous use of more than 2 hours for a baby
in a reclined seat and 1 hour in an upright seat.
Use of five-point safety harness
Backrest
Turn the seat
195646070
a1
a2
b2
b1
① ②
WARNING
Instruction manual
 Loading...