This document describes the Comfee 12-in-1 Programmable Electric Pressure Cooker, Model CPC60D7ASB. It provides important safety precautions, instructions for first use, operating procedures, function selection details, and troubleshooting information.
Function Description
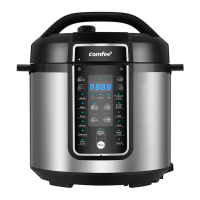
The Comfee 12-in-1 Programmable Electric Pressure Cooker is a versatile kitchen appliance designed for various cooking tasks under pressure. It offers multiple preset functions, allowing users to prepare a wide range of dishes efficiently and safely. The pressure cooker is equipped with safety features to prevent accidents related to pressure buildup and electrical hazards. It can automatically transition to a "Keep Warm" state after cooking, ensuring food remains at an optimal serving temperature. The appliance is designed for household use and is not intended for deep frying.
Usage Features
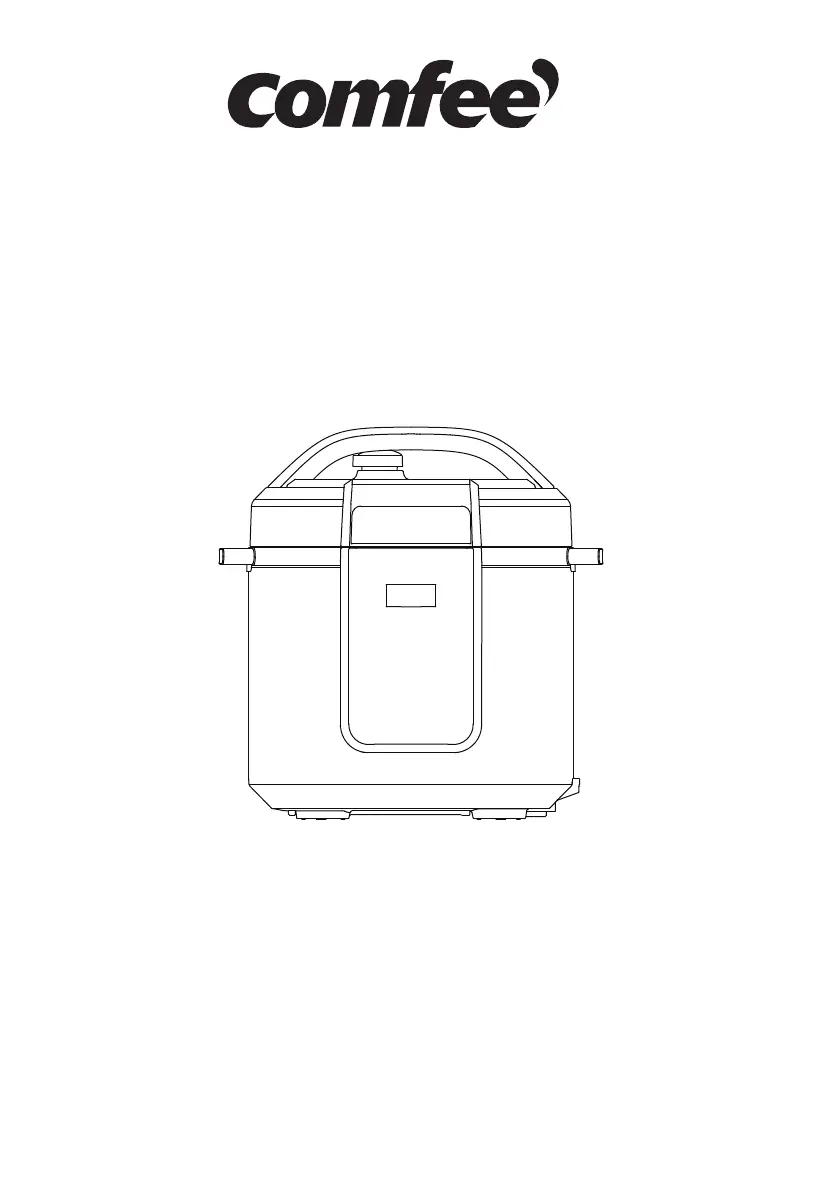
Opening and Closing the Lid:
To open the lid, hold the handle, turn it anticlockwise by about 30 degrees until it reaches the "Unlock State," and then lift it. Before closing, ensure the sealing ring is properly installed. To close, align the lid in the "Unlock State" with the cooker body, place it horizontally, and then turn it clockwise by about 30 degrees to the "Lock State." The buttons on the control panel will remain inactive if the lid is not closed correctly.
Checking Parts and Accessories:
Before each use, it is crucial to check that the float valve and exhaust valve are not jammed and that the sealing ring and block proof cover are correctly installed. The float valve should be down before heating begins.
Inner Pot Usage:
Always use the dedicated inner pot provided with the cooker. When placing food and water into the inner pot, ensure the total amount does not exceed the "Max" line. For foods that expand during cooking (e.g., dried vegetables, legumes, beans, grains), do not fill the unit over 1/2 full to prevent clogging of the pressure limit valve and excess pressure. Wipe the external surface of the inner pot clean and ensure no foreign objects or water are on the inner surface of the electric pressure cooker before placing it inside. Turn the inner pot left and right to ensure good contact with the heating plate.
Exhaust Valve Placement:
For pressure cooking, turn the exhaust valve to the "sealing location" to maintain a sealed state. For manual exhaust, turn the exhaust valve handle to the "exhaust location." When exhausting, keep hands and face away from the opening to avoid burns. Do not pull out the exhaust valve when turning it.
Safety During Operation:
The appliance cooks under pressure, so improper use can result in scalding injury. Do not force the lid open if the float valve is still up or if it is difficult to open, as this indicates the appliance is still pressurized. Allow the appliance to cool naturally until the float valve drops before attempting to open the lid, especially after cooking fluid foods like porridge or soup. Do not use the appliance under hanging cabinets, as steam release may cause damage. When moving the pressure cooker, especially with hot liquids or foods, extreme caution must be exercised, and the handle of the cooker body should be securely held.
Function Selection:
The pressure cooker offers 12-in-1 programmable functions.
- Cancel: Stops the current operation and returns to standby.
- Keep Warm: Automatically or manually keeps food warm. The default time can be adjusted.
- Sauté: Allows for browning or sautéing food. The digital screen displays default working time, which can be adjusted.
- Bake: For baking tasks. The digital screen starts counting down once the working temperature is reached and automatically shifts to "Keep Warm" when finished.
- Slow Cook/Yogurt: Functions for slow cooking or making yogurt. The unit enters "Keep Warm" (Slow Cook) or standby (Yogurt) when finished.
- Stew, Soup/Broth, Steam, Oatmeal, Pressure Cook, Egg, Bean/Chili, Rice, Manual Setting: These functions allow for specific cooking tasks. Users can adjust cooking time and, for some settings, the cooking level (low, medium, high) to control internal cooking pressure. The digital screen starts counting down once the pressure rises to working pressure and enters "Keep Warm" when finished.
- Delay Timer: Allows users to set a delayed start time for most programs (Yogurt, Sauté, Bake, Keep Warm functions cannot use the delay timer). The delay time can be adjusted in hours and minutes.
- Level: Adjusts the internal cooking pressure (Low, Medium, High) for more or less tender results.
Power and Electrical Safety:
The appliance has a polarized plug (one blade wider than the other). If the plug does not fit, reverse it. If it still doesn't fit, consult a qualified electrician. Do not modify the plug. A short power-supply cord is provided to reduce risks of entanglement or tripping. If an extension cord is used, it must have an electrical rating at least as great as the appliance's and be arranged to avoid draping over countertops where it can be pulled or tripped over. Always attach the plug to the appliance first, then to the wall outlet. To disconnect, turn the control to OFF, then remove the plug. Do not use the appliance with a damaged cord or plug. Do not immerse the cord, plugs, or outer vessel in water or other liquids. Do not pull the plug with wet hands. When unplugging, pinch the plug, not the cord, to avoid damage. Unplug when not in use to prevent leakage, fire, or failure. Use a correct power outlet (refer to the label) to avoid fire or electric shock. A socket with a rating of more than 10A and a grounding wire should be used alone; sharing with other appliances can cause electrical overload and fire.
Food Safety:
Spilled food can cause serious burns. Keep the appliance and cord away from children. Never drape the cord over the edge of a counter, use an outlet below a counter, or use an extension cord. Cook only in the removable container. Do not use the appliance for pressure frying with oil.
Maintenance Features
Cleaning Before First Use:
Before the first use, wipe the cooker clean with a damp cloth to remove any dust from shipping. Thoroughly clean the cooking pot and sealing ring assembly in a dishwasher or with warm, soapy water. Rinse, towel or air-dry, and place them back in the pressure cooker.
Regular Cleaning:
Clean the appliance after each use. Before cleaning, unplug the power cord and allow the product to cool.
- Lid and Inner Pot: Remove the lid and inner pot, clean them with detergent, rinse well with water, and wipe dry with a soft cloth.
- Internal Side of the Lid: Clean the internal side of the lid with water. The seal ring, block proof cover, exhaust valve core, and float valve can be removed for washing. Install them timely and correctly after washing, then dry the internal side of the lid with a cloth.
- Exhaust Valve: Pull out the exhaust valve from the lid. Clean the internal side of the exhaust valve and the float valve with a brush and cloth at least once a month.
- Sealing Ring: Remove oil and dirt from the sealing ring with detergent and a brush. Do not pull the sealing ring, as a distorted ring may affect the seal and pressure effect. Replace damaged sealing rings at an authorized repair office.
- Block Proof Cover: Clean the block proof cover.
- Water Box: After cooking, steam may condense into water in the external pot's water box. This water should be removed to prevent bad odors. Clean it with a clean cloth.
- Cooker Body: Wipe the body of the pressure cooker clean with a rag. Do not soak the cooker body in water or spray water onto it.
- Storage: Periodically clean the cooker and remove oil and dirt if it is stored on a table. Place the electric pressure cooker at least 12cm away from other kitchen appliances.
Periodic Checks:
Periodically check the block proof cover and exhaust valve core to ensure they are not blocked. Do not cover the exhaust valve with heavy objects or replace it with other objects.
Repair and Replacement:
Any servicing other than cleaning should be performed by an unauthorized service representative. Modification or repair by non-professionals is prohibited and may cause fire, electric shock, or safety hazards. Repair or replacement of parts should be made in a designated service center. To prevent the risk of explosion and injury, replace only the dynamic seal ring as recommended by the manufacturer.