
M
matthewhughesJul 28, 2025
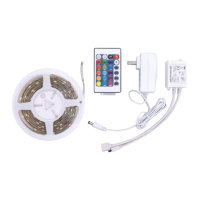
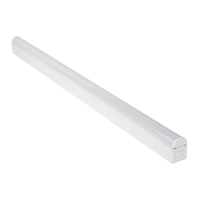
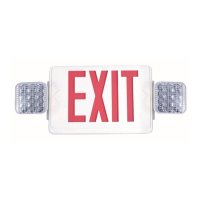
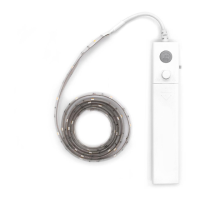
How to fix Commercial Electric Lighting Equipment that does not light?
- MMatthew CrawfordJul 28, 2025
If your Commercial Electric Lighting Equipment does not light, there are several potential causes. First, check if the power supply is on. Second, examine the wire nut connections for any looseness. Finally, the wall switch might be faulty, so test or replace it.