English
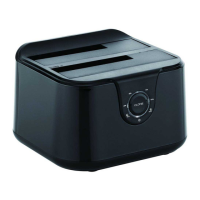
Conceptronic DDE02B
Installation & usage
Connect the hard disk docking station to your computer
Turn on your computer.
Connect the included power adapter to the DC connector at the backside of the
hard disk docking station and to a free wall outlet.
Connect the included USB 3.0 cable to the USB connector at the backside of
the hard disk docking station and to a free USB 3.0 port on your computer.
Note: You can also connect the hard disk docking station to a USB 2.0 or USB
1.1 port, but the speed will be limited to the speed of the USB controller of your
computer.
Insert a SATA hard disk in the hard disk docking station.
Turn on the hard disk docking station with the power switch at the backside.
The computer will automatically recognize and install the hard disk docking
station. No driver installation is required.
Safe remove the hard disk docking station from your computer
The hard disk docking station must be removed safely in your operating system
before you turn it off and remove the hard disk, in order to prevent data loss.
Double click on the “Safely Remove Hardware” icon in your system tray.
The “Safely Remove Hardware” window will be shown.
Click on the connected hard disk docking station (often listed as “USB Mass
Storage Device”) and click the “Stop” button.
Confirm the disconnection by clicking “OK”.
The hard disk docking station is now safely removed from your computer. You can
now turn off the hard disk docking station and remove the hard disk.
Duplicator (CLONE) Mode
The Duplicator Mode only works when the docking station is NOT connected to a PC
via the USB cable.
HDD A (Source): disk with the data you want to duplicate (clone).
HDD B (Destination): in which you want to store the data of the source disk.
 Loading...