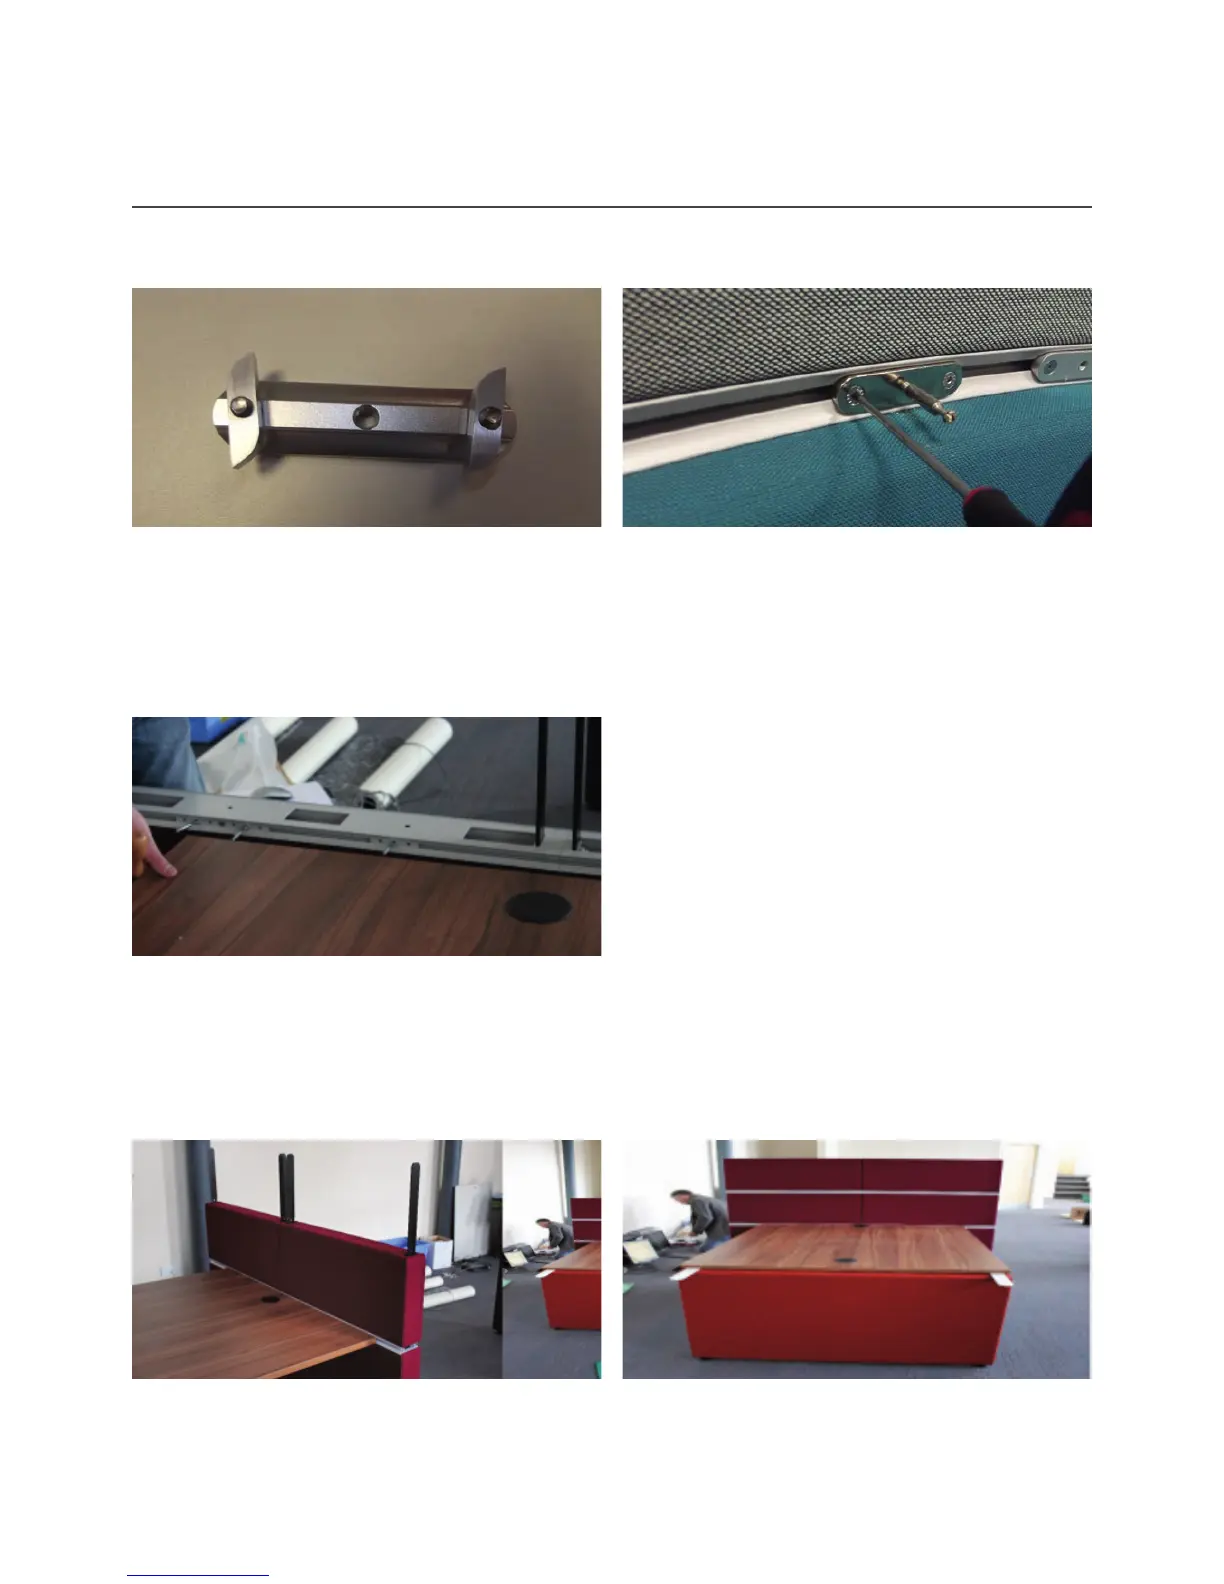
Hive Assembly
If attaching tables or accessories to your Hive
configuration, then you will need to use the workrail
plate as shown above.
When offering the table up to the fixings they should be guided into place over the pins that go into the cams
already inserted into the table top. If any adjustment is needed in the position of the plate then this can be
done by loosening the bolts and aligning the plate and fixing as required. Once in the correct position the
bolts need to be tightened again.
To use the plate, insert the small twist ‘Fins’ into the
slot in the workrail. Please ensure that fins are inside
the track before starting to tighten the 2 bolts. When
fully tightened, the fins will engage with the track in
the workrail. The image above shows a pin attached
to the workrail ready to accept a table top.
The screens are fitted by lowering them down over
theie respective screen supports. To secure the
screens a custom fitted piece is already attached in
the base and this will engage with the screen support
with a click when in the correct position.
When the complete configuration has the screens
attached the unit will be fully fixed together and
cannot be moved.
Attaching accessories or IWS tables
Attaching screens