Operating & Maintaining the Connex500/350 3-D Printer
7–46
DOC-13000 Rev. E
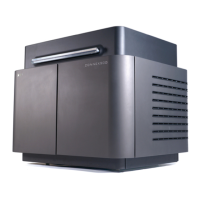
Figure 7-70: Installation-check screen
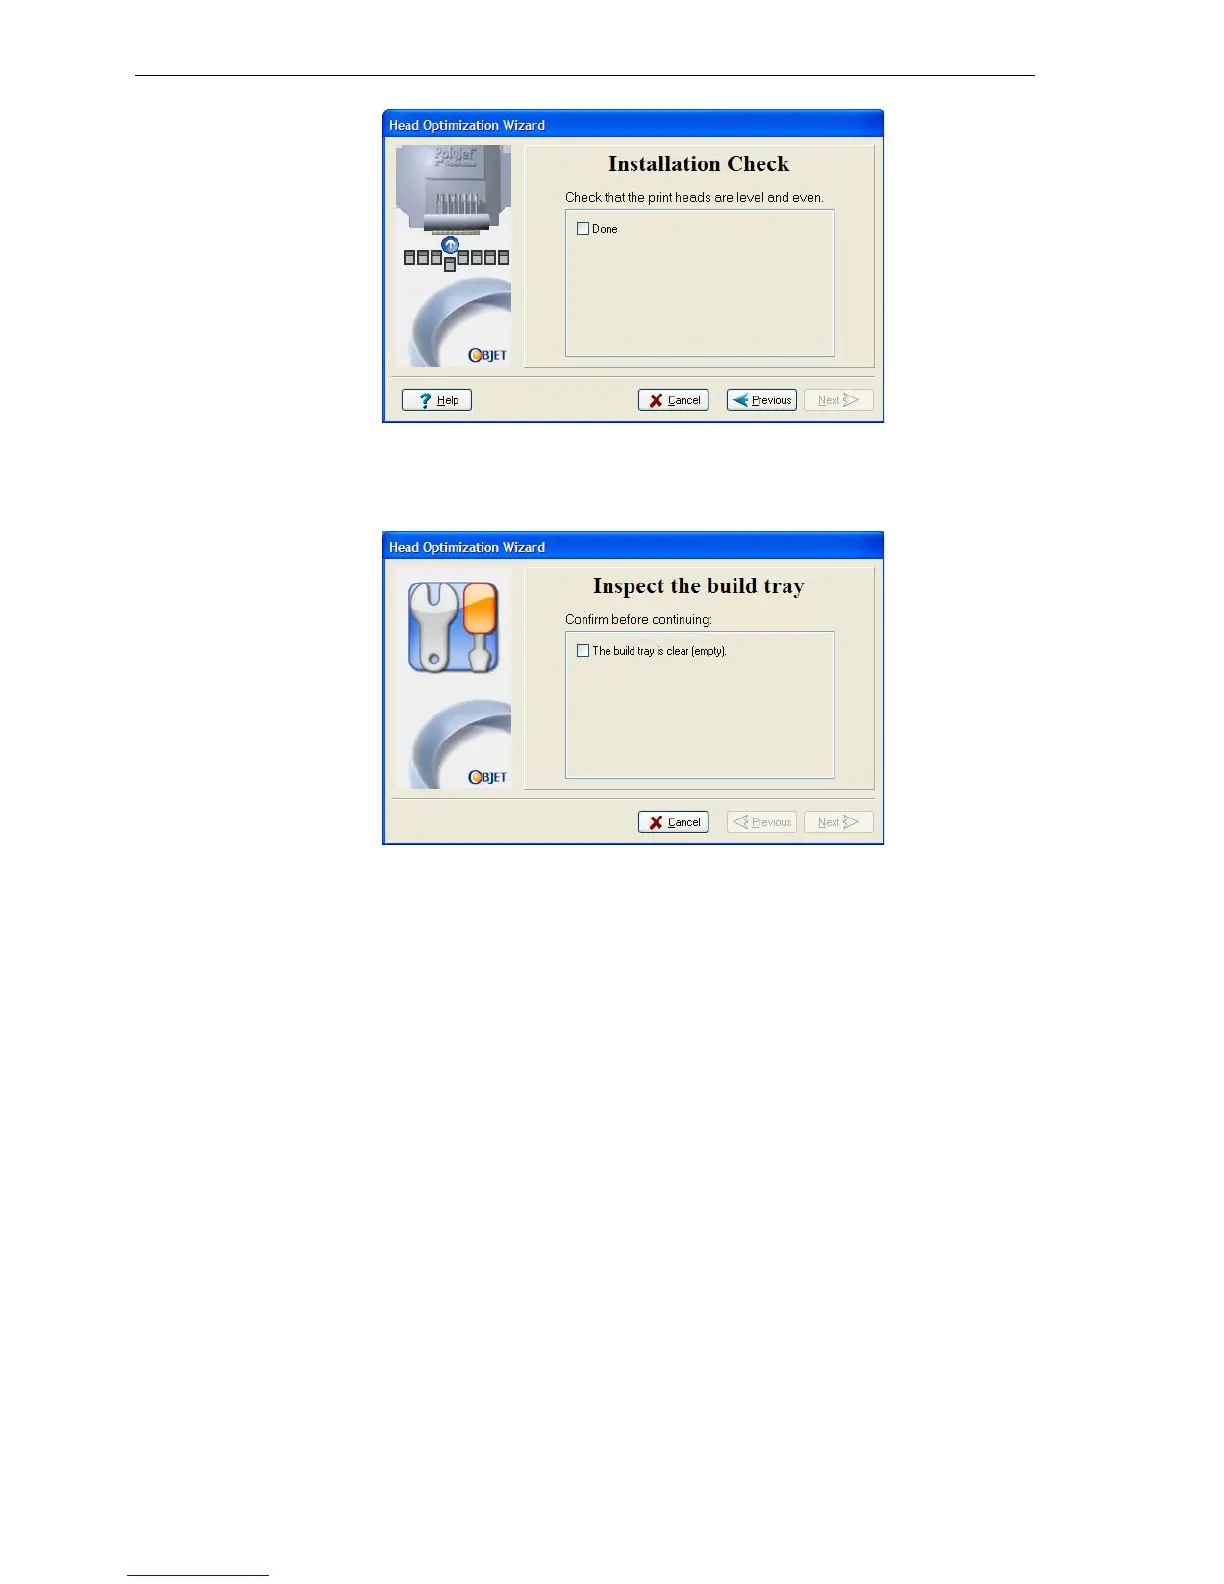
21. Inthenextwizardscreen,selectthecheckboxtoconfirmthatyouhave
removedalltoolsandobjectsfromtheprinter.
Figure 7-71: Cleared-tray confirmation screen
22. Closetheprintercover.
Thewizardcontinuesbyfillingtheheads,thenheatingandpurgingthem.
Iftherearenoinstallationproblems,theHeadOptimizationprocedure
begins(see“CalibratingPrintHeads”onpage 7‐34).
Ifavacuumleakageisdetected,orifthereareotherproblems,thewizard
alertsyouandinstructsyo
uhowtocontinue(see“InstallationProblems,”
below).
Afterreplacingprintheads,youshouldchecktheheadalignmentbefore
usingtheConnexprintertoproducemodels.Inthefinalwizardscreen...
• selectYesandclickDonetoopentheHeadAlignmentwizard(see
“AligningthePrintHeads”onpage 30).
• selectNoandclickDonetoaligntheheadsatanothertime.