32
3. Drücken Sie die „Zero“-Taste (9), um den Bezugswert sofort festzulegen. Wenn Sie vermeiden
möchten, dass die Messgenauigkeit durch die Erschütterung beim Drücken der Taste beeinträchtigt
wird, können Sie die Funktion für das verzögerte Festlegen des Nullwerts verwenden. Drücken und
halten Sie die „Zero“-Taste (9) etwa 1,5 Sekunden lang. Es ertönt ein dreimaliger Piepton (Countdown).
Anschließend wird der Bezugswert gespeichert.
4. Drücken Sie erneut die „Zero“-Taste (9), um zum absoluten Messmodus zurückzukehren.
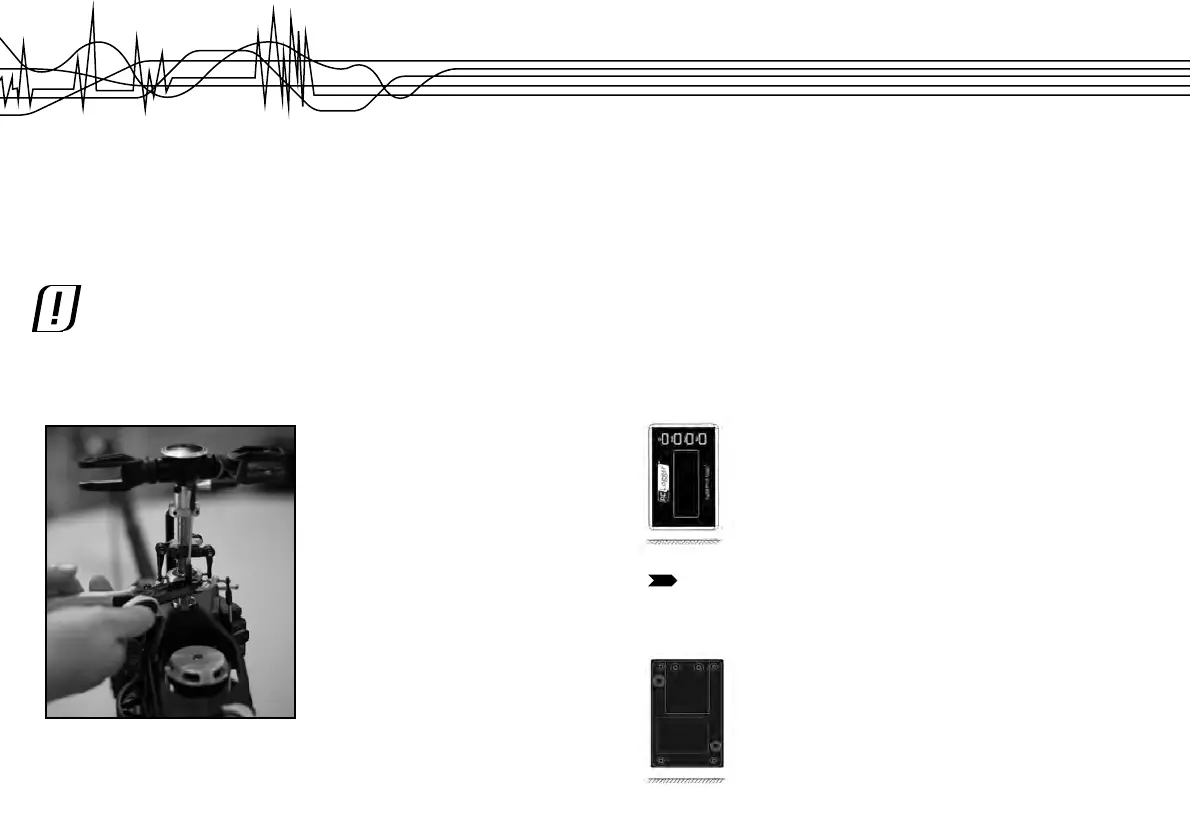
11. STARTEN DER MESSUNG
Schließen Sie den Motor während des Messvorgangs nicht an.
Richten Sie die Pitchlehre vor jeder Messung bei der Referenzeinstellung so aus, wie sie
diese auch für die Messung benutzten.
Messen der Taumelscheibe
1. Entfernen Sie mithilfe eines geeigneten Werkzeugs eines der Gelenke zwischen der Taumelscheibe
und der Hauptwelle.
2. Wählen Sie den zur Scheibengröße (ø 8 mm/ø 13 mm) passenden Befestigungsadapter für die
Taumelscheibe. Bei Auslieferung ist die Scheibe mit 13 mm Durchmesser auf dem Befestigungsadapter
montiert.
9
Turning the pitch gauge on / off
1. Remove the plastic sheet on the batteries (initial use only).
2. Press the power button (7) to turn the pitch gauge on.
3. Press the power button (7) again to turn the pitch gauge off.
Calibrating the pitch gauge
In order to optimize its performance, calibrate the pitch gauge every time you change batteries or whenever
you feel it is necessary.
1. Detach the pitch gauge from the mounting plate.
2. Turn on the pitch gauge. By default, it will be in measuring mode.
3. Press and hold the “Set” (10) button for three seconds.
4. Use the “Hold” / ʆ button (8) and “Zero” / ź button (9) to select “PC” shown in the profi le number
fi eld(1).
5. Press the “Set” button (10) to confi rm.
6. The display will show “--01--”, which indicates that the pitch gauge is now in calibration step 1.
7. Place the pitch gauge horizontally on the fl oor or any horizontal surface, as shown below:
Pay attention to the orientation of the picture while performing the calibration.
8. The display will show “--02--”, which indicates that the pitch gauge is now in calibration step 2.
9. Place the pitch gauge horizontally on the fl oor or any horizontal surface, as shown below:
10. The display will show “--03--”, which indicates that the pitch gauge is now in calibration step 3.