ChlorMakerChlorMaker Manual Manual 77
ChlorMaker InstallationChlorMaker Installation
Prepare the SpaPrepare the Spa
Drain and clean the spa, rell, and add salt. Then, allow the water to get to over 95°F (35°C), andDrain and clean the spa, rell, and add salt. Then, allow the water to get to over 95°F (35°C), and
balance the water.balance the water.
Power SupplyPower Supply
The power supply supports 100 to 240 VAC with an output voltage of 5.5 VDC, and it comes with a The power supply supports 100 to 240 VAC with an output voltage of 5.5 VDC, and it comes with a
15-foot cord spanning from the power supply to the ChlorMaker control box. To prevent damage to the 15-foot cord spanning from the power supply to the ChlorMaker control box. To prevent damage to the
power supply, you will need a weather-protective cover (readily available in hardware stores and online) power supply, you will need a weather-protective cover (readily available in hardware stores and online)
to house the power supply at the outlet.to house the power supply at the outlet.
Please notePlease note that installing any equipment inside the spa equipment compartment may void the spa that installing any equipment inside the spa equipment compartment may void the spa
warranty or void the safety certication of the spa and is thus not recommended.warranty or void the safety certication of the spa and is thus not recommended.
110 VAC Electrical Outlet110 VAC Electrical Outlet
Locate a GFCI-protected outlet (Locate a GFCI-protected outlet (requiredrequired for re and shock safety) near the spa. If the outlet needs to for re and shock safety) near the spa. If the outlet needs to
be installed, have a licensed electrician add a 110 VAC GFCI-protected outlet.be installed, have a licensed electrician add a 110 VAC GFCI-protected outlet.
220 VAC Electrical Outlet220 VAC Electrical Outlet
Since the power supply plug style is for 110 VAC, have a licensed electrician install a 220 VACSince the power supply plug style is for 110 VAC, have a licensed electrician install a 220 VAC
GFCI-protected connection that will accept a 110 VAC-style plug. Please check your local electrical GFCI-protected connection that will accept a 110 VAC-style plug. Please check your local electrical
codes to ensure that the outlet is at least the minimum distance from the spa, along with verifying any codes to ensure that the outlet is at least the minimum distance from the spa, along with verifying any
other safety standards that apply to your overall spa area.other safety standards that apply to your overall spa area.
Power Supply ConnectorPower Supply Connector
Remove the tie straps from the ChlorMaker power supply cable and route the cable to the outlet Remove the tie straps from the ChlorMaker power supply cable and route the cable to the outlet
((withoutwithout plugging it in just yet). The cable should already be attached to the power supply, but if it gets plugging it in just yet). The cable should already be attached to the power supply, but if it gets
disconnected, please note that the connector has two metal pins, one round and the other rectangular, disconnected, please note that the connector has two metal pins, one round and the other rectangular,
allowing it to only install in one way, since reversing the connection would damage the ChlorMaker.allowing it to only install in one way, since reversing the connection would damage the ChlorMaker.
The ChlorMaker also includes two cable clips, so feel free to use one (The ChlorMaker also includes two cable clips, so feel free to use one (” with a #6 x ” with a #6 x ” screw) to attach ” screw) to attach
the cable to a solid surface if needed.the cable to a solid surface if needed.
Cold Weather OperationCold Weather Operation
The power supply is not designed to operate in temperatures below -4ºF (-20ºC). If you live in an area The power supply is not designed to operate in temperatures below -4ºF (-20ºC). If you live in an area
that can get that cold, store the power supply in a warm location when the temperature is low or install that can get that cold, store the power supply in a warm location when the temperature is low or install
the power supply in the spa equipment area where there is some protection. For the latter, make sure to the power supply in the spa equipment area where there is some protection. For the latter, make sure to
rst verify where you can install the power supply without voiding your spa’s warranty or safetyrst verify where you can install the power supply without voiding your spa’s warranty or safety
certications.certications.
Installation StepsInstallation Steps
1. 1. Add salt (see Prepare the Spa section).Add salt (see Prepare the Spa section).
2. 2. Install a protected electrical outlet, if not Install a protected electrical outlet, if not
already available near the spa, for the power already available near the spa, for the power
supply.supply.
3. 3. Mount the control box (see Mount the Control Mount the control box (see Mount the Control
Box section).Box section).
4. 4. Drape the ChlorMaker electrode over the Drape the ChlorMaker electrode over the
side of the spa, ensuring that it is hanging side of the spa, ensuring that it is hanging
vertically.vertically.
5. 5. Turn the ChlorMaker on.Turn the ChlorMaker on.
6. 6. Set the power level.Set the power level.
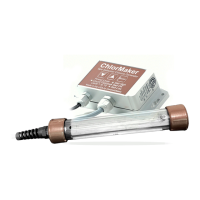
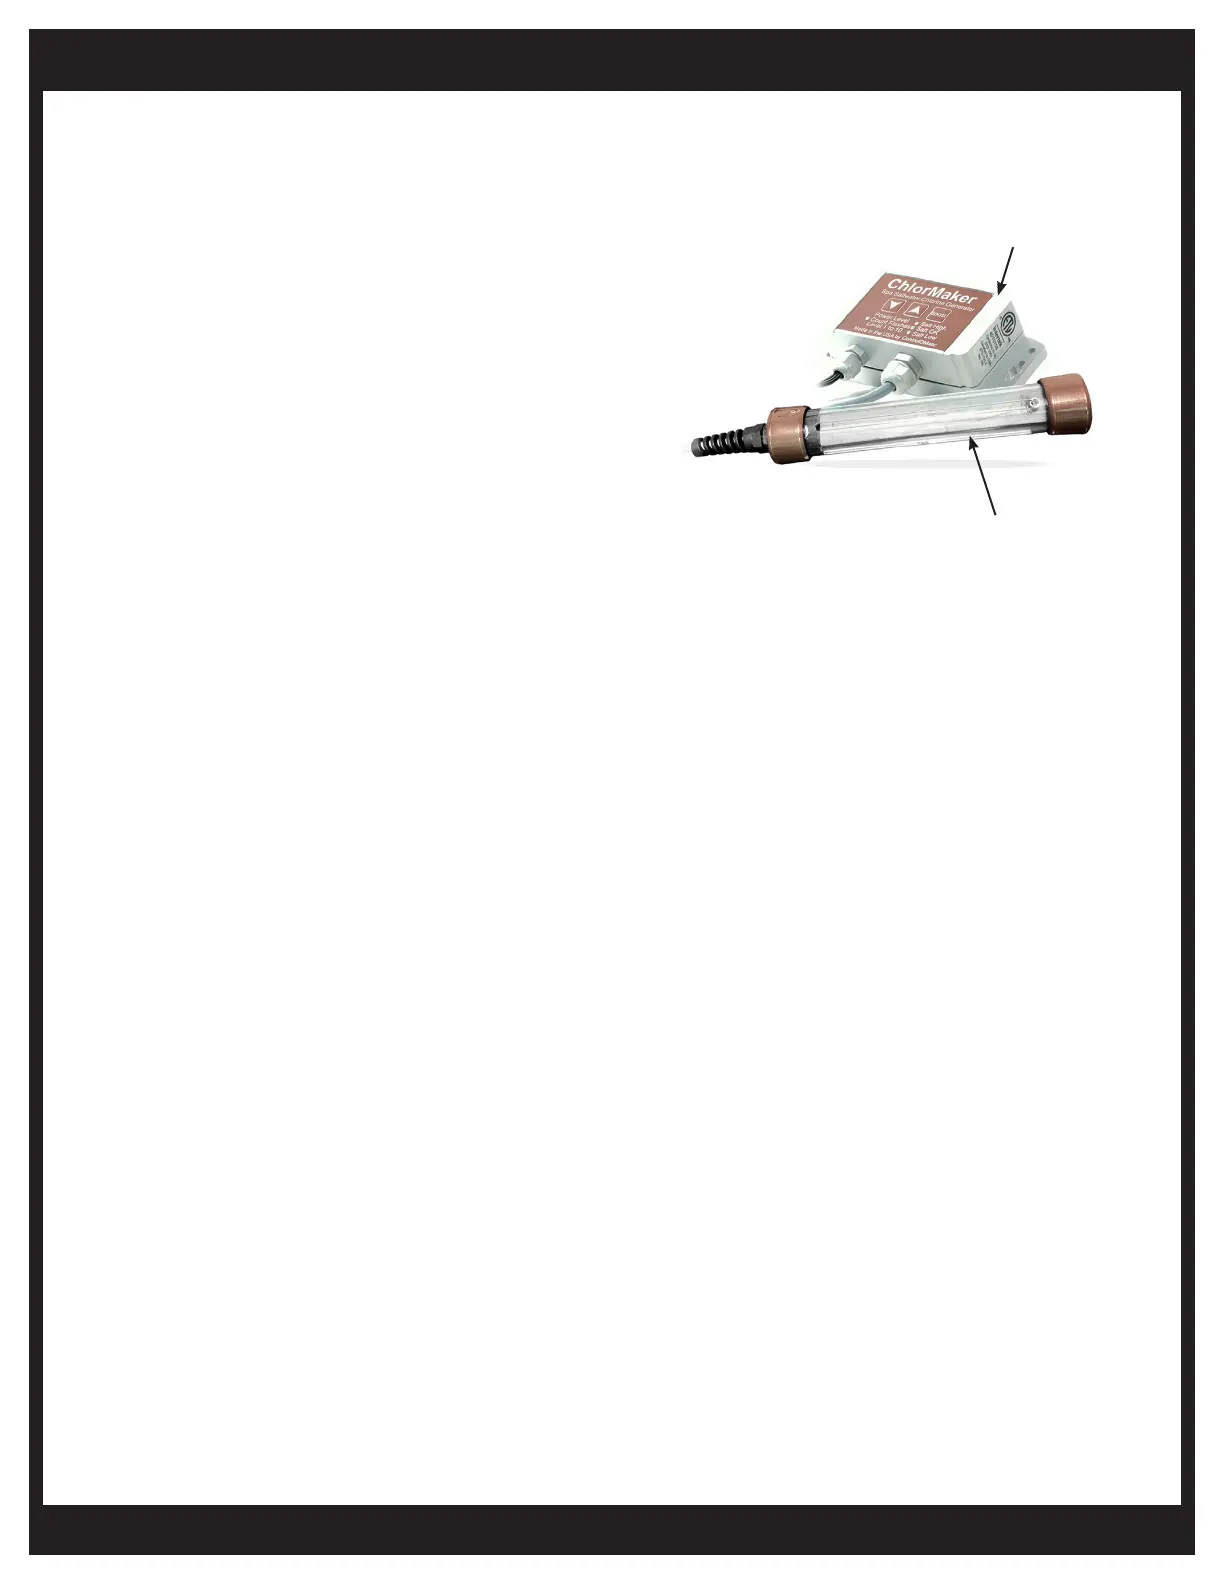
ElectrodeElectrode
Control BoxControl Box
 Loading...
