Please read this manual thoroughly before operang the unit, and keep it for further reference.
Convoy Technologies 6409 Highview Drive | Fort Wayne, IN 46808 | Ph (888) 565-2583
Owner’s / Installaon Manual
Performance Series
RVM-0734
Mounng the RearView Mirror Monitor
1) Loosen the set screw holding the installed rearview mirror in place, and carefully slide it o its base. The Convoy RVM-0734
will use the installed base on the windshield.
2) Mount the supplied windshield bracket to the back of the RVM-0734 with the supplied screws. Slide the bracket onto the base
on the windshield, ghten the locking screw. Route the cable up under the headliner to the A pillar and down.
3) The device may be powered by a 12 or 24 volt automove baery or vehicle electrical system.
4) Make sure all cables are connected properly, observe polarity. Improper cable connecons may damage the monitor. Remove
the power cable connecons when you do not intend to use the unit.
1. CH1-Brown, CH1 Trigger—Brown (12VDC)
2. CH2-White, CH2 Trigger—White (12VDC)
3. CH3-Yellow, CH3 Trigger—Yellow (12VDC)
4. CH4-Blue, CH4 Trigger—Blue (12VDC)
5. Red to Power (9-48VDC +)
6. Black to Ground
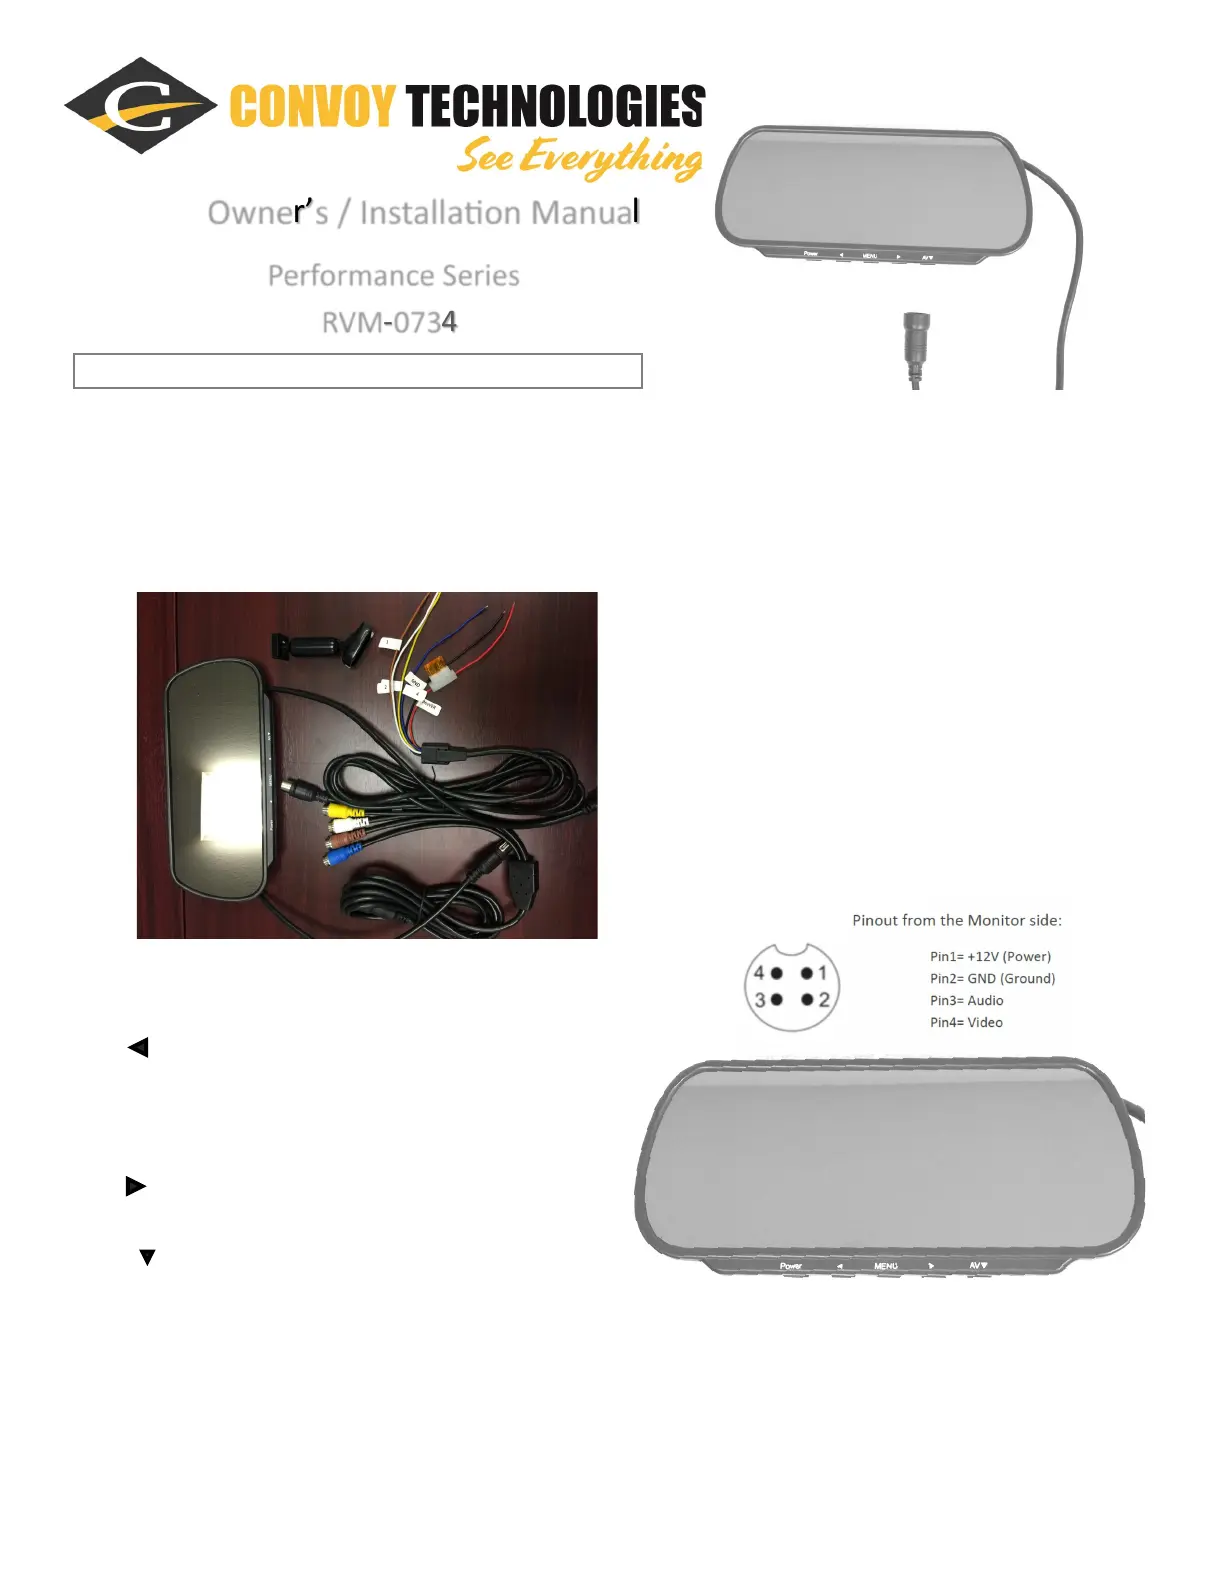
7. 13 pin din to Monitor
Funcon Keys:
1. Power = Power On/O
˂ = a. Quad (AV1-4) and triple (AV1-3) images display switch
b. Adjust up numbers of opons in menu pages
1. MENU = a. Enter Menu
b. Turn Menu Page
2. = a. Dual images display switch: (AV1-2) TO (AV3-4)
b. Adjust down numbers of opons in menu pages
3. AV = a. Single channel switch (AV1, AV2, AV3, AV4)
b. As opon choosing buon in menu page
 Loading...