4
Assembly and Operating Process
Remove the LED 1200 Panel from the box
. Take the panel from the box and remove
the carrying case and all other parts as well. There are no bulbs with such an LED panel to
insert. It is ready to put into use right out of the box.
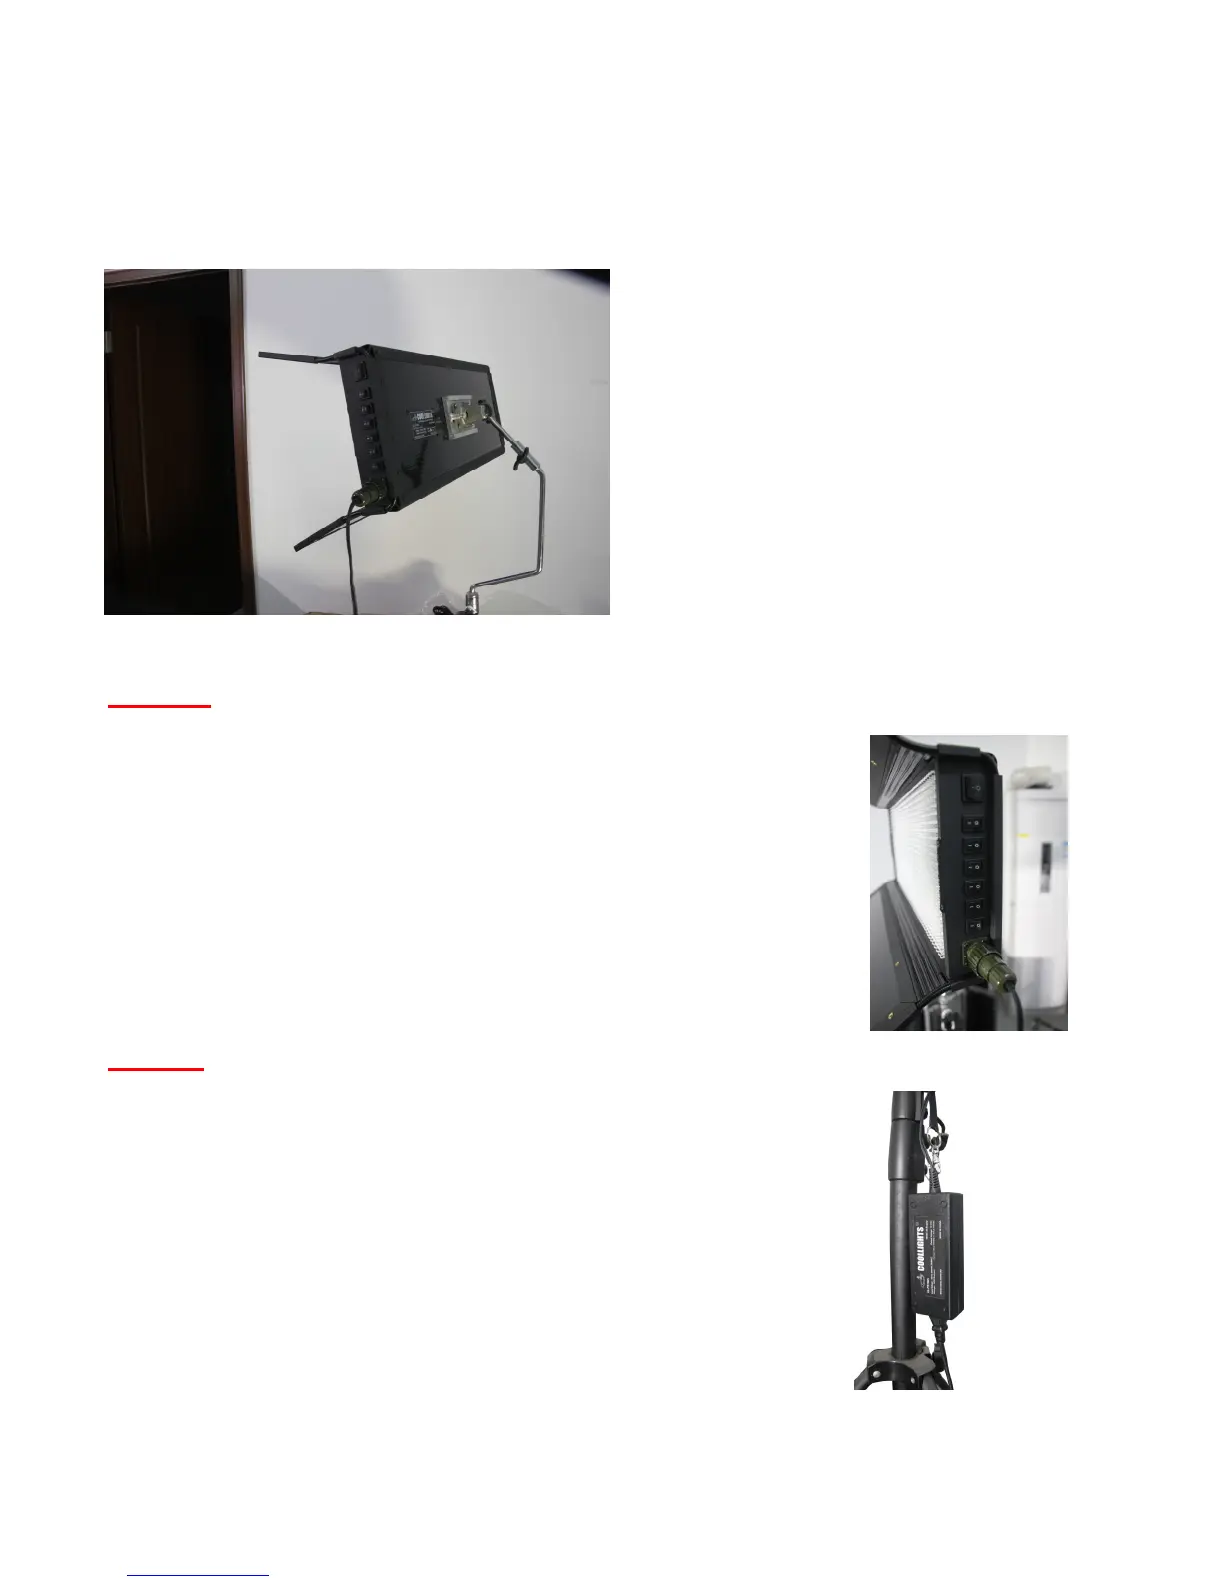
Put the LED panel on a stand
. The
back of the LED panel includes a quick
release for our multi-axis mount (MAM) which
allows angle adjusting the panel in just about
any imaginable angle. You can simply slide
the MAM in and out of this quick release for
easy transport of the fixture. In addition you
will use the included CL-MPSA stand adapter
to adapt the MAM to a baby or junior type
standard light stand. The MAM stem will
attach to the top part of the CL-MPSA and the
bottom part will attach to the stand. Both
tighten with thumbscrews to make the
connection more secure.
Warning. You should not over-tighten the thumbscrews as they could possibly be stripped
and ruined with too much forcing. Just apply enough tightening
pressure to get a good connection and not more.
Attach the AC to DC power supply to panel DC input
.
The panel has a 4 pin military grade DC power input on the side.
This is the DC power input from whatever external power supply you
may use to power the LEDs—including of course the Cool Lights AC
to DC power supply that came with the panel or the optional CL-
BT1200 battery interface. This is a quick release type bayonnet
connector and only requires lining up the keys and twisting 1/3 turn
to lock in place. Figure 3 shows the 4 pin DC connector plugged in.
Warning. You should never attach this connector while the power
supply is plugged in to line voltage, nor should you un-attach it
while power supply is plugged in. You run the risk of damaging the
power supply in this case. Also, always use a surge protector on
this and any other electronic lighting to protect your power supply
from over voltage and spike conditions on your AC line.
Mounting power supply on the light stand
. The power
supply includes a nylon strap and carabiner clip (attached to its
plastic casing) to allow versatile attachment in different
configurations to the light stand or yoke. You can simply attach the
carabiner to one of the thumbscrews of the light stand. You can
wrap the nylon strap around the base of the light stand, etc. Many
different configurations are possible with this included type of
Figure 3 – 4 pin power
input connection
Figure 2 – Multi-Axis Mount and Stand Adapter on a
stand
Figure 4 – Power supply
clipped to stand adapter
thumbscrew with
carabiner