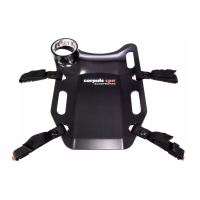
Academy_corpuls cpr Quick Guide_ Scoopboard_No Pause on Battery Exchange_SWV1.3_A043_v1
This document has been developed to provide users with an overview for safe device operation in accordance
with its function and intended use and does not replace the user manual. All persons dealing with use,
maintenance and troubleshooting must read and implement the user manual. Illustrations may not reflect
that displayed on your device. Subject to technical modifications, mistakes, and printing errors.
Ortus Academy
Ortus Academy is a trading name of Ortus Technology Limited.
Company Registration 07554900
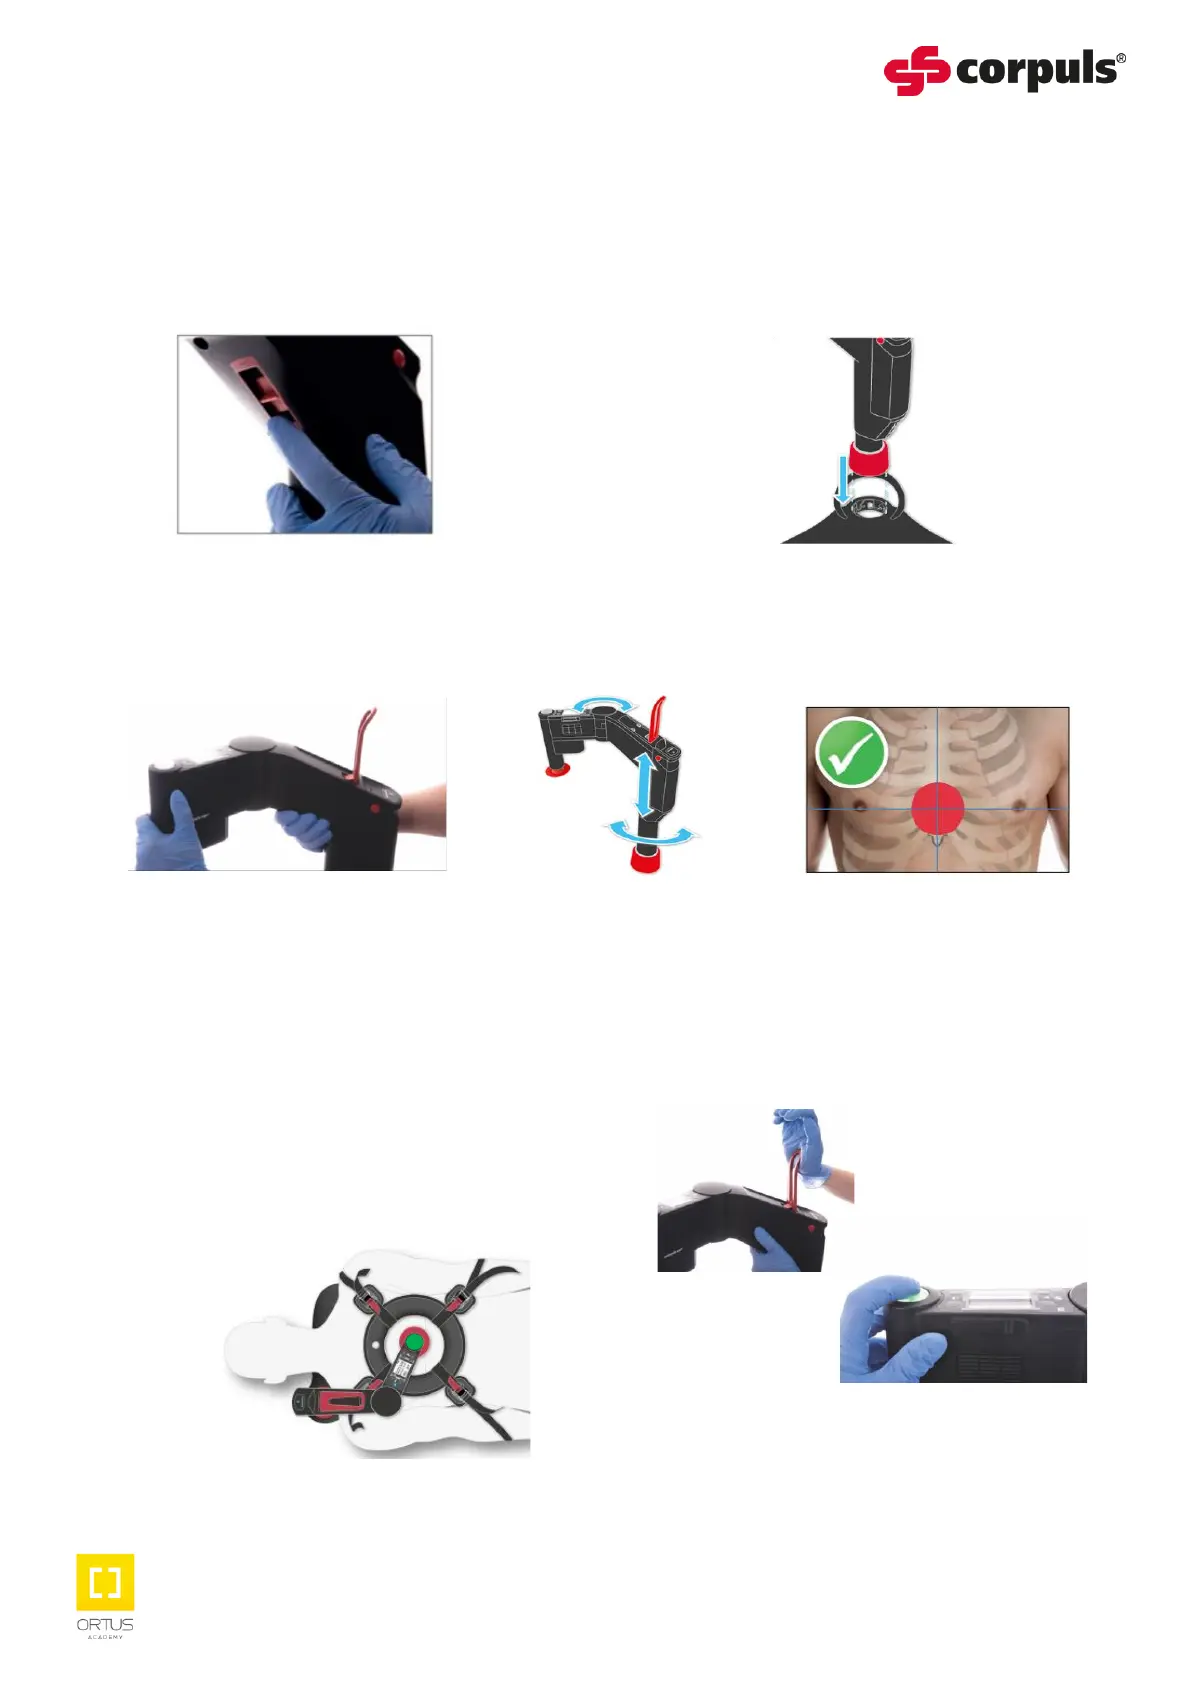
Adjusting & Starting the cpr arm
1. Remove the cpr arm from the bag
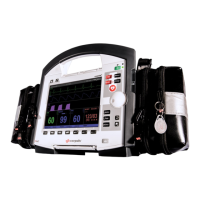
and power on, review the therapy
settings on the display screen and
adjust if necessary.
3. Release the locking lever and position so the stamp is in the middle of the lower part of the
sternum, with the stamp touching the patient’s chest.
6. Mark the stamp position on the patient’s sternum and review during rhythm checks.
2. With the arm facing away from the
patient’s chest, hold the cpr arm upright
and align the bayonet fitting with the
socket on the Scoopboard and click into
position.
4. Optimum stamp positioning is reflected
by the start / stop button LED illuminating
green.
If the amber LED illuminates and the
stamp is in visible contact with the chest,
continue with the therapy.
If the red lamp is illuminated, raise the
cpr arm until the green or amber LED
illuminates and the stamp is visibly on the
chest.
5. Close the locking lever by slapping it
with the palm of your open hand and
then press the green or amber LED
start / stop button.
 Loading...