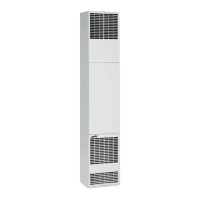
16 COZY TOP VENT GRAVITY GAS WALL HEATER
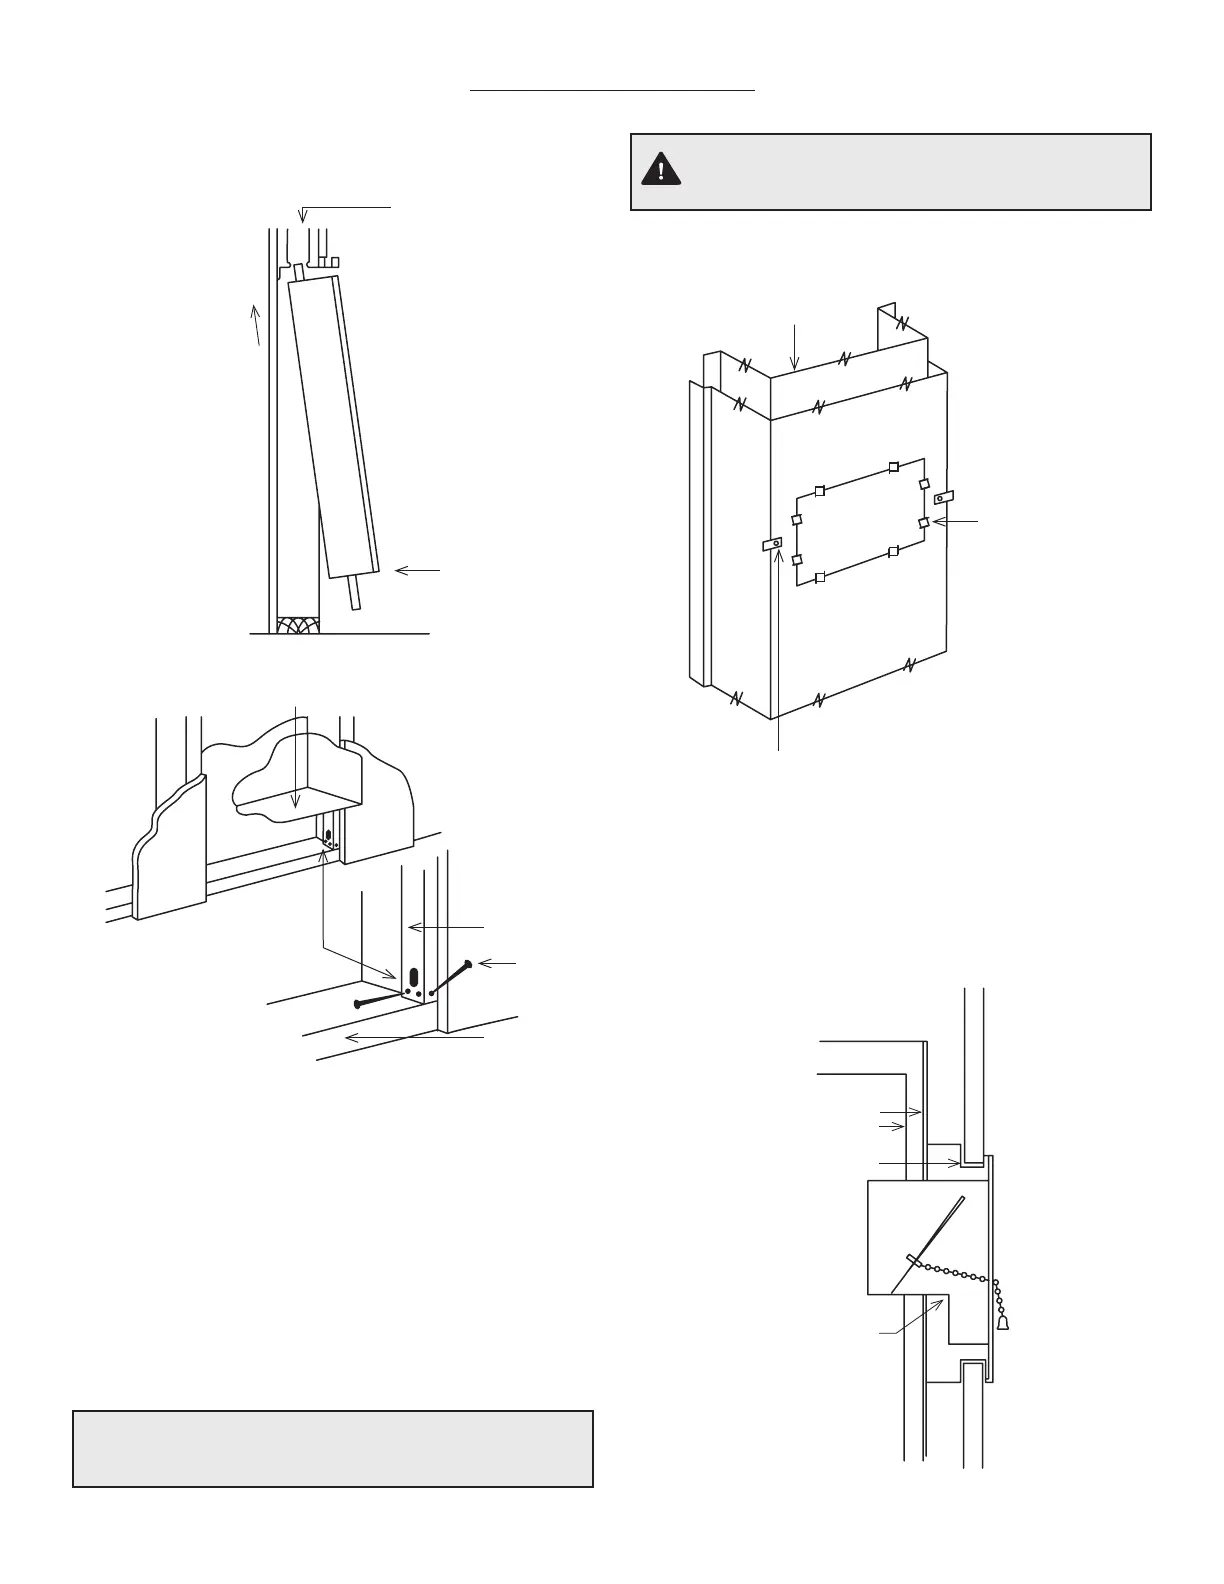
FIGURE 9 – INSERT FURNACE
FIGURE 10 – NAIL PLACEMENT
FIGURE 11 – REMOVE KNOCKOUT PLATES
REAR OUTLET KIT INSTALLATION (OPTIONAL)
If a Rear Outlet Register Accessory is used, the following procedure
must be completed before placing furnace body into wall recess.
Figure 11 Attach speed nuts to outer shield and remove knockout
plates from both the outer and inner shields as follows:
1. Punch in the lower corners with a screwdriver blade.
2. Break the knockout side and bottom connecting tabs
by holding a screwdriver blade sideways against the
tab and striking the head of the screwdriver lightly with
a hammer.
3. Swing the plate outward; bend it back and forth to
break the top tabs. Use caution when handling sharp
metal edges.
CAUTION: Do not install rear outlet kit where grille may be
blocked by a door, curtains, or any other obstruction.
25,000 - 35,000 BTU/hr. MODELS
B/W VENT
INNER SHIELD
KNOCKOUT PLATE
ON OUTER SHIELD
HOLD SCREWDRIVER
SIDEWAYS AGAINST
TABS AND STRIKE
LIGHTLY WITH
HAMMER
10 - 24 SPEED NUT
BOTTOM OF
FURNACE
NAIL FURNACE LEG TO STUD
OR FLOOR PLATE
(SEE DETAIL BELOW)
FLOOR PLATE
LEG
NAIL AT ANGLE
BOTTOM OF FURNACE
After furnace is in position, install rear outlet register as shown
in Figure 12. Have damper in open position when inserting the
assembly. Secure the rear outlet register to speed nuts with the
machine screws furnished.
FIGURE 12 – MOUNTING REAR OUTLET REGISTER
FURNACE SHIELDS
REAR REGISTER
OUTLET
PLASTER GROUND
INSTALLING YOUR FURNACE
WARNING: Never shear or cut the furnace legs.


 To Next Page