8
INSTALLING YOUR FURNACE
To avoid electrical shock, turn o all electrical circuits that pass
through the wall where you are going to install the furnace.
This furnace must be installed using only the vent tube, air inlet tube
and vent cap assembly supplied by the manufacturer.
Before the furnace is installed, an opening must be cut through the
wall for the vent cap.
FIND THE STUDS
Find the studs where the furnace is to be placed. Use a stud locator
or small nishing nails. Drive a nail on the inside of the rst stud.
Drive a second nail on the outside of this stud.
The inside edge of the next stud should be about 14-1/2 inches from
the one found. Drive a nishing nail on the inside edge of this stud,
then another nail on the outside edge.
Using a level, draw vertical lines that will represent the two stud
center lines.
CUT VENT OPENING
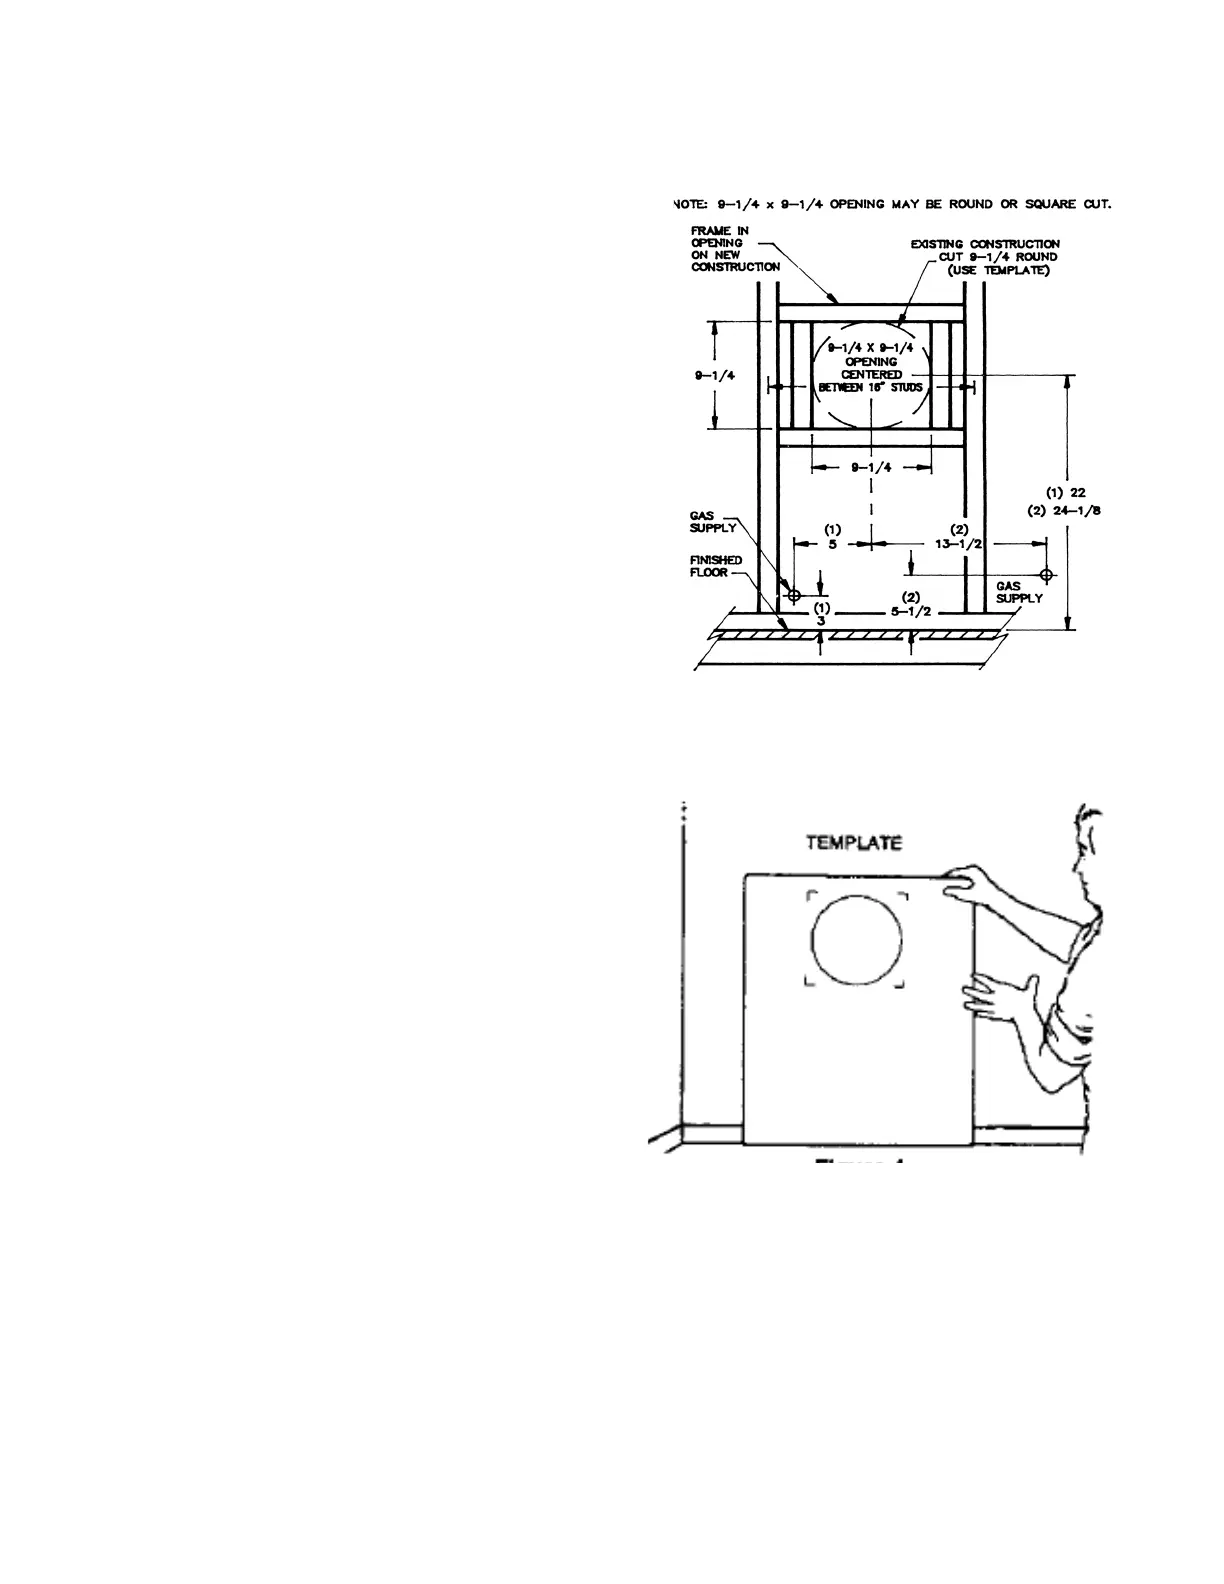
After locating the studs, use the cardboard template Figure 4. Line
up the center of the stud lines on the template with the center lines
you have drawn on the wall. Use the template to draw the 9-1/4 inch
diameter circle on the wall. Then mark the location of the gas supply
line.
Using a window, door or wall corner for reference, measure to nd
where the vent will be on the outside wall. Check to be sure of the
proper clearances Figures 1 and 2. If necessary, relocate the furnace
for proper clearances.
Drill a 1/4 inch hole in the wall at the vent opening center mark all the
way through to the outside. Cut the 9-1/4 inch diameter hole through
the inside wall. Using the 1/4 inch hole as center, cut a matching hole
in the outside wall. It may be better to work from the outside when
breaking through brick, stone or tile.
Make sure the wall openings are aligned so vent tubes and vent will
t properly.
In new construction, frame in 9-1/4 inch x 9-1/4 inch opening
centered between the studs spaced 16 inches on centre and the
center point located as noted in Figure 3.
GAS AND ELECTRICAL SUPPLY OPENINGS
Holes must be drilled for the gas line (and electrical supply if you use
an optional blower kit). Drill a 1-1/2 inch hole in the wall for the gas
line where indicated on the cardboard template. Figure 4. You will
have to determine whether the gas line will enter the home through
the outside wall or the oor plate. These instructions can only guide
you to where the gas line will enter the furnace.
FIGURE 3
FIGURE 4
The gas line can be run at this time or after the furnace is mounted.
See Gas Supply and Piping section.
No electrical power is required unless furnace is equipped with an
optional blower kit.
Do not connect a 115V service line to the gas valve or wall
thermostat.
INSTALL SPACER PLATE (Figure 5)
Install the mounting spacer plate with spacers entering and centered
within the 9-1/4 inch vent opening in the wall. Level the top of the
spacer plate (embossed top) and fasten it to the interior wall using
the six (6) #8 roundheaded (long) screws provided.
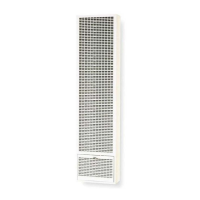
1. CDV14 SERIES
2. CDV22 / CDV30 SERIES