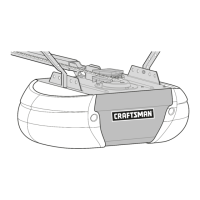
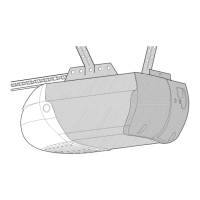
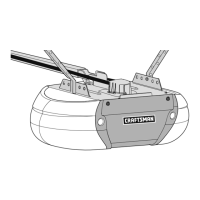
Do you have a question about the Craftsman 139.18686 and is the answer not in the manual?
Assemble the rail and install the trolley, following specific connection and alignment steps.
Securely attach the assembled rail to the opener unit using the provided U bracket and screws.
Install the idler pulley into the rail window and secure it with a bolt, washer, and nut.
Connect the chain/cable to the trolley and powerhead, and attach the protective sprocket cover.
Adjust the chain tension by tightening the nuts on the trolley shaft until proper slack is achieved.
Identify and mark the correct position for the header bracket on the wall or ceiling above the garage door.
Determine header bracket location for one-piece garage doors without a track system.
Mount the header bracket securely to the structural supports on the header wall or ceiling.
Connect the assembled rail to the installed header bracket using a clevis pin and ring fastener.
Place the opener unit at the correct height and position relative to the garage door rail.
Securely fasten the opener unit to structural supports in the garage using hanging brackets.
Mount the door control console on the wall and connect its wiring to the opener.
Install the light bulb into the socket and attach the protective lens cover to the opener housing.
Thread and secure the emergency release rope and handle to the opener's release arm.
Ensure proper electrical connection and grounding for the garage door opener unit.
Mount and wire the safety reversing sensor brackets, connecting them to the opener terminals.
Align sensor eyes to ensure the invisible beam path is unobstructed for proper operation.
Fasten the door bracket for one-piece garage doors, following specific mounting guidelines.
Set travel limits to ensure the opener stops the door at correct upper and lower positions.
Adjust force settings for proper door opening and closing without excessive effort.
Verify safety reversing sensor and system function by testing with obstructions.
Follow a schedule for monthly and yearly maintenance of the garage door opener.
Learn to use control console buttons, light, and lock features for opener operation.
Program new remote controls or erase all codes for security and access.
Program a remote button to operate the opener's light independently of door movement.
Troubleshoot why the opener fails to respond to controls or has specific operational issues.
Address issues with remote range, operational noise, or uncommanded door movement.
Resolve problems with incomplete door travel, closing failures, light function, or power interruptions.
View lists of replacement parts for rail, installation, and opener assemblies.
Instructions on how to program the Keyless Entry system before installation.
Understand the 90-day, limited, and motor warranties, including liability limitations.
| Brand | Craftsman |
|---|---|
| Model | 139.18686 |
| Category | Garage Door Opener |
| Language | English |


 Loading...