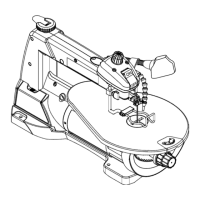
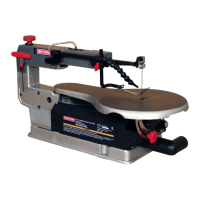
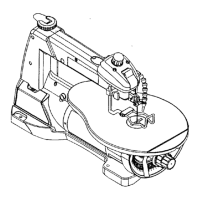
UNPACKING
Thisproducthasbeenshippedcompletelyassembled.
[] Carefullyliftthesawfromthecartonandplaceitona
levelworksurface.
[] hspectthetoolcarefullytomakesurenobreakageor
damageoccurredduringshipping.
[] Donotdiscardthepackingmatedaluntilyouhave
carefullyinspectedandsatisfactorilyoperatedthetool.
[] Thesawisfactorysetforaccuratecutting.After
assemblingit,checkforaccuracy.Hfshippinghas
influencedthesettings,refertospecificprocedures
explainedinthismanual.
[] Hfanypartsaredamagedormissing,pleasecall
1-800-932-3188forassistance.
A
WARNING: Hfany parts are missing, do not operate
this tool until the missing parts are replaced. Failure
to do so could result in possible serious personal
injury.
WARNING: Do not attempt to modify this tool
or create accessories not recommended for use
with this toot. Any such alteration or modification is
misuse and could result in a hazardous condition
leading to possible serious personal injury.
WARNING: Do not connect to a power supply unti!
assembly is complete. Failure to comply could result
in accidental starting and possible serious personal
injury.
MOUNTING SCROLL SAW TO WORKBENCH
WARNING: To avoid serious personal injury from
unexpected tool movement, always securely mount
scroll saw to a workbench.
If the scroll saw is to be used in a permanent application,
we recommend that you secure it in a permanent loca-
tion such as a workbench. When mounting the saw to a
workbench, holes should be drilled through the supporting
surface of the workbench.
[] Each hole in the base of the saw should be bolted
securely using machine bolts, washers, and nuts (not
included). Bolts should be of sufficient length to ac=
commodate the saw base, washers, nuts, and the
thickness of the workbench.
[] Place scroll saw on workbench. Using the saw base as
a pattern, locate and mark the holes where the scroll
saw is to be mounted.
[] Dril! three holes through the workbench.
[] Place scroll saw on workbench aligning holes in the
saw base with the holes ddIled in the workbench.
[] Insert al! three bolts (not included) and tighten securely
with washers and nuts (not included).
NOTE: Al! bolts should be inserted from the top. Install
the washers and nuts from the underside of the bench.
The supporting surface where the scrol! saw is mounted
should be examined carefully after mounting to insure
that no movement during use can result. If any tipping or
walking is noted, secure workbench or supporting surface
before beginning cutting operations.
To Reduce Noise and Vibration:
You may wish to place a foam pad or piece of carpet
between the saw base and the workbench to help reduce
noise and vibration.
If a foam pad or piece of carpet is used, do not overtight=
en the mounting bolts. Leave some cushion between the
padding and the saw base to help absorb the noise and
vibration.
The size of the padding material should be approximately
24 in. x 12 in. x 1,/2 in.
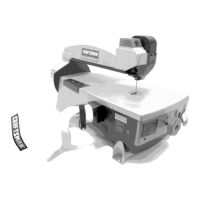
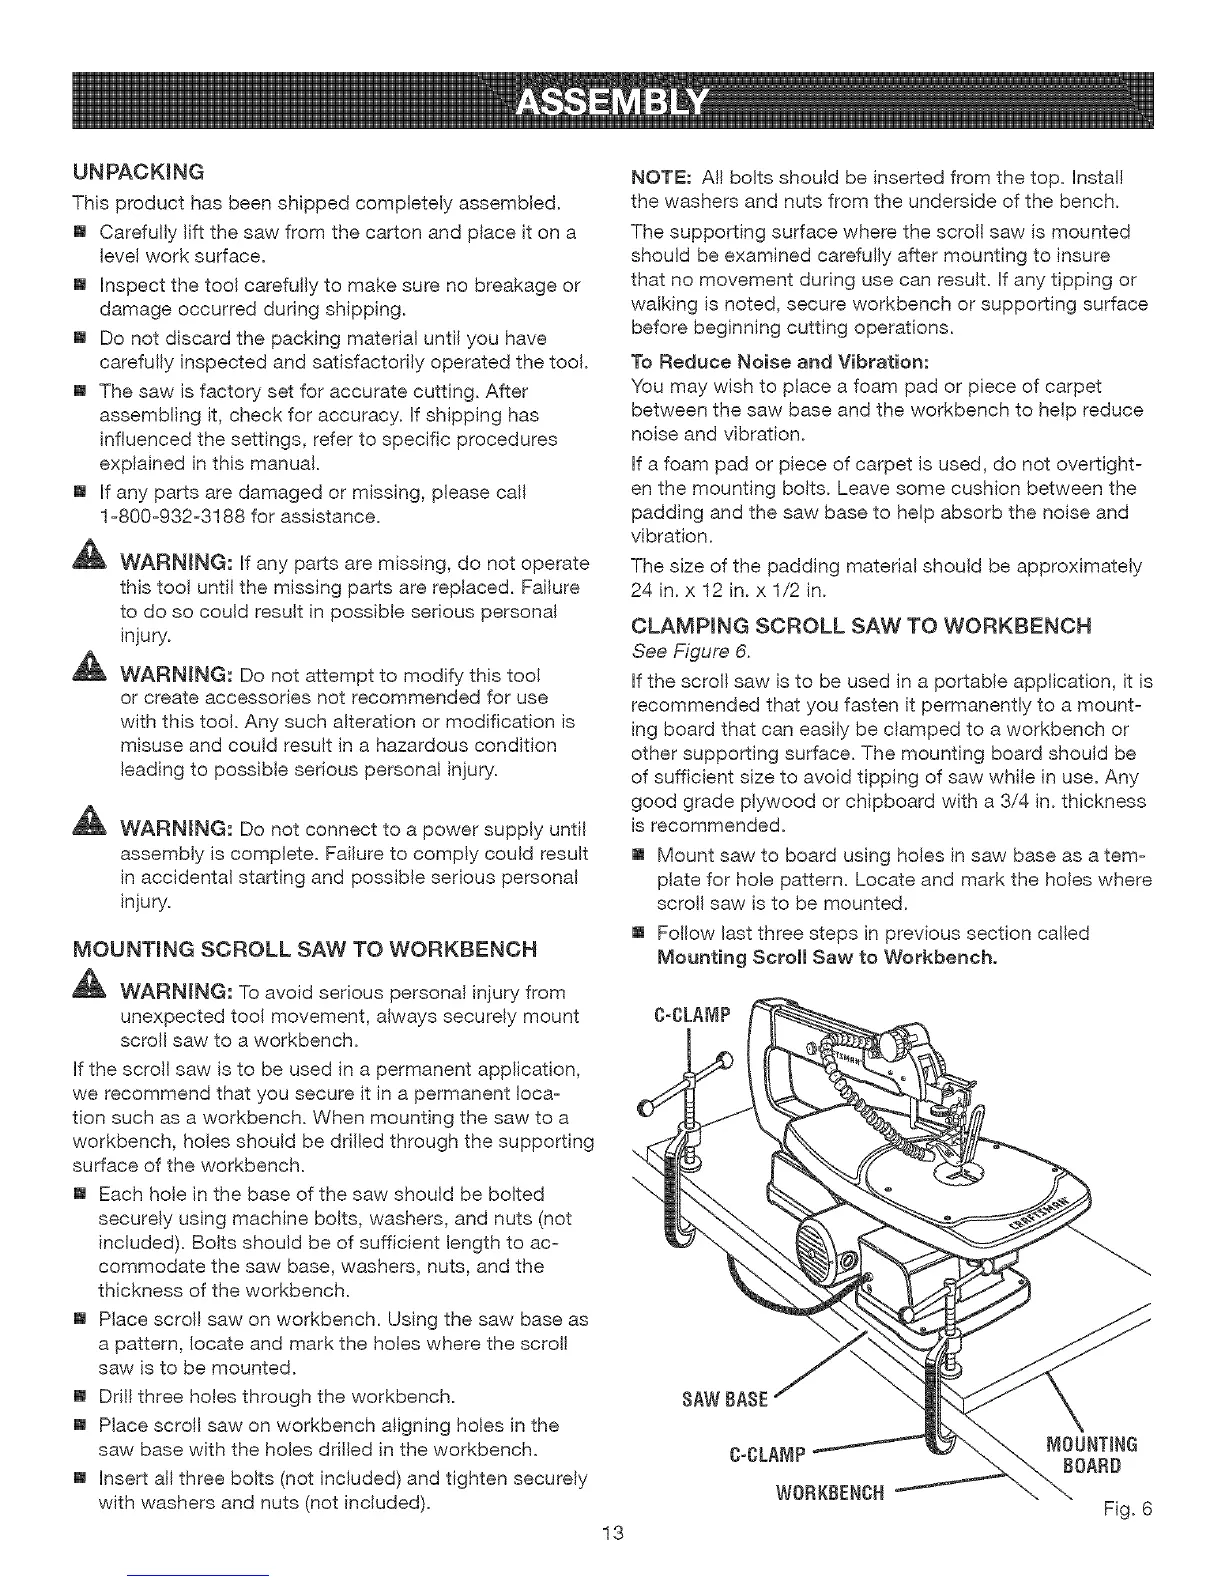
CLAMPING SCROLL SAW TO WORKBENCH
See Figure 6.
If the scroll saw is to be used in a portable application, it is
recommended that you fasten it permanently to a mount-
ing board that can easily be clamped to a workbench or
other supporting surface. The mounting board should be
of sufficient size to avoid tipping of saw while in use. Any
good grade plywood or chipboard with a 3/4 in. thickness
is recommended.
[] Mount saw to board using holes in saw base as a tern=
plate for hole pattern. Locate and mark the holes where
scrol! saw is to be mounted.
[] Fol!ow last three steps in previous section called
Mounting Scroll Saw to Workbench.
\
13
8AWBABE
C-CLAMP MOUNTING
BOARD
WORKBENCH
Fig. 6
 Loading...