Do you have a question about the Craftsman 358.797203 and is the answer not in the manual?
Read manual carefully and restrict unit to users who understand safety rules.
Wear eye/foot protection, secure loose items, and avoid operating when tired or impaired.
Eliminate ignition sources, mix and store fuel safely outdoors.
Inspect unit, clear area, avoid static shock, maintain stable footing.
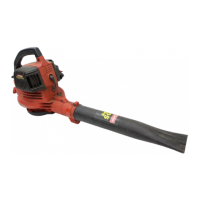
Check all included items against the parts list provided in the manual.
Follow the steps for assembling the blower; no tools are required.
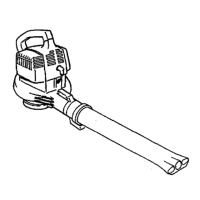
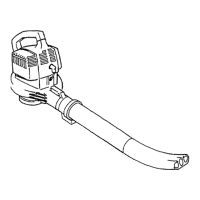
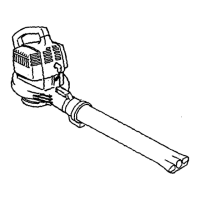
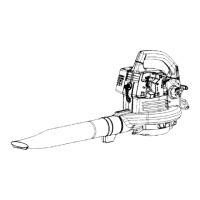
Familiarize yourself with the locations of controls and adjustments before use.
Understand how to use the primer bulb to fill the carburetor with fuel for starting.
Learn the function of the choke lever for cold and warm engine starting.
Advice on operating hours, noise reduction, and debris clearing.
Proper mixing of gasoline and 2-cycle oil for fueling the engine.
Warning about alcohol fuels attracting moisture and causing separation.
Correct stance and safety precautions for operating the blower.
Method to shut down the engine using the choke lever.
Step-by-step guide for starting a cold engine.
Procedure for starting an engine that has recently run.
Tips for starting a flooded or hard-to-start engine.
Owner's duty to maintain the unit according to the manual.
Inspect fasteners, spark plug boot, and air filter for tightness.
Check choke lever and fuel tank for any signs of damage or leaks.
Instructions for cleaning and oiling the air filter for optimal performance.
Procedure and specifications for replacing the spark plug annually.
Critical procedure to adjust the carburetor for optimal engine performance.
Setting the mixture screw to the correct starting position before adjustment.
Adjusting the mixture screw for smooth engine acceleration.
Verifying smooth engine acceleration after making adjustments.
Steps for storing the unit after use or for the off-season.
Cleaning and oiling external metal surfaces before storing.
Using fuel stabilizer and preparing the fuel system for storage.
Preparing the engine's internal components for long-term storage.
EPA and Sears outline emissions warranty rights and responsibilities for owners.
Sears warrants emissions control parts against defects in material or workmanship.
Owner must perform required maintenance and present unit for service.
Warranty period is two years from the initial date of purchase.
Repair or replacement of warranted parts at no charge to the owner.
Failures due to abuse, neglect, or improper maintenance are excluded.
Obtaining warranty service and repairs at authorized Sears service centers.
List of covered emission control components.