• Whenusingthevacuumattachment,
theunitisdesignedtopickupdryma-
terialsuchasleaves,grass,small
twigs,andbitsofpaper.Donotvacu-
umstones,gravel,metal,broken
glass,etc.,toavoidseveredamageto
theimpeller.Toavoidthepossibilityof
electricalshock,donotattempttovac-
uumwaterorotherliquids.
• Neverruntheunitwithouttheproper
equipmentattached.Whenusedasa
vacuum,alwaysinstallvacuumtubes
andcollectionbagassembly.Make
surethecollectionbagassemblyis
completelyzippedwhenunitisrunning
toavoidflyingdebris.Useonlyrecom-
mendedattachments.
• Avoidsituationswhichcouldsetthe
collectionbagonfire.Donotvacuum
discardedmatches,cigars,cigarettes,
orashfromfireplaces,barbecuepits,
brushpiles,etc.Toavoidspreading
fire,donotuseblowernearleafor
brushfires,fireplaces,barbecuepits,
ashtrays,etc.
•Alwaysusethecollectionbagshoul-
derstrapwhenvacuumingtoavoid
lossofcontrol.
•Checkairintakeopenings,elbowtube,
andvacuumtubesfrequently,always
withtheunitstoppedandthepower
sourcedisconnected.Keepventsand
tubesfreeofdebriswhichcanaccu-
mulateandrestrictproperairflow.Do
notusewithanyopeningblocked,
Keepfreeofdust,lint,hairandany-
thingthatmayreduceairflow.
STANDARDS
This product is listed by Underwriters
Laboratories, Inc., in accordance with
UL Standard 1017.
If situations occur which are not covered
in this manual, use care and good judg-
ment. If you need assistance, contact
your Sears Service Center or call
1-800-235-5878. Failure to follow all
Safety Rules and Precautions can result
in serious injury.
SAVE THESE INSTRUCTIONS
CARTON CONTENTS
Model 358.799430
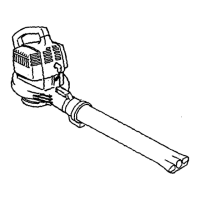
• Blower
• Blower Tube/Nozzle
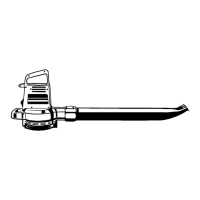
• 2 Vacuum Tubes
• Collection Bag
Examine parts for damage. Do not use
damaged parts.
NOTE: If you need assistance or find
parts missing or damaged, call
1-800-235-5878.
_WARNING: Stop the unit and
disconnect from the power source be-
fore opening the inlet cover or attempt-
ing to insert or remove the inlet restrictor,
blower tube/nozzle, or vacuum tubes.
The motor must be stopped and the im-
peller blades no longer turning to avoid
serious injury from the rotating blades.
,t_
dt_WARNING: If received as-
sembled, ensure your unit is properly
assembled and all fasteners are secure.
BLOWER ASSEMBLY
NOTE: Assembly instructions for using
your unit as a vacuum follow this sec-
tion.
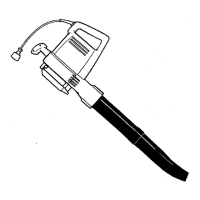
ATTACHING THE BLOWER TUBE/
NOZZLE
If you have already assembled your
unit for use as a vacuum, remove the
vacuum tubes and the collection bag.
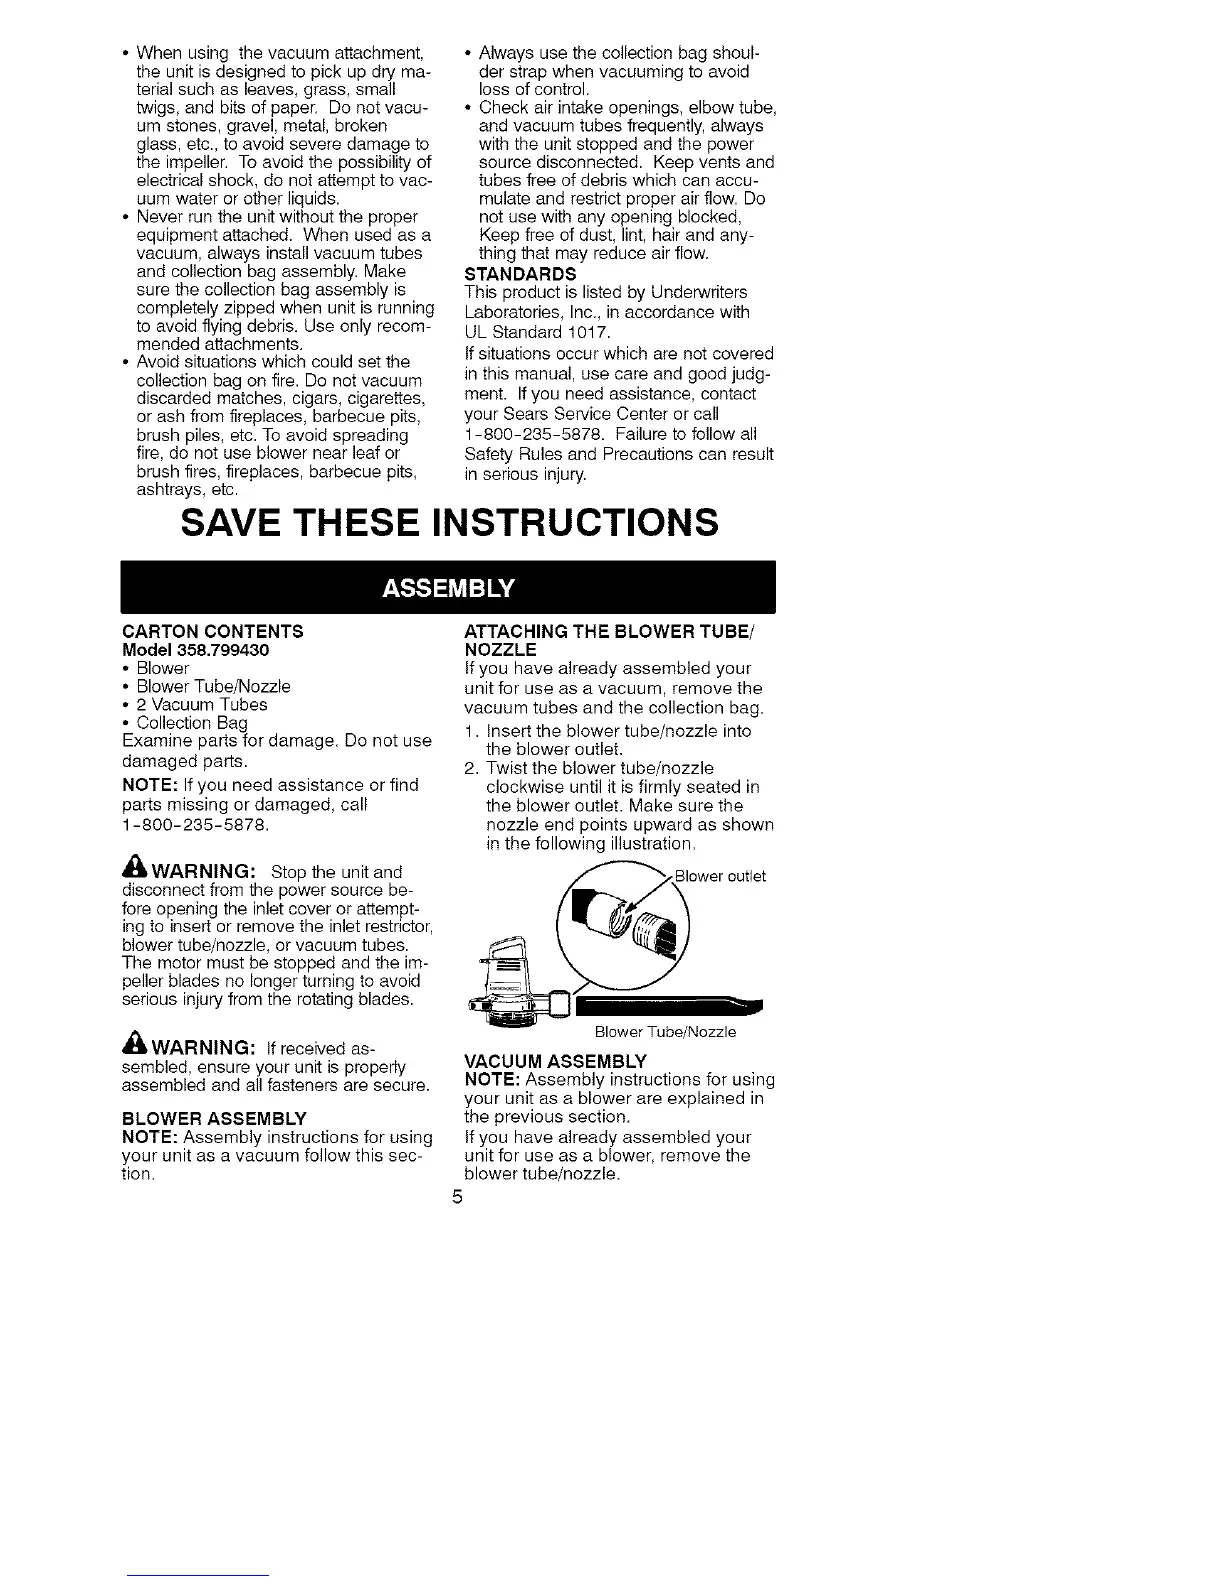
1. Insert the blower tube/nozzle into
the blower outlet.
2. Twist the blower tube/nozzle
clockwise until it is firmly seated in
the blower outlet. Make sure the
nozzle end points upward as shown
in the following illustration.
Blower Tube/Nozzle
VACUUM ASSEMBLY
NOTE: Assembly instructions for using
your unit as a blower are explained in
the previous section.
If you have already assembled your
unit for use as a blower, remove the
blower tube/nozzle.
5