RVlC ADJUSTMENTS
FRONT WHEEL TOE-IN ADJUSTMENT
Front wheel toe-in isrequired for proper steering operation.
Toe-in was set at the factory and adjustment should not be
necessary. If parts in the front axle or steering mechanism
have.been replaced or damaged, check toe-in and adjust
ifnecessary.
TO CHECK TOE-IN (See Fig. 31) -
- Position front wheels straight ahead.
• Measure distance between wheels at front and rear of
tires (dimensions "A" and "B").
- Front dimension "A" should be 1/8" to 1/4" less than
rear dimension "B".
TO ADJUST TOE-IN (See Figs. 31 and 32) -
- Loosen jam nuts at adjustment sleeves on tie rod.
- Adjust tie rod until dimension "A" is 1/8" to 1/4" less than
dimension "B".
° Tighten jam nuts securely,
----A "
FiG. 31
/"_ ADJUSTMENT
_!_':_...I_ SLEEVES
i
.,_ /_;y /,/i
TIE ROD _-.:_"
FiG, 32
FRONT WHEEL CAMBER
The front wheel camber isnot adjustable on your tractor. If
damage has occurred to affect the front wheel camber,
contact your nearest authorized service center/depart-
ment.
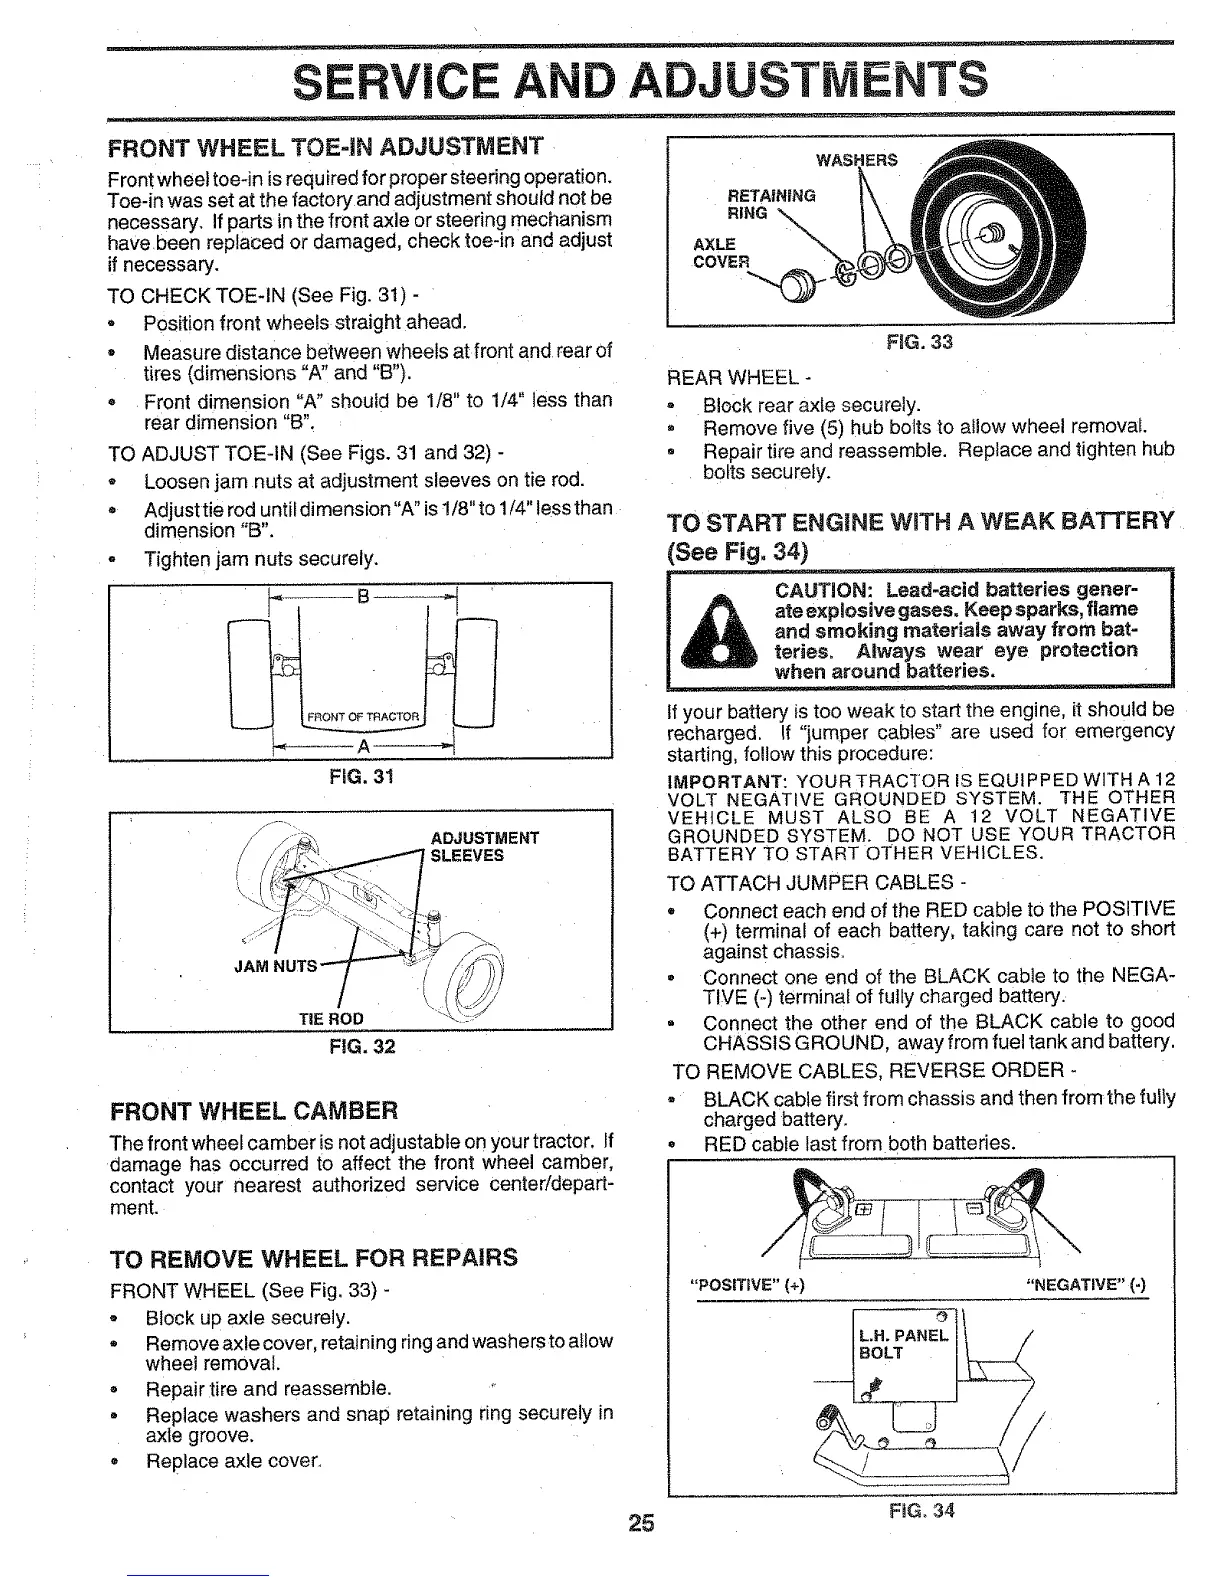
TO REMOVE WHEEL FOR REPAIRS
FRONT WHEEL (See Fig. 33) -
- Block up axle securely,
• Remove axle cover, retaining ring and washers to atlow
wheel removal.
- Repair tire and reassemble.
• Replace washers and snap retaining ring securely in
axle groove.
• Replace axle cover.
WAS_
AXLE
COVER
FIG, 33
REAR WHEEL -
- Block rear axle securely.
. Remove five (5) hub bolts to atlow wheel removal.
• Repair tire and reassemble. Replace and tighten hub
bolts securely.
TO START ENGINE WITH A WEAK BATTERY
See Fig, 34)
sppa[ks;f r.e I
iais awayfrombat- I
prote tior,I
when around batteries.
tf your battery is too weak to start the engine it should be
recharged, If "jumper cables" are used for emergency
starting, follow this procedure:
IMPORTANT: YOUR TRACTOR IS EQUIPPED WITH A 12
VOLT NEGATIVE GROUNDED SYSTEM. THE OTHER
VEHICLE MUST ALSO BE A 12 VOLT NEGATIVE
GROUNDED SYSTEiVL DO NOT USE YOUR TRACTOR
BATTERY TO START OTHER VEHICLES.
TO ATTACH JUMPER CABLES
• Connect each end of the RED cable to the POSITIVE
(+) terminal of each battery, taking care not to short
agains t chassis.
• Connect one end of the BLACK cable to the NEGA-
TIVE (-) terminal of fully charged battery.
• Connect the other end of the BLACK cable to good
CHASSIS GROUND, away from fuel tank and battery,
TO REMOVE CABLES, REVERSE ORDER -
• BLACK cable first from chassis and then fromthe fully
charged battery_
RED cable last from both batteries.
"POSITIVE" (+) "NEGATIVE" (-)
LH. PANEL
25 FiG. 34
 Loading...