Do you have a question about the Craftsman CMXGZBF7124322 and is the answer not in the manual?
Imminent hazard resulting in death or serious injury if not avoided.
Potential hazard resulting in death or serious injury if not avoided.
Potential hazard resulting in minor/moderate injury if not avoided.
Practice not related to personal injury, may result in property damage.
Read all safety warnings, instructions, illustrations, and specifications provided with this tool.
Covers towing, chemical handling, children operation, and slope safety.
Never modify the product or any part of it; damage or injury could result.
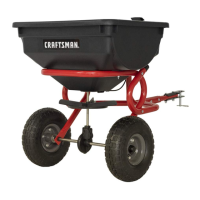
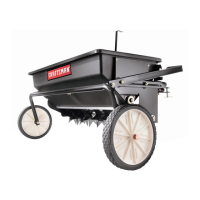
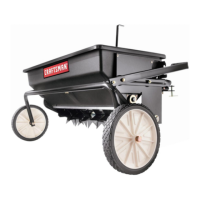
Insert axle of impeller assembly into frame tube and add hex flange bearings.
Attach hopper to frame tube using bolts, washers, and nuts. Insert hair cotter pin.
Slide spacer over axle, attach drive wheel, and secure with hub cap.
Slide spacer over axle, attach wheel, and secure with hub cap.
Assemble hitch tubes to control tube using bolts, nuts, and plastic caps.
Attach hitch tubes to frame tube using bolts and nuts.
Assemble control cable to hitch control tube using carriage bolt and wing nut.
Assemble hitch brackets to control tube, attach hitch pin with cotter pin.
Loosen wing nut, slide adjustable stop, and retighten wing nut for desired setting.
Check material, move lever to OFF, fill on flat surface, slide stop to setting.
Covers coverage width, avoiding misses, spreading patterns, and protecting plants.
Perform visual check for loose bolts and nuts and retighten them.
Apply a few drops of oil to all moving parts.
Empty spreader after use, wash and dry, store in a dry area.
Registering your product helps obtain more efficient warranty service in case of problems.
Registration serves as proof of purchase for insurance loss like fire, flood, or theft.
Registration allows contact for safety notifications required by the Federal Consumer Safety Act.