Do you have a question about the Craftsman WEEDWACKER 358.745290 and is the answer not in the manual?
Operator responsibility for following manual and unit warnings; familiarize with controls.
Dress properly, wear safety glasses/boots, secure hair and loose clothing.
Avoid dangerous environments, use correct voltage, polarized plugs, and outdoor extension cords.
Inspect unit before use, replace damaged parts, do not repair yourself.
Inspect area, avoid overreaching, keep head below waist, keep away from line.
Disconnect power before maintenance, maintain unit as recommended, clean unit with damp cloth.
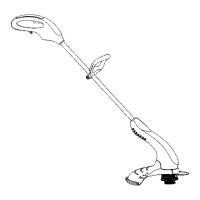
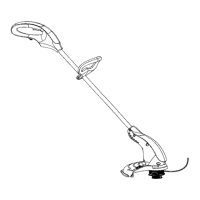
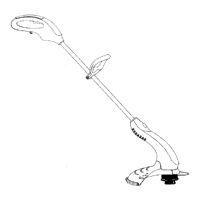
Check carton contents against the list and examine parts for damage.
Properly install shield for protection from thrown objects.
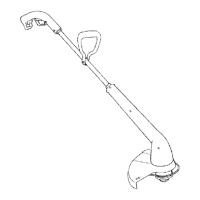
Press button to extend handle to a comfortable position.
Loosen wing nut, rotate handle to upright position, retighten wing nut.
Familiarize yourself with the location of controls and adjustments.
Use only specified voltage supply.
Chart for selecting appropriate gauge extension cord based on length.
Loop cord through handle and around hook to ensure secure connection.
Hold head 3 inches above ground, angle unit, use line tip for cutting.
Press button and twist lower portion 180° into an edging position.
Allow line tip contact, use edge guard, exercise caution with thrown objects.
Remove unwanted vegetation by holding head 3 inches above ground, angled.
Maintain unit as instructed in manual for full warranty value.
Tasks like checking fasteners, parts, and cleaning the unit.
Inspect trigger switch, debris shield, and contact service for worn parts.
Check for loose fasteners, damaged parts, and inspect unit/labels.
Inspect for loose/damaged parts and clean the unit.
Step-by-step guide to remove, wind, and insert trimmer line spool.