f
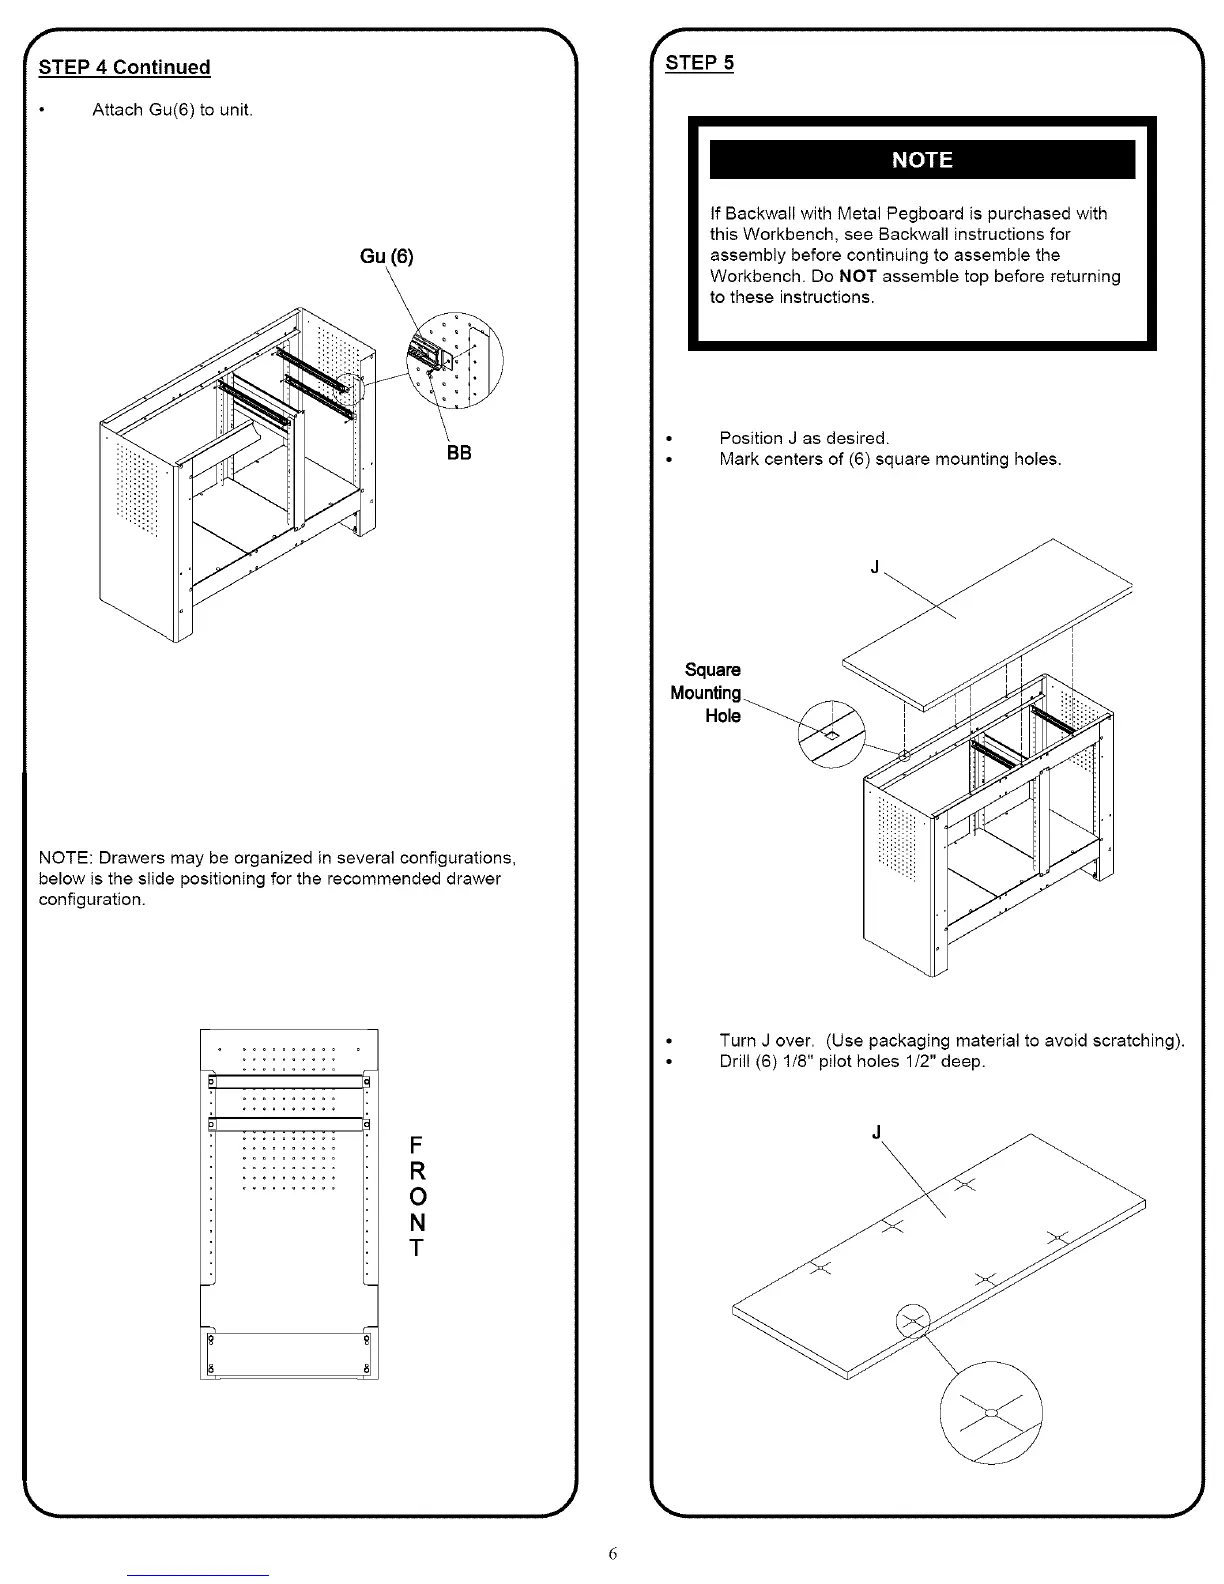
STEP 4 Continued
Attach Gu(6) to unit.
I#[O]llll_l
Gu (6)
BB
NOTE: Drawers may be organized in several configurations,
below is the slide positioning for the recommended drawer
configuration.
:::::::::: F
:::::::::: a
.......... O
N
T
-N
f
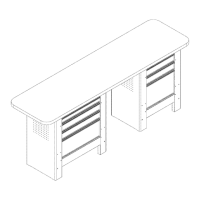
STEP 5
If Backwall with Metal Pegboard is purchased with
this Workbench, see Backwall instructions for
assembly before continuing to assemble the
Workbench. Do NOT assemble top before returning
to these instructions.
Position J as desired.
Mark centers of (6) square mounting holes.
Square
Mounting
Hole_
Turn J over. (Use packaging material to avoid scratching).
Drill (6) 1/8" pilot holes 1/2" deep.
.)