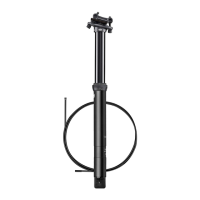
Do you have a question about the Crankbrothers Highline Seatpost and is the answer not in the manual?
| Brand | Crankbrothers |
|---|---|
| Model | Highline Seatpost |
| Category | Bicycle Accessories |
| Language | English |
Crucial safety notices for seatpost maintenance and overhaul.
List of all necessary tools for performing the seatpost maintenance.
Details the components included in the Highline refresh kit.
Instructions for loosening and removing the saddle clamp bolts.
Steps to disconnect the remote lever from the handlebars.
Guide to sliding the seatpost out of the frame and managing the cable.
Instructions for unthreading the actuator housing and base cap.
Steps to expose and remove the internal cartridge and bottom O-ring.
Procedure for removing Igus bushings and the seal ring assembly.
Guidance on cleaning internal components with a rag, avoiding solvents.
Installing new seal rings and Igus bushings with proper lubrication.
Applying grease to the quill's key channels and lower surfaces.
Inserting the quill assembly into the outer body, aligning channels.
Threading the base cap and reassembling the actuator mechanism.
Securing the actuator lockring and inserting the seatpost into the frame.
Positioning and tightening the saddle cradle and bolts.
Mounting the remote lever onto the handlebar and tightening.
Tightening the seal ring firmly by hand while the post is compressed.
Testing the seatpost for proper function and referring to guidelines for issues.
 Loading...