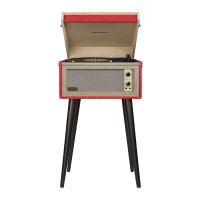
English
8
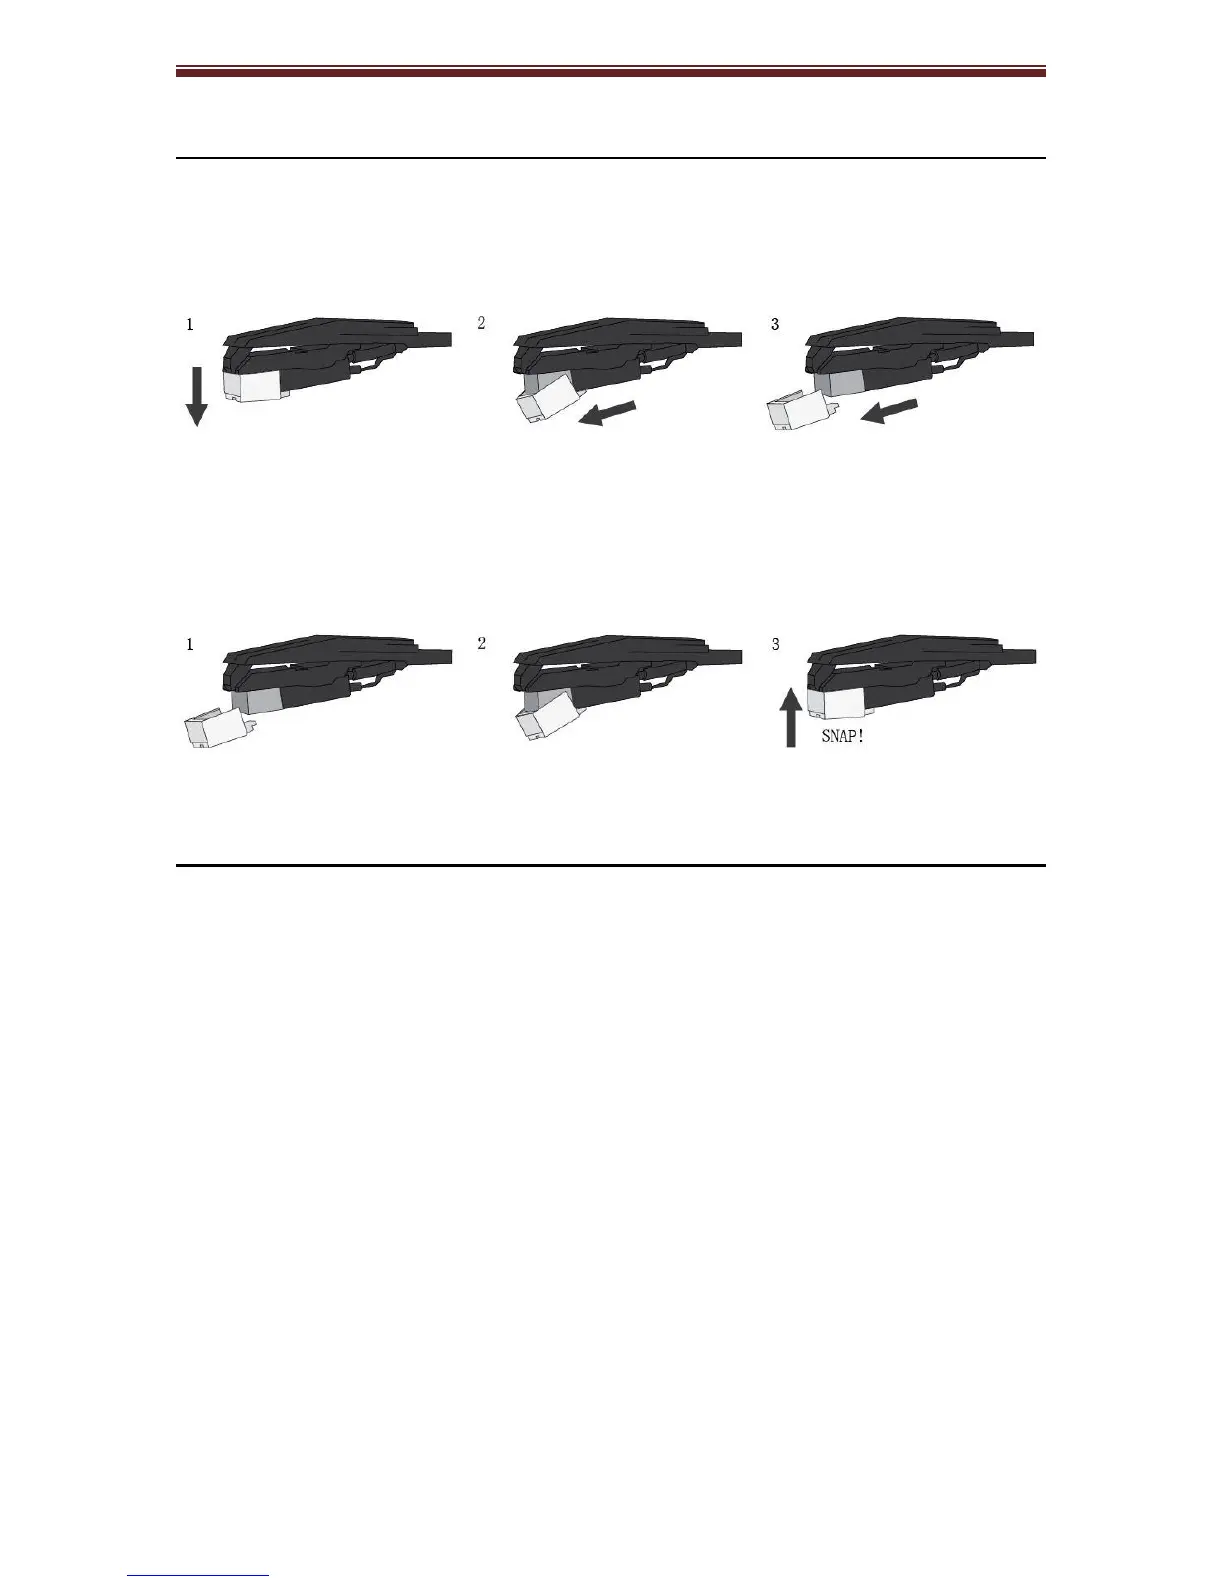
Needle Replacement
Removing Needle
1. Gently pull down the front edge of the needle.
2. Pull needle forward.
3. Pull out and remove.
Installing Needle
1. Position the needle with its tip facing down.
2. Line up the back of the needle with the cartridge.
3. Insert the needle with its front end at a downward angle and gently lift the
front of the needle upward until it snaps into place.
Cartridge Replacement
1. Before replacement, put the stylus protector back on the stylus to prevent
damage to the stylus during the replacement process.
2. Carefully remove the wire leads from the original cartridge.
3. Loosen the two screws on the tonearm that are securing the cartridge and
then remove the original cartridge.
4. Mount the new cartridge to the tonearm and tighten it lightly. Do not
completely tighten the screws at this moment.
5. Connect the wire leads to the new cartridge’s terminals .The wire lead color
codes are as below:
White Left channel positive (L+)
Black Left channel negative (L–)
Red Right channel positive (R+)
Black Right channel negative (R-)
6. Adjust the cartridge’s position to make sure it is precisely aligned on the
tonearm so that the stylus will be tracking parallel to the grooves. Tighten the
screws completely once the perfect alignment is achieved.
Note: For best result, use a cartridge alignment protractor to aid the alignment process.
7. Tighten the screws completely once the perfect alignment is achieved.
 Loading...