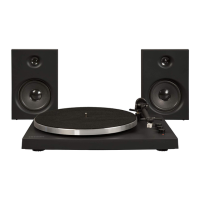
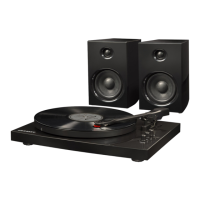
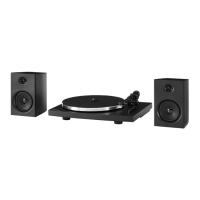
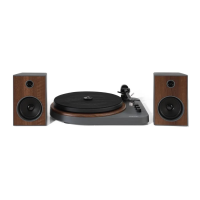
1 With your new unit, you have the option of
adding external speakers.
2 The speaker jacks for external speakers are
located on the back of the radio.
Along with the speaker jacks is a switch labeled
Int./Ext.
When using external speakers, this switch must
be switched to the EXT. position. Doing this
turns off the internal speakers in the radio and
redirects the power to the external speakers.
3 If you decide not to use the external speakers,
be sure switch to INT.
12
Headphones Jack Operation
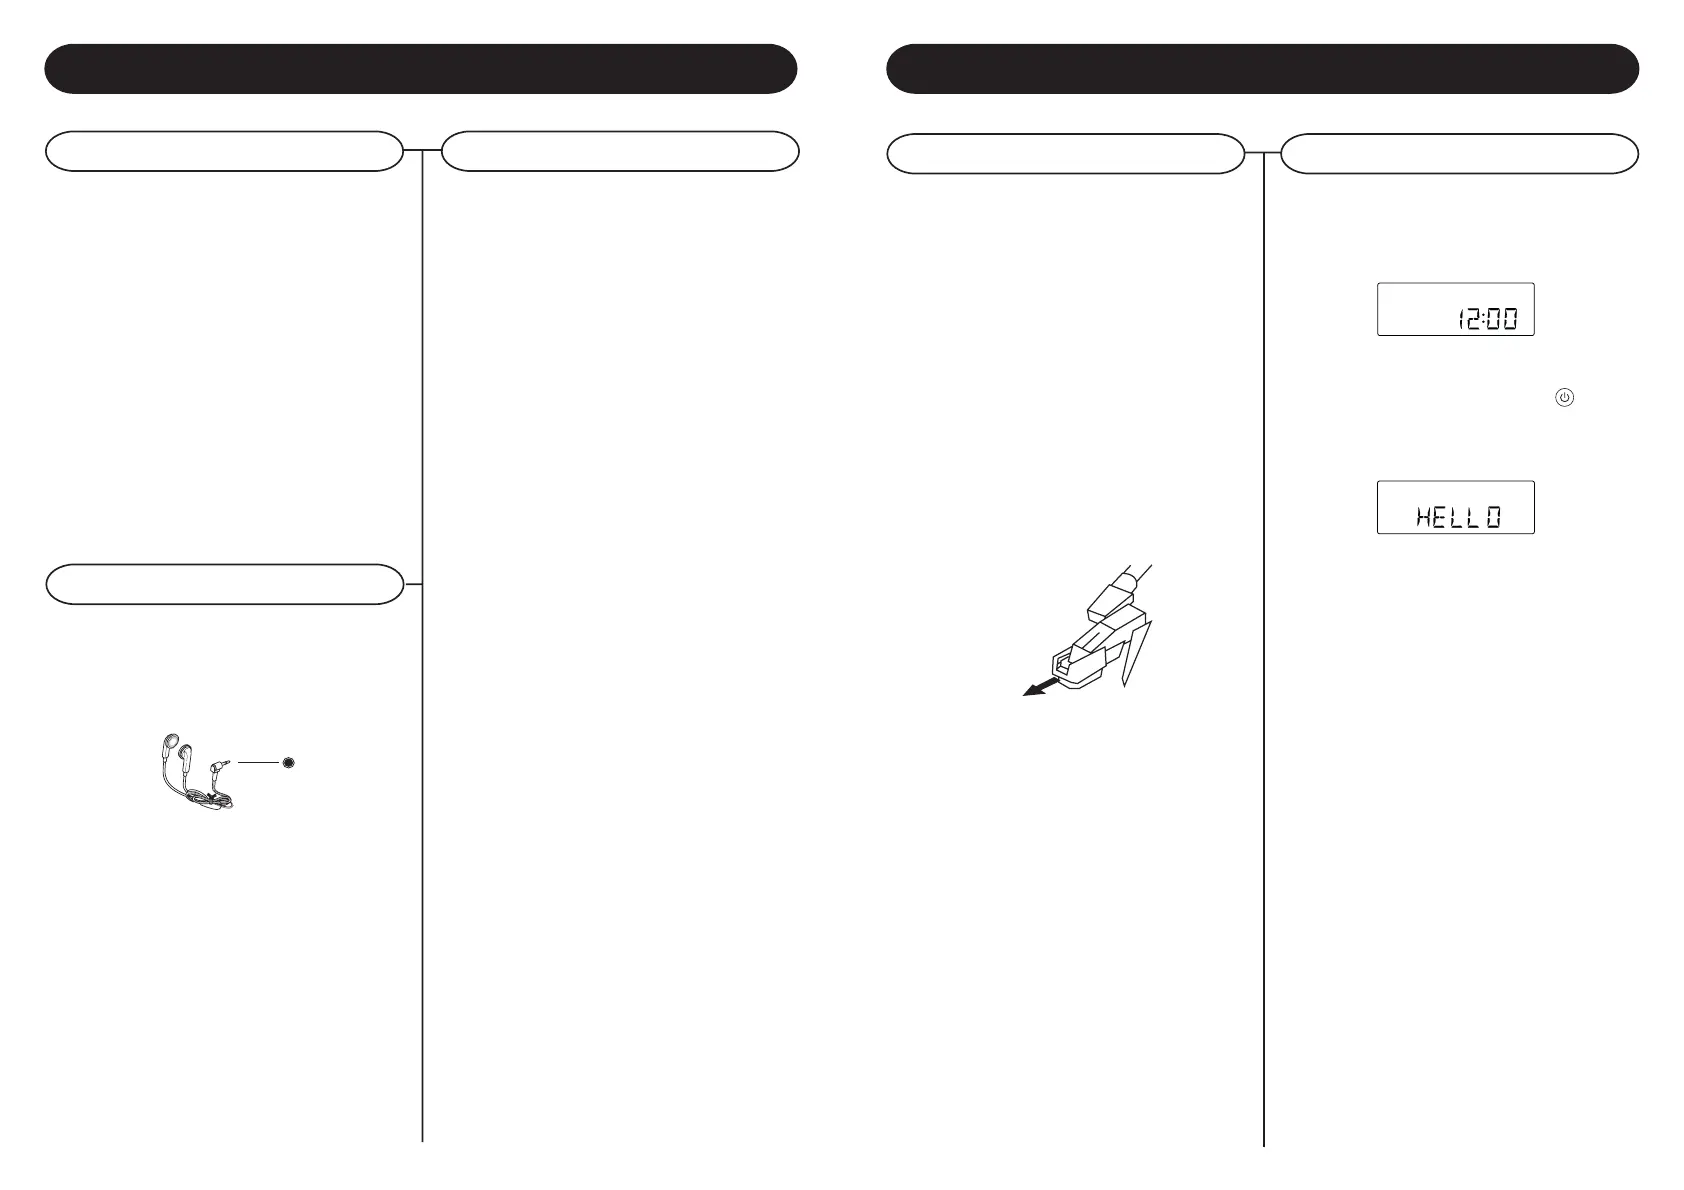
1 Connect headphones to the Headphone Jack
2 Adjust volume to the desired listening level.
NOTE: When using headphones, the sound to the unit
speakers will be cut off.
LINE IN Input
Audio / Connections
1
1 You can connect external components to your
unit by using the Line in Input.
2 Plug Auiliary cable into the LINE IN JACK on
the front panel of the turntable.
3 Plug the other end of the Line in cable into the
output jack on your desires external component.
4 Check the volume level of your external
component.
5 See operator manual for correct operation of
the external component.
External Speaker Outputs
Getting Started
Unpacking Power Source
1 Remove packing materials from unit.
Note: Save all packing materials
2 AC Adaptor and Remote Control are located on
the outside of the Styrofoam packaging.
3 Remove plastic bag covering radio and remote
control.
4 Untie antenna wire on back of radio.
5 Open lid and remove Styrofoam shipping
material from turntable.
6 Remove black tie-wrap from under the TONE
ARM
7 Remove white protective needle cover by gently
pulling towards the front of the unit.
SET UP
1
Plug the small end of the AC adaptor into the
DC jack on the back of unit and plug the adaptor
into an appropriate outlet.
2 Untie the FM antenna and allow it to hang
down in a straight line for optimum FM
reception. If you have trouble tuning in an
FM station, move the external FM antenna for
best reception. Do not connect FM antenna to
outside antenna.
Connect the AC Adaptor to the wall socket. This
system switches to Standby mode automatically
and LCD would shown as below
To switch the unit on, press POWER / LCD
backlight will be turned on.
STANDBY LED is turned off and displayed as below.
The sound from all speakers is cut off.
Headphone Jack
NOTE: Headphones not included with unit.
 Loading...