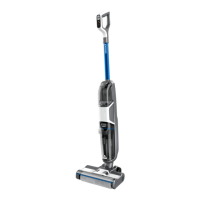
Do you have a question about the Crosswave HF3 and is the answer not in the manual?
| Cordless | Yes |
|---|---|
| Run Time | 30 minutes |
| Charging Time | 4 hours |
| Surface Recommendation | Area Rug |
| Power Source | Battery |
| Special Features | Multi-Surface Cleaning |
Ensure the machine is powered off before proceeding with tank maintenance.
Detach the clean water tank from the front of the machine by pressing the release button.
Fill the tank with warm water to the indicated line, then add BISSELL formula.
Secure the tank flap, ensuring it clicks when fully closed to prevent leaks.
Reinsert the tank by placing its bottom first, then pressing the top until it clicks.
Recline the machine and turn it on; it defaults to LOW spray mode.
Press the mode button to select HIGH spray mode and verify the LED indicator is lit.
Turn the machine off and remove the brush roll cover by pinching the tabs.
Use a damp cloth to clean the spray tip on the left side of the foot, removing build-up.
Use a paper clip or toothpick to clean any debris from inside the spray tip.
Place the brush roll cover back onto the machine and ensure it is properly secured.
 Loading...