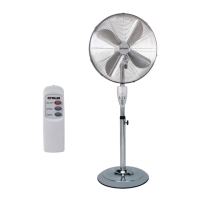
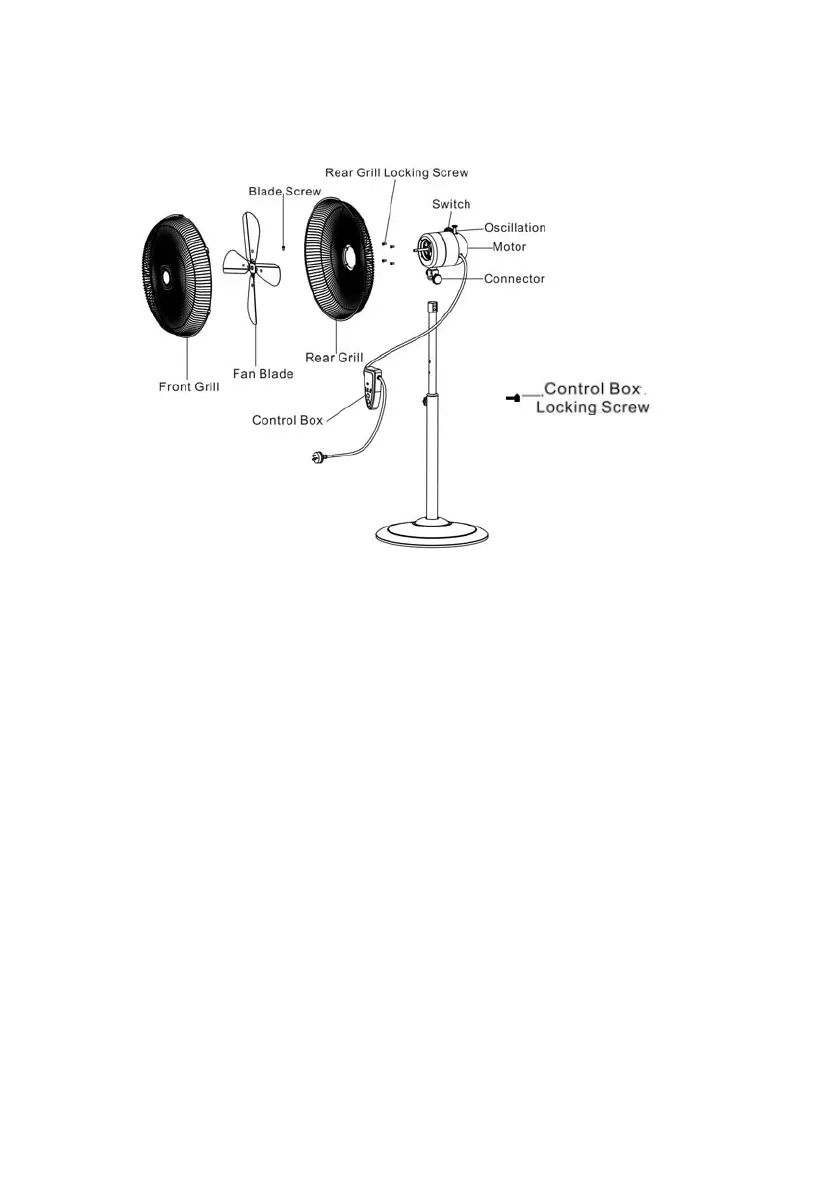
Base Locking Screw
F
1. ger
2. your desired height and lock in place by tightening the
3
tor to the Telescopic inner by tightening back to Thread
Bolt with the Locking Knob.
1.
the Motor Housing .Make sure the Rear Grill fits securely
2 .
3 he Fan Blade onto the Motor Shaft by tightening the blade screw to the Motor
4.
ll
an Head Assembly
There are two knobs at the connector; the smaller one is the Tilt Knob and the big
one is the Locking Knob. Unscrew the Locking Knob to loosen the Thread Bolt.
Pull Telescopic inner up to
Height Adjustment Screw
. Place the Fan Head onto the Telescopic inner. Align the holes on the connect and the
Telescopic inner Install the mo
Final Assembly
Position the Rear Grill over the Motor Shaft, making certain the 2 notches at the Rear
Grill fit over the 2 prongs on
against the Motor Housing.
. Secure the Rear Grill to the Motor Housing with the four Rear Grill Locking Screws
Loosen the grill locking screw at the bottom of the Rear Grill and save it.
. Install t
Shaft.
Centre the Front Grill by aligning the logo on the grill Hub so it is horizontal and parallel
to the floor. Then secure the Front and Rear Grills completely together by snapping gri
clips into place. Lastly, tighten the grill locking screw at the bottom of the Rear Grill.