Rev. -, p. 3 of 19
1. VEHICLE PREP.
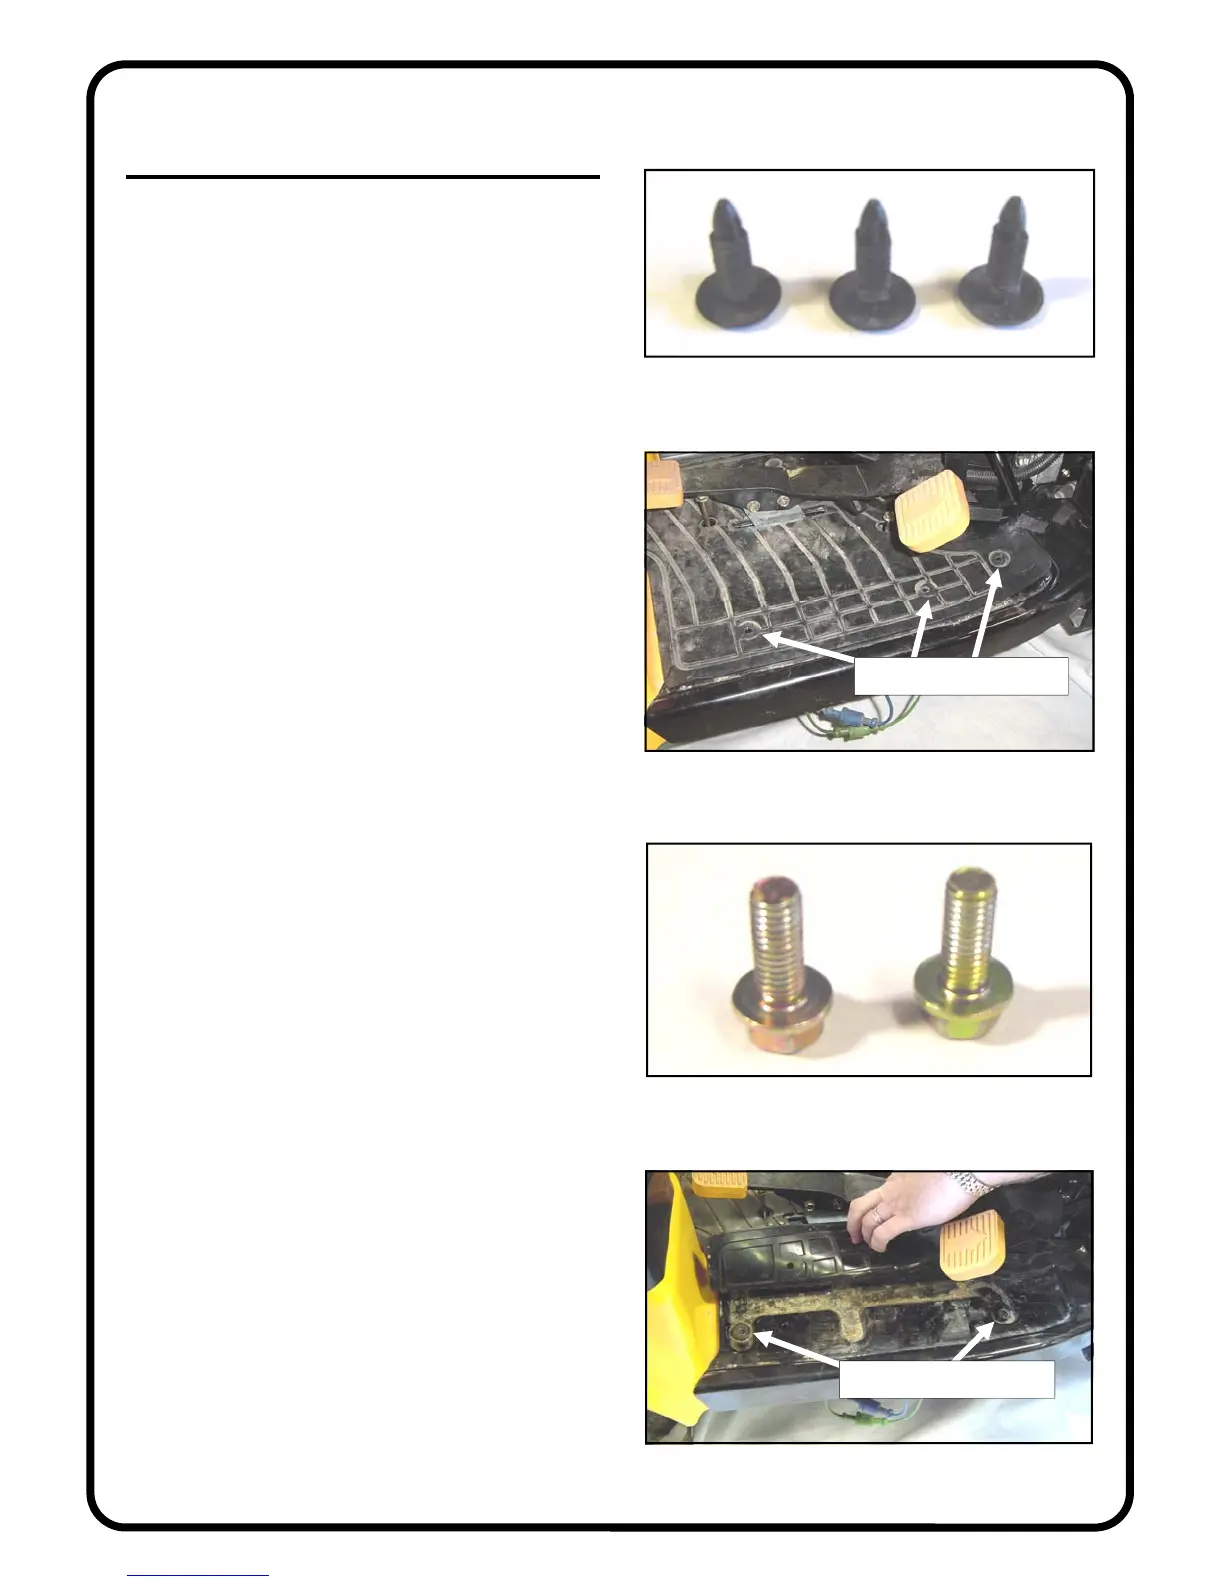
1.1 Per figures 1.1 and 1.1.1, use a flat screwdriver
and pliers to remove three (3) plastic pine tree clips from
the rubber mat on top of the floorboard on each side of
the tractor. Repeat for opposite side. Discard all six. Six
new clips will be installed in step 18.3.
1.2 Per figures 1.2 and 1.2.1, remove two (2) M8 bolts
from underneath the rubber mat per side of the tractor.
Repeat for opposite side. Discard these short bolts. New,
longer M8 button head bolts are supplied in the hardware
bag.
Fig. 1.1 (plastic pine tree clips)
Fig. 1.2 (two M8 bolts)
Fig. 1.1.1 (view from right side)
remove 3 clips from here
Fig. 1.2.1 (view from right side)
remove 2 bolts from here
 Loading...