Rev. -, p. 4 of 19
1. VEHICLE PREP. (cont’d.)
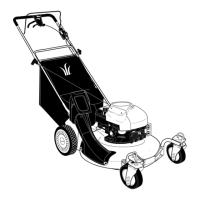
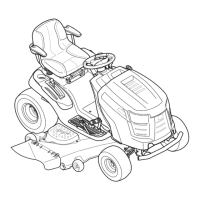
1.3 Per figures 1.3 and 1.3.1, remove two (2) M12
bolts from the bottom front area of the ROPS structure as
shown. Repeat for opposite side of tractor. Discard all
four bolts. New, longer hardware is supplied.
1.4 Per fig. 1.4, remove two (2) bolts from behind the
SMV sign (slow moving vehicle sign). Save these two
bolts for re-installation in step 18.6.
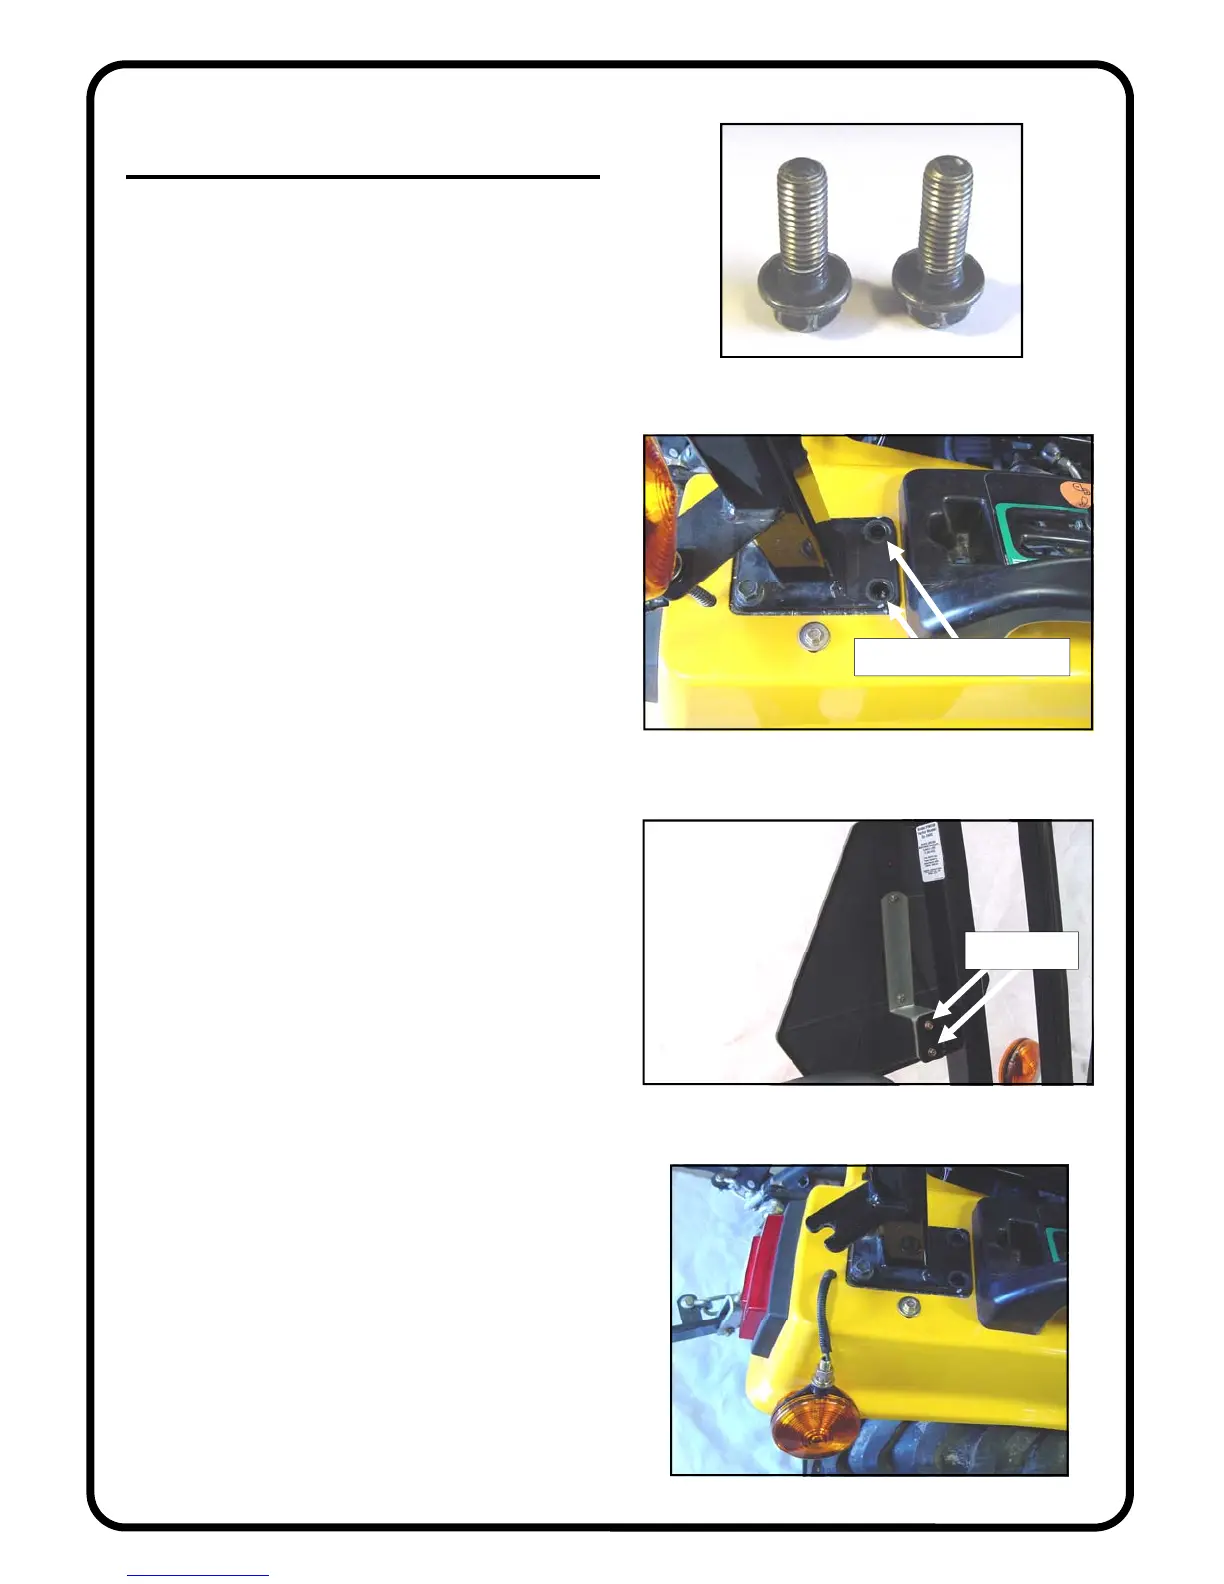
1.5 Per fig. 1.5, loosen the large hex nut on the rear
flasher lights, slide the assembly out the open ended slot
in the bracket, and temporarily rest the flasher assembly
against the side of the fender as shown. Repeat for oppo-
site side.
Fig. 1.3 (two M12 bolts)
Fig. 1.5 (view from right side)
Fig. 1.3.1 (view from right side)
remove 2 bolts from here
Fig. 1.4 (view from inside cab)
these 2 bolts
 Loading...