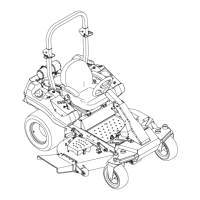
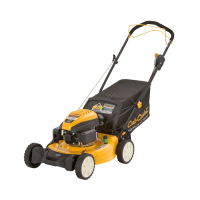
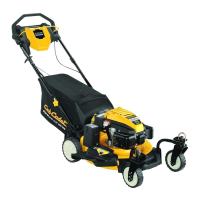
Section 4: Operation
a. To adjust cutting height, pull the
Cutting Height Lever (A, Figure 4-6)
away from the mower to release the
tab from the slot. Be sure to grip the
lever firmly to prevent the mower deck
from dropping down rapidly.
b. While pulling the lever away from
the mower, move the lever towards the
back of the mower (B, Figure 4-6) for a
higher cut or towards the front of the
mower (C) for a lower cut.
c. Seat the lever’s tab squarely into
the slot.
IMPORTANT: The mower is equipped
with a safety flap located on the rear of
the mower deck. After setting the cutting
height, be certain that the flap hangs
freely and is not caught under the deck.
6. Prepare Engine -
• Check oil level - If this is a new mower,
add motor oil as described in the Engine
Owner’s Manual; otherwise, check oil
level and add as recommended in the
Engine Owner’s Manual.
• Add fuel - Fill the fuel tank with gasoline
according to the directions in the
separate Engine Owner’s Manual.
Follow all instructions and Safety rules
carefully.
• Check air filter - The engine is
equipped with an air filtration system.
When clogged, it causes starting diffi-
culties and operates inefficiently. See
the Engine Owner’s Manual for infor-
mation on how to maintain the air
filter system.
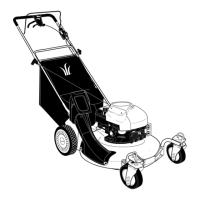
OPERATING THE MOWER
The following procedures explain how to
start, stop and operate the mower.
Starting the Engine
1. Open the fuel shut-off valve, if so
equipped.
2. Prime the engine by pushing the
primer bulb firmly 3 times.
NOTE: Priming may not be necessary
when restarting a warm engine.
However, cool weather may require
priming again. See the Engine Owner’s
Manual for priming information.
3. Stand behind the mower handlebar
and pull the Operator Presence Control
Bail (A, Figure 3-1) back against the
handlebar and hold.
4. Check behind you for obstacles, then
slowly pull the recoil rope (E, Figure 3-1)
until resistance is felt. Pull the rope out
rapidly to start engine. Let the rope
return slowly. If the engine fails to start
after three pulls, repeat steps 2-4.
Stopping the
Engine and Mower Blade
1. Release the Operator Presence Control
Bail (A, Figure 3-1) to stop the engine and
blade.
Emergency Stopping
Release all controls. This stops the
engine, wheel movement and the blade.
IMPORTANT: The mower is equipped
with a Blade Control System which is
designed to stop the mower blade within
three (3) seconds after releasing the
Operator Presence Control Bail. This
system also stops the engine.
Mowing
1. Start the engine. See Starting the
Engine in this Section.
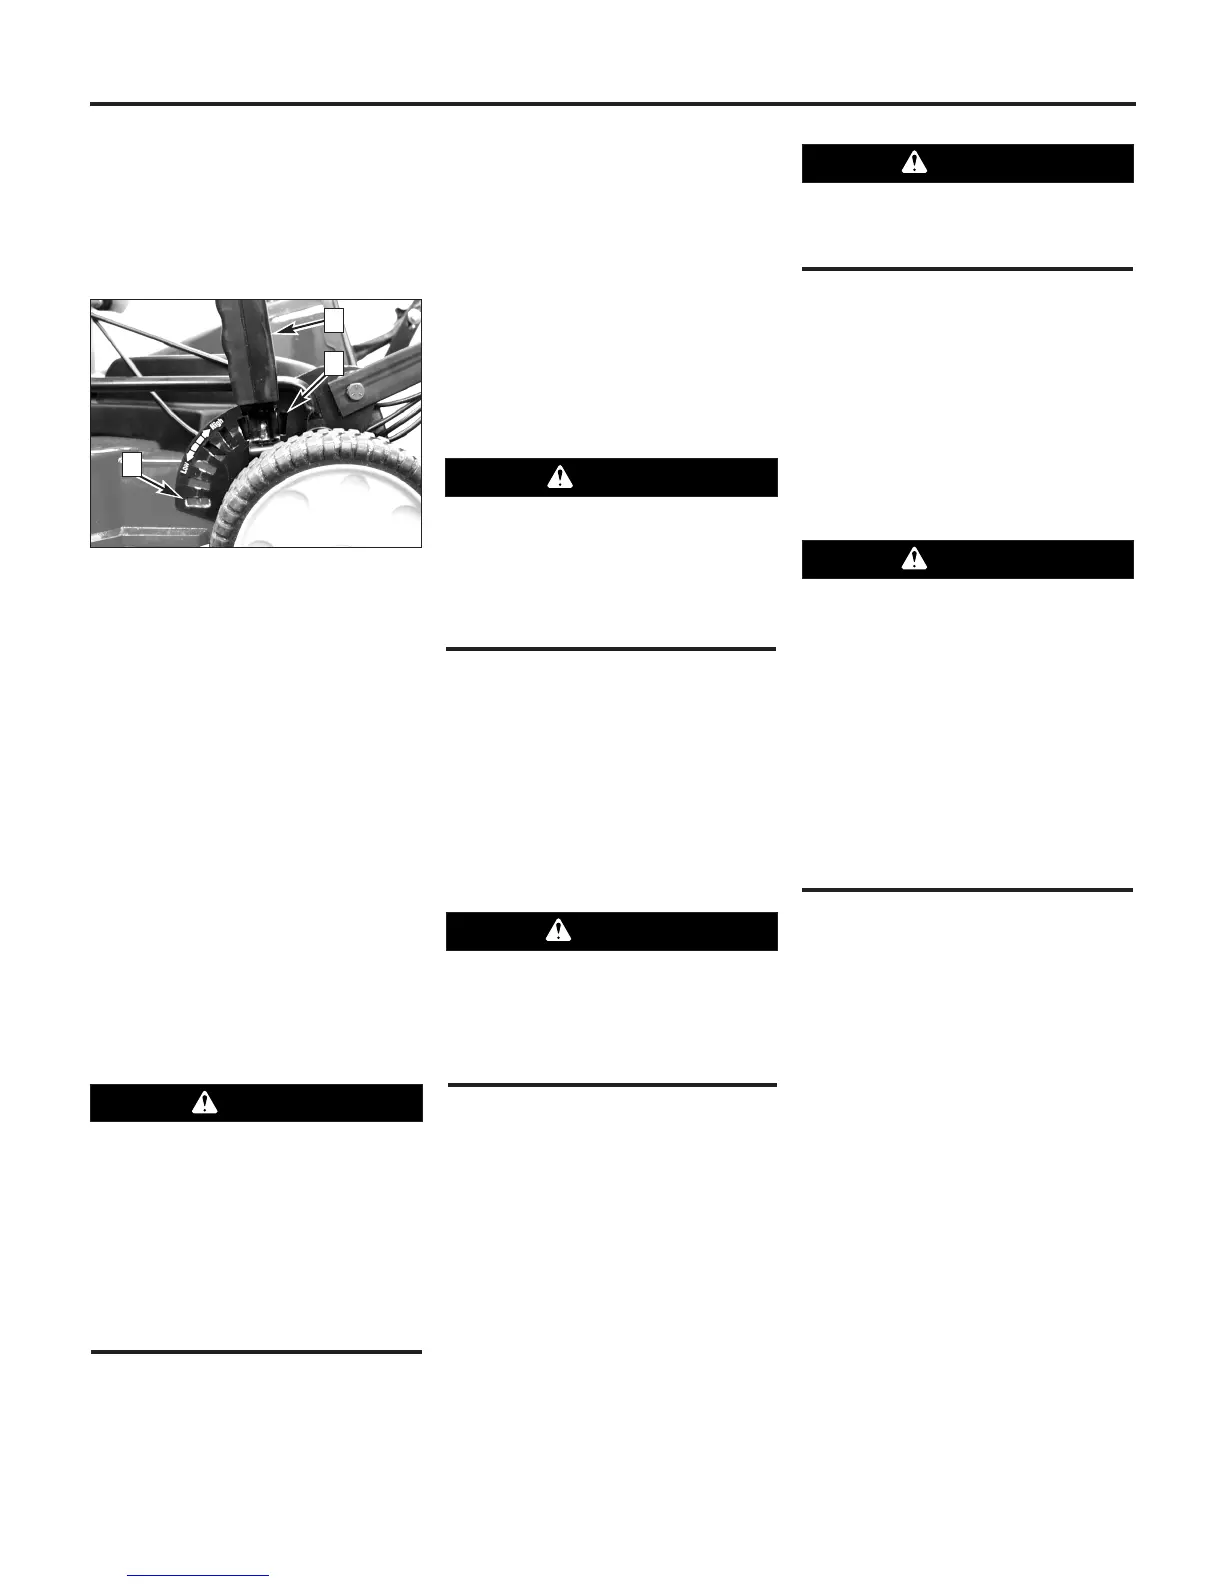
2. Use the Wheel Speed Control to select
a wheel speed. The mower has three
wheel speeds. Select a slower speed
when first starting out (or when learning
how to use the mower), then move into
faster speeds if needed.
• Low Speed (1) - is engaged when the
lever is pulled all the way back. Low
speed provides the most efficient cut.
• Medium Speed (2) - is engaged when
the lever is moved to the middle detent
position (the control lever will click into
place). This speed is a good compro-
mise for speed and cutting perfor-
mance.
• High Speed (3) - is engaged when the
lever is pushed all the way forward.
High speed enables you to cover the
cutting area more quickly, but may
result in a less efficient cut.
To avoid personal injury, keep hands
and feet clear of mower blade or other
rotating parts.
 Loading...