INTRODUCTION
This Section covers unboxing and assem-
bling your new mower. Please carefully
read all the instructions before you
attempt to assemble the mower. After
you finish assembling the mower, read
Section 1: Safety, Section 3: Features and
Controls, and Section 4: Operation, before
using the mower.
INSPECTION
Inspect the mower immediately after
delivery. Make sure that neither the
carton nor the contents have been
damaged.
If you find or suspect any damage,
contact the carrier (trucking company)
right away. Inform them of the specific
damage and that you wish to file a claim.
To protect your rights, be sure to put this
in writing to the carrier within 15 days
after your machine arrives. The carrier
will let you know how to proceed with
your claim.
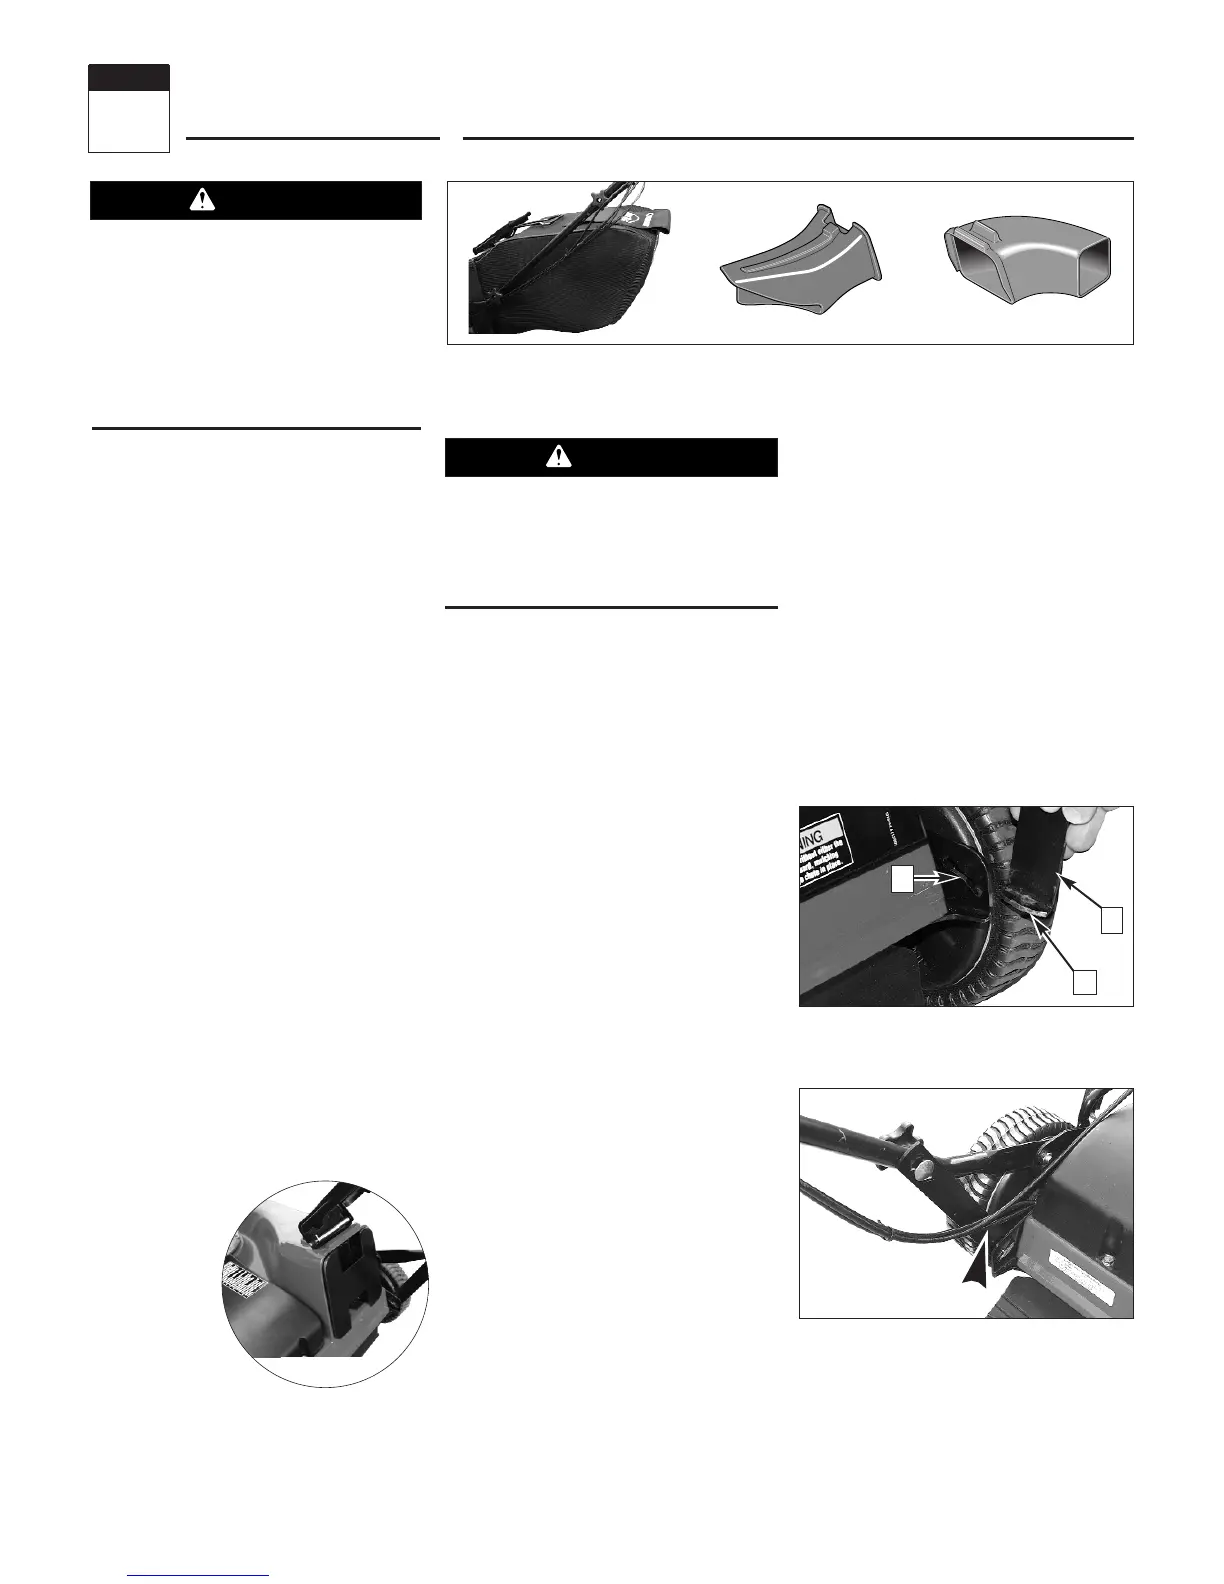
LOOSE PARTS
The following items are shipped loose
within the container.
NOTE: The mower is
shipped with the
Mulching Plug
(B, Figure 2-2)
installed in the
discharge outlet
(Figure 2-1).
• The Grass
Catcher attachment
(A, Figure 2-2).
• Side-Discharge Chute attachment
(C, Figure 2-2).
ASSEMBLING NEW UNITS
IMPORTANT: The mower is shipped
without motor oil in the engine crankcase.
Add motor oil to the engine before
starting. Follow instructions in this
Section.
Step 1: Unpack Mower
1. The mower comes fully assembled
with the handlebars folded compactly for
shipment. Remove the mower from the
shipping container.
2. The control bails (P, Figure 2-6) are
secured to the handlebar (Q) with a cable
tie. Cut the cable tie off and remove the
protective packing material.
3. Follow steps 2 through 8 to complete
mower assembly.
Step 2: Unfold Handlebar Assembly
1. Loosen the two lower handlebar
adjustment knobs (1, Figure 2-5).
2. Carefully unfold lower section of the
handlebar assembly (2, Figure 2-5).
Watch the cables while unfolding and
make sure that they do not pinch, kink, or
over-stretch while unfolding.
3. Tighten the two lower handlebar
adjustment knobs just enough to allow
the two handlebar struts (H, Figure 2-3)
to move in and out slightly.
4. Insert the tab (F, Figure 2-3) on each
handlebar strut into the slot (G ) one each
side of the deck. Be certain to route the
cables inside the left side strut as shown
in Figure 2-4.
5. Tighten both lower handlebar adjust-
ment knobs securely.
6. Loosen the two upper handlebar
adjustment knobs (3, Figure 2-5).
7. Unfold the upper handlebar assembly
(4, Figure 2-5) and align with the lower
handlebar assembly. Be sure not to
pinch, kink, or over-stretch the cables
while unfolding.
8. Tighten both upper handlebar adjust-
ment knobs securely.
9. Check the starter rope. Make sure
that it does not catch under the top
handlebar adjustment knob (I, Figure
2-6). The starter rope should stretch
unobstructed to the engine.
6
Figure 2-2: Attachments
The mower blade is sharp and can cause
serious personal injury. When working
near the mower blade, wear heavy
leather gloves to protect yourself from
the sharp edges.

 Loading...