Section 2: Assembly
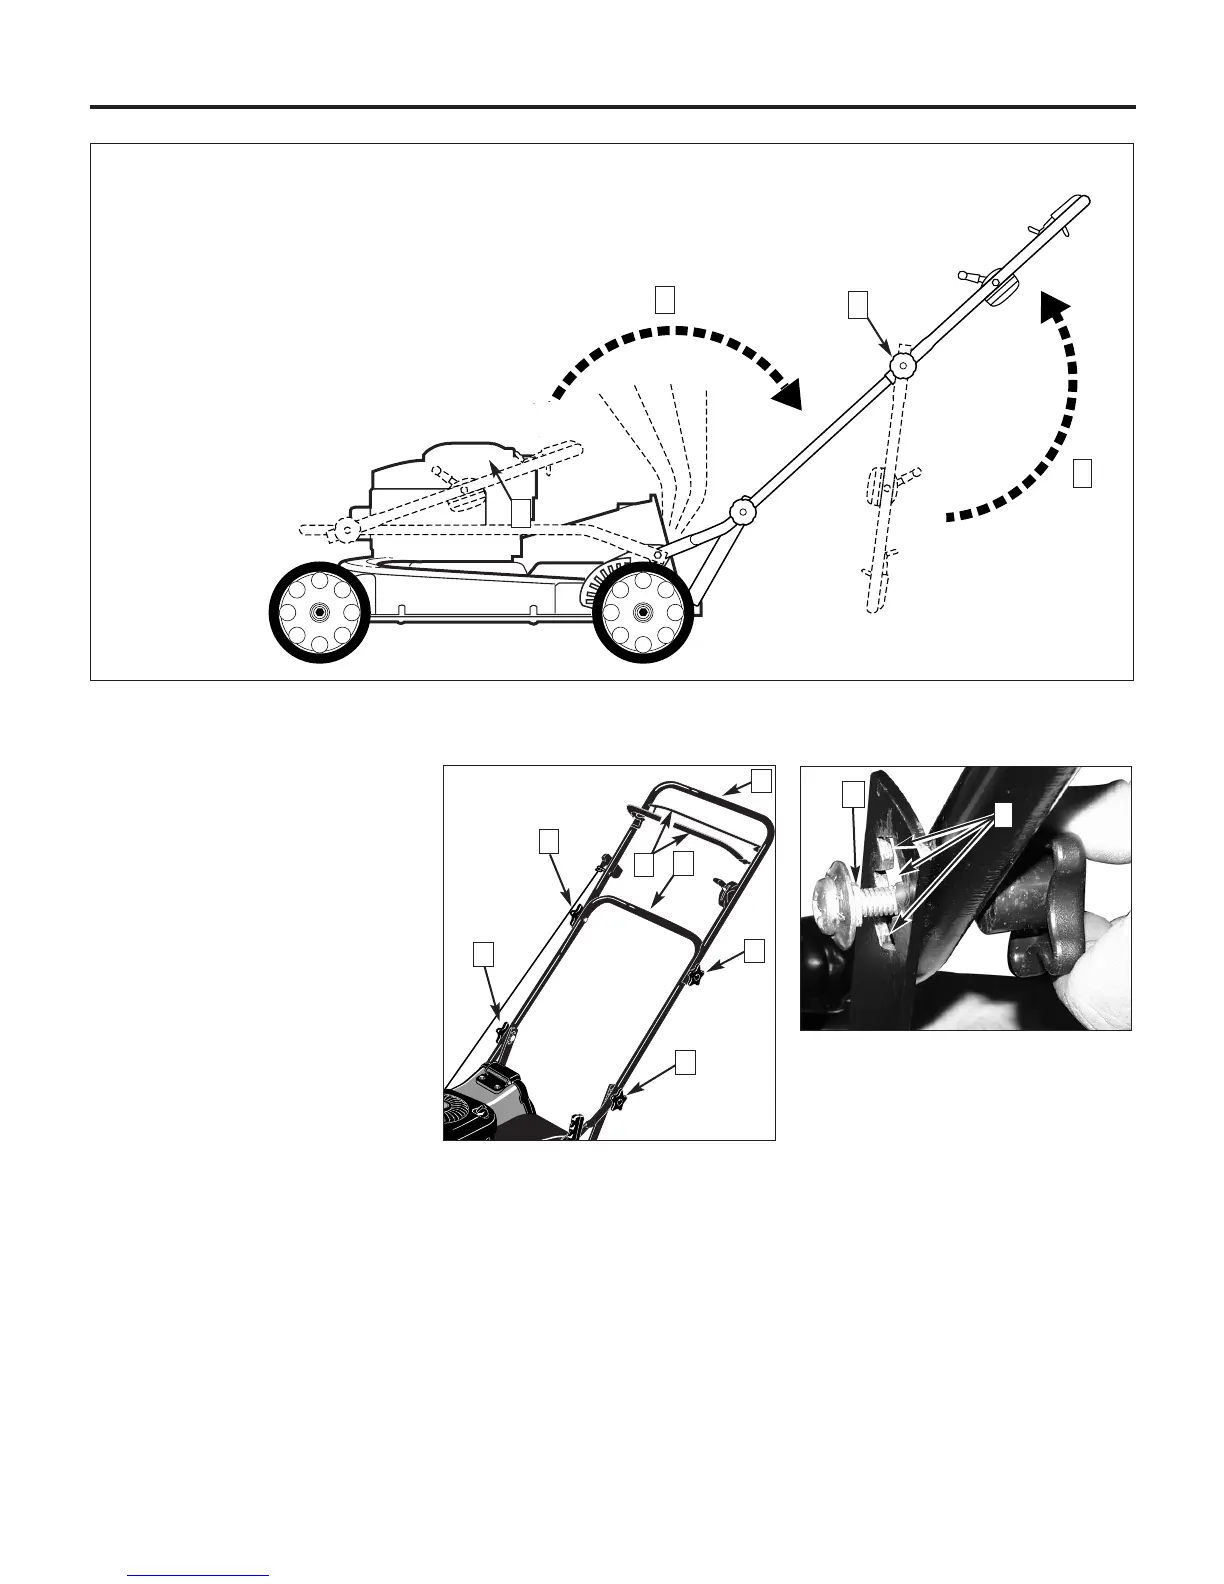
Step 3: Adjust Handlebar Height
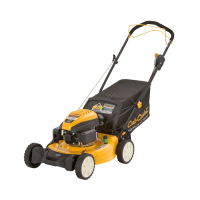
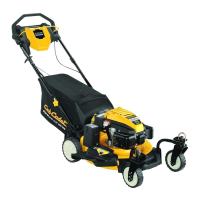
1. Loosen one of the lower handlebar
adjustment knobs (K, Figure 2-6) and give
the knob a tap inward to free the square
shaft on the screw (N, Figure 2-7) from
the keyed slot (O) in the handlebar strut.
Repeat this step for the other side.
2. Move the handlebar strut up or down
to align the square shaft (N, Figure 2-7)
with one of the three square keyed slots
(O). The middle slot is the medium
height setting.
3. Tighten the handlebar adjustment
knobs very securely.
NOTE: Make sure that the square shaft
seats squarely into the slot before tight-
ening the adjustment knobs.
Step 4: Add Motor Oil to Engine
1. Move the mower to a level area.
2. Add motor oil according to the specifi-
cations and instructions provided in the
separate Engine Owner's Manual.
• Keep oil level at the FULL mark on the
dipstick to avoid engine damage.
• Change oil according to schedule and
instructions in Engine Owner’s Manual.
Step 5: Perform
Final Assembly Check
1. Check all nuts, screws, and handlebar
adjustment knobs for tightness.
2. Be sure to read Section 1: Safety,
Section 3: Features and Controls and
Section 4: Operation before using the
mower.
Step 6: Set Up Mowing Mode
Your mower can be set up for any of
three mowing modes. These mowing
modes can bag clippings, mulch
clippings, or discharge clippings out the
side. See Setting Up Mowing Modes in
Section 4 for detailed descriptions and
instructions on how to set up each mode.
NOTE: The mower is shipped in Mulching
Mode. This means that the Mulching
Plug is installed into the discharge outlet
(Figure 2-1) and that the mower is ready
to mulch grass clippings.
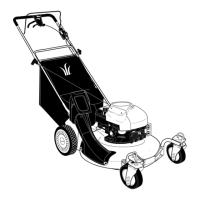
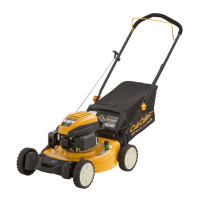
Figure 2-6: Fully assembled handlebar
assembly.
Figure 2-7: Adjusting handlebar height.
7
N
O
Q
J
K
I
K
I
Figure 2-5: Unfolding the handlebar.
1
3
2
4
P
 Loading...