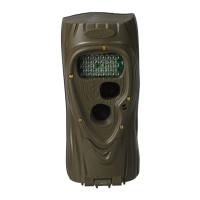
9
After the image is saved to the SD card the LCD will
displaythedelaysettingandbegincountingdown.Once
thecounterreaches0,Attackisreadytorecordthenext
image.
Step 7 – Checking Attack
®
When you check Attack it is not necessary to turn the
rotary knob. Instead, press the A or B button to temporarily
suspend Armed mode and view pertinent information,
such as the number of images on the SD card and battery
level.EachtimeyoupresstheAorBbuttonnewinformation
will be displayed. Here is the sequence of information
that is displayed each time the A or B button is pressed.
1) ImagesonSDcard.NotetheARMED,DWELL,
andIMAGESiconsaredisplayed.
2) FreeSpaceonSDcardinMB.NotethatARMED
andDWELLiconsaredisplayed.
3) BatteryLevelasapercentage.Forexample,
bt:99meansthereis99%batterypowerleft.
4) Time
5) Date
6) Year
7) TestindicatesAttackisinTestmodeandwill
illuminatetheredTestLEDwhenactivityissensed.
8) PressingAorBagainwillArmthecameraand
the current delay setting will be displayed.
 Loading...