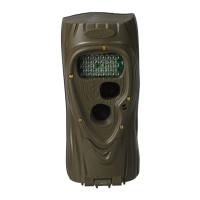
Step 5 – Checking Attack
®
’s Detection Zone
1) TurntherotaryknobtotheTest position. Close the
cover and tighten the thumb screw. Put Attack
backontothetreebracket.(Note:thereisamore
convenient method to enable test mode, see Step 7
- Checking your Attack for details).
2) WalkbackandforthinfrontofAttack.Thered
LEDwillilluminatewhenAttack’ssensorhas
detected you. Using this method you can accurately
position your Attack as desired.
Step 6 – Arming the Attack
®
TurntherotaryknobtooneoftheArmed delay settings.
ThesesettingsrepresenttheamountoftimeAttackwill
waitbeforeitwilltakeanotherimage.Thisdwelltime
prevents multiple images of the same animal. Here is our
recommendation for the various Armedsettings:
a. Under30seconds–gametrails
b. 1and3minutes–scrapes
c 5to30minutes–foodplotsorfeeders
When first armed, Attack will display the indicated delay
for5secondsandthenbegincountingdownfrom45to0.
Whenthecounterreaches0,Attackwillarmandbeready
to record images.
When Attack detects a subject and takes a picture a
“worm”willbedisplayedandtheLEDwillashredand
green–donotremovetheSDcarduntiltheLEDisOFF.
8
 Loading...