11
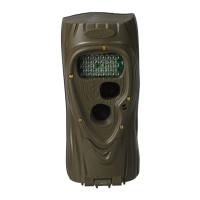
4) Attack:FLSH–Thismenuallowsyoutotest
Attack’s
ash.PressBtochargetheashcircuit.
TheLCD
willbegincountingdownfrom45.After
the45secondcountdowntheLEDwillashgreen
toindicatethattheashischarged.PressBagainto
retheash
(CAUTION – light output from the flash
is very bright!).
AttackIR/AttackBlackFlash:
LEd
(IRLEDs)–
ThismenuallowsyoutotestAttackIR’sIRLEDs
and measure the battery strength. Press B to test
theinfraredLEDs.TheLEDswillbedrivenfrom
33%maximumpowerto99%maximumpower.
Thetestwillstopwhenthebatteriesdonothave
sufcientpowertodrivetheLEDsorat99%.
Ifthebatteriesaredepleted,FAILwillbedisplayed.
Ifthereadingisbelow99%youmaywanttochange
thebatteriestomaximizetheilluminationrange.
5)
PO:O
(ParameterProgramming)–Thissetting
allows you to change the setting for the camera.
See the next section for details.
6)
StAt(StatisticalData)–PressBtodisplayActivation
Date, Armed Days, and Image Counter. Activation
Date is the first day you used the camera. Armed
Days is how many days that camera has been used.
Image Counter is the total number of images taken
with the camera.
7) LOAd–Letsyouinstallnewrmware.Wemay
updatetheAttackrmwaretoimproveitsperfor-
mance. If a firmware update is required you will
need to download a firmware file from our website.
Instructions will be provided with the firmware.
 Loading...