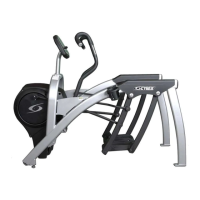
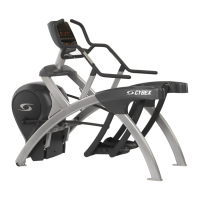
Arc Trainer
®
600A/610A Primary Drive 16 Rib Belt
Kit No. 600AK020
Installation Instructions
1. Read and understand all instructions thoroughly
before installing this kit.
2. Verify kit contents. See Figure 1.
Figure 1
A. Primary Drive 16 Rib Belt (1), 600A-343
B. Hex Nut .312-18 (2), HN664000
C. Split Lockwasher .312 (2), HS328300
D. Washer .312 (2), HS327600
E. Hex Head Cap Screw (HHCS) .312-18 x
3.75 (2), HC661240
F. Loctite #242, YA000201
3. Disconnect the power source.
A. Turn the main power switch to the off (0)
position and unplug the power cord from
the power outlet.
A
4. Remove the access cover.
A. Using a Phillips head screwdriver, remove the
four screws and four washers securing the
access cover. See Figure 2.
B. Remove the access cover.
Figure 2
Screw (4)
NOTE: This instruction sheet describes how to replace
the primary drive 16 rib belt on the Arc Trainer
600A/610A.
TOOLS REQUIRED
• Cloth or rag (2) • 1/2” Socket wrench
• Phillips screwdriver • 1/2” Open end wrench
• 3/16” Allen wrench • 9/16” Socket wrench
• 7/16” Socket wrench • 9/16” Open end wrench
• 3” Socket wrench extension
• 600AK012 (not supplied with this kit)
E
5. Detach the linkage arms.
A. Using a 3/16” Allen wrench, remove the
SHCS, washer, cap and spacer securing the
linkage arm. See Figure 3. NOTE: Figure 3
shows the contents of the linkage cap kit
that will be installed in step 19A.
B. Lay the linkage arm down on the frame.
NOTE: Place a cloth in between the linkage
arm and the frame to prevent scratches.
Figure 3
SHCS
Washer
Cap
Spacer
Linkage Arm
B
C
D
! WARNING: Disconnect the power cord before
continuing this procedure. Keep wet
items away from inside parts of the
unit. Electrical shock could occur
even if the unit is unplugged.
F


 Loading...