EN
9
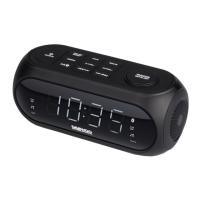
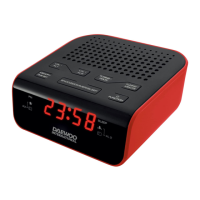
CLOCK and ALARM CLOCK OPERATION
Note: The time and alarm times can only be set when the radio/speaker is
turned o .
TIME SET
1. Press and hold down “TIME SET PRESET” button (2) for approximately 2
seconds until the display ashes.
2. Press “HOUR” button (3) repeatedly to change the hour setting.
3. Press “MINUTE” button (4) repeatedly to change the minute setting.
4. Press “TIME SET PRESET” button (2) to con rm the time.
ALARM SET
This clock radio has dual alarms that can be set and used simultaneously, and
the procedures are the same. Both alarms can either sound the buzzer or wake
up to radio.
Follow the instructions below to set alarm time 1. For alarm time 2, substitute
“AL1/VOL-” button (6) with “AL2/VOL+” button (7).
1. Press “AL1/VOL-” button (6) to view/select alarm with buzzer (indicator B) and
alarm with radio (indicator A). Press and hold down “AL1/VOL-” button (6) to
change alarm time.
2. Press “HOUR” button (3) repeatedly to change the hour setting.
3. Press “MINUTE” button (4) repeatedly to change the minute setting.
4. Press “AL1/VOL-” button (6) once to con rm and digits will stop ashing.
ACTIVATING THE ALARM
1. Once the alarm time is set, press “AL1/VOL-” button (6) once for alarm with
buzzer (Indicator A will be on) and twice for alarm with radio (Indicator B will
be on).
2. Indicator will stop ashing after a short while.
3. Press “AL1/VOL-” button (6) until all indicators o to turn o alarm.
4. When the alarm/radio sounds, press “
SOURCE” button (1) to turn alarm o
or press “SNOOZE SLEEP / DIMMER” button (11) for 9-minute snooze.
DISPLAY BRIGHTNESS
When the radio is o and the current time showing, press “DIMMER” button (5)
to change the brightness of the display between high and low.