3
CF65/75/85 series Removal and installation of gearbox
ZF 8/16S-151/181 AND 16S-221 GEARBOXES
4-1
4. REMOVAL AND INSTALLATION OF GEARBOX
4.1 REMOVAL AND INSTALLATION, GEARBOX ASSEMBLY WITH OR WITHOUT
INTEGRATED RETARDER
Removing the gearbox assembly
1. Disconnect the negative lead from the
battery terminal.
2. Disconnect the prop shaft from the gearbox
flange and hang it on the chassis.
3. Remove the clutch servo without
disconnecting the pipe. Remove the
attachment bolts from the clutch servo and
hang the clutch servo assembly on the
chassis.
4. Disconnect the connectors of the
gearbox wiring harness.
5. Disconnect the air pipes from the central air
distribution block at the side of the gearbox,
or, in the case of an integrated air
distribution block on the selector shaft
housing, the central air supply at the side of
the integrated air distribution block.
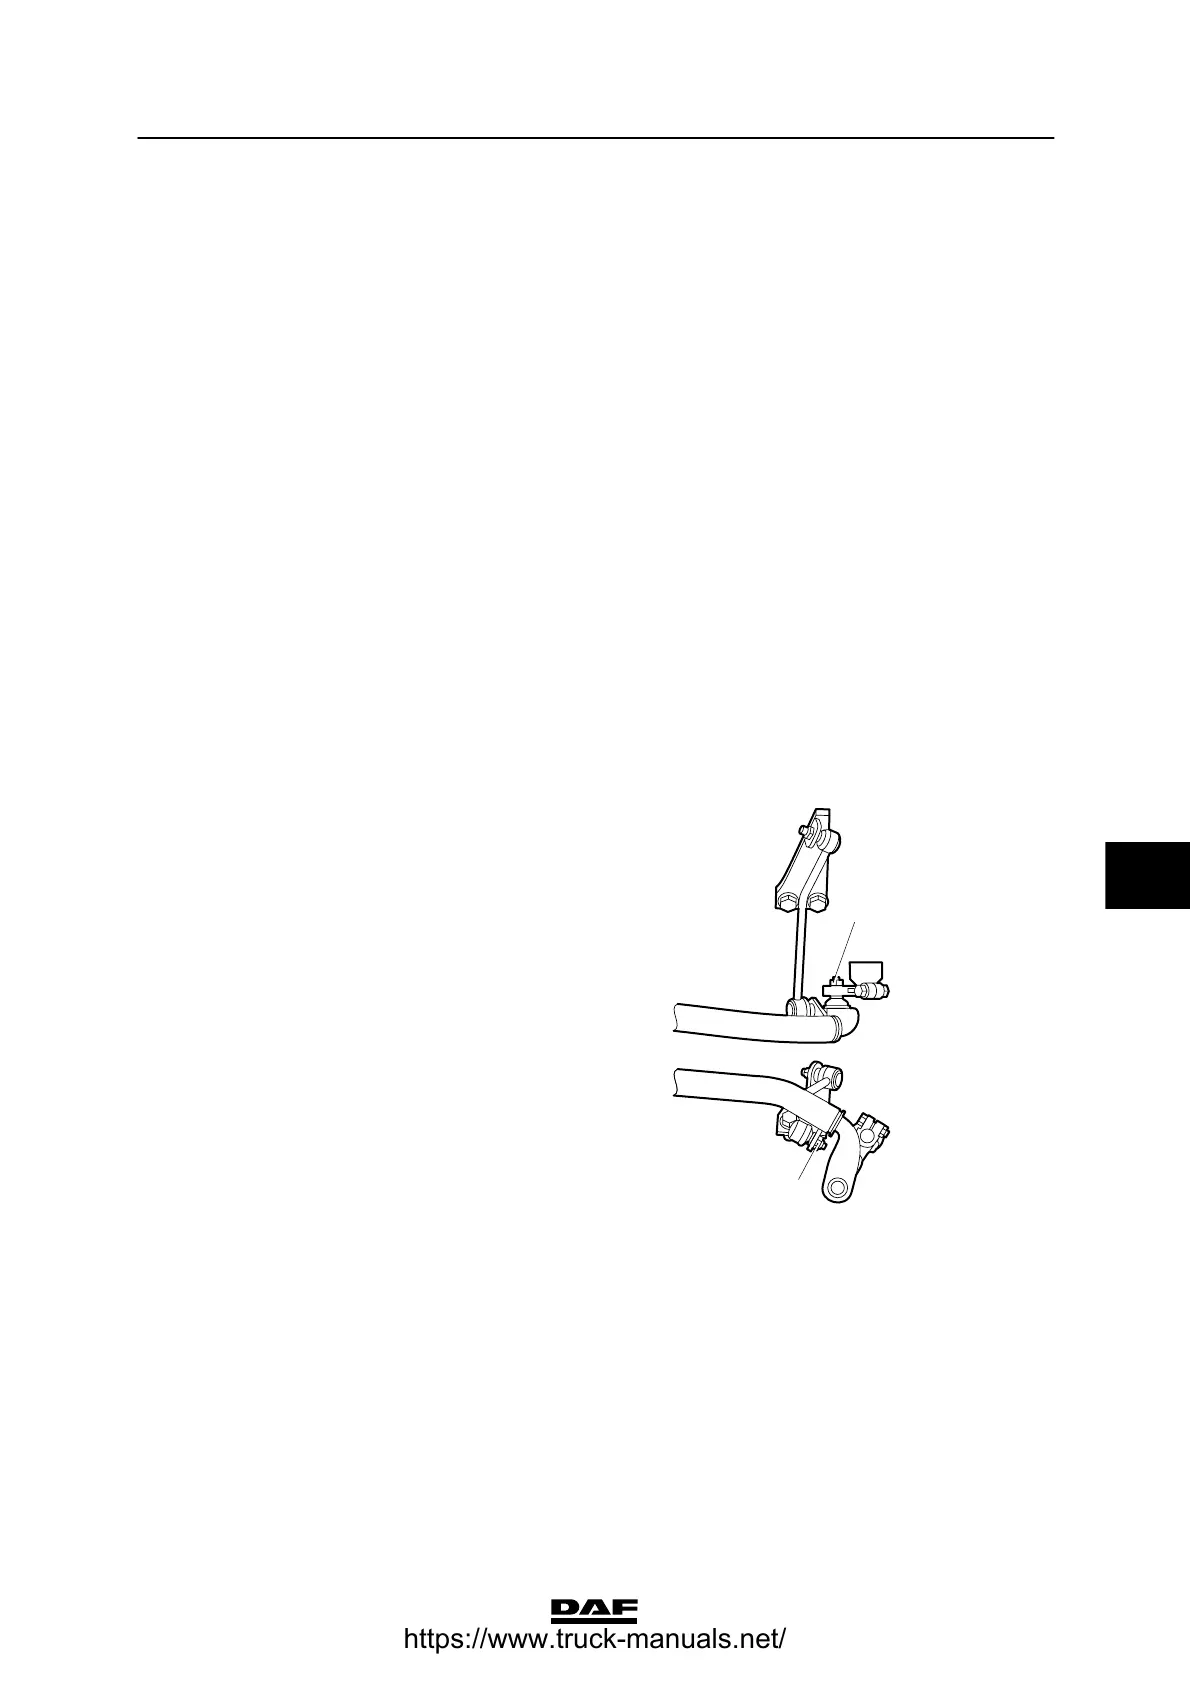
6. Remove the ball joint of the control rod (4)
on the selector shaft lever and remove the
attachment nut (5) of the torque rod on the
control rod.
Hang the gearbox control on the chassis.
7. If necessary, remove the section of the
exhaust pipe underneath the gearbox.
8. Place a jack underneath the gearbox and
remove the gearbox attachment bolts
around the clutch housing.
Note:
When the gearbox is removed from the
engine, the thrust bearing remains in the
clutch release assembly.
9. Use the jack to pull the gearbox away from
the engine and remove it.
V300407
4
5
7
ᓻ 200337
https://www.truck-manuals.net/