3 | Components
Service manual
144
EBLA09~16DA + EDLA09~16DA
Daikin Altherma 3 M
ESIE20-06A – 2021.03
3 Remove the plugs or caps from the refrigerant piping and make sure they are
clean.
4 Remove the caps from the compressor pipes (of the new compressor).
CAUTION
The oil in the compressor is hygroscopic. Therefore remove the caps from the
compressor pipes as late as possible.
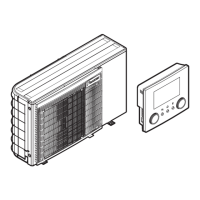
5 Install the compressor on the correct location on the dampers. Properly insert
the refrigerant pipes in the pipe expansions of the compressor pipes.
6 Install and tighten the bolts and nuts to fix the compressor to the dampers.
a Nut
b Compressor
c Damper
INFORMATION
The compressor dampers may look different.
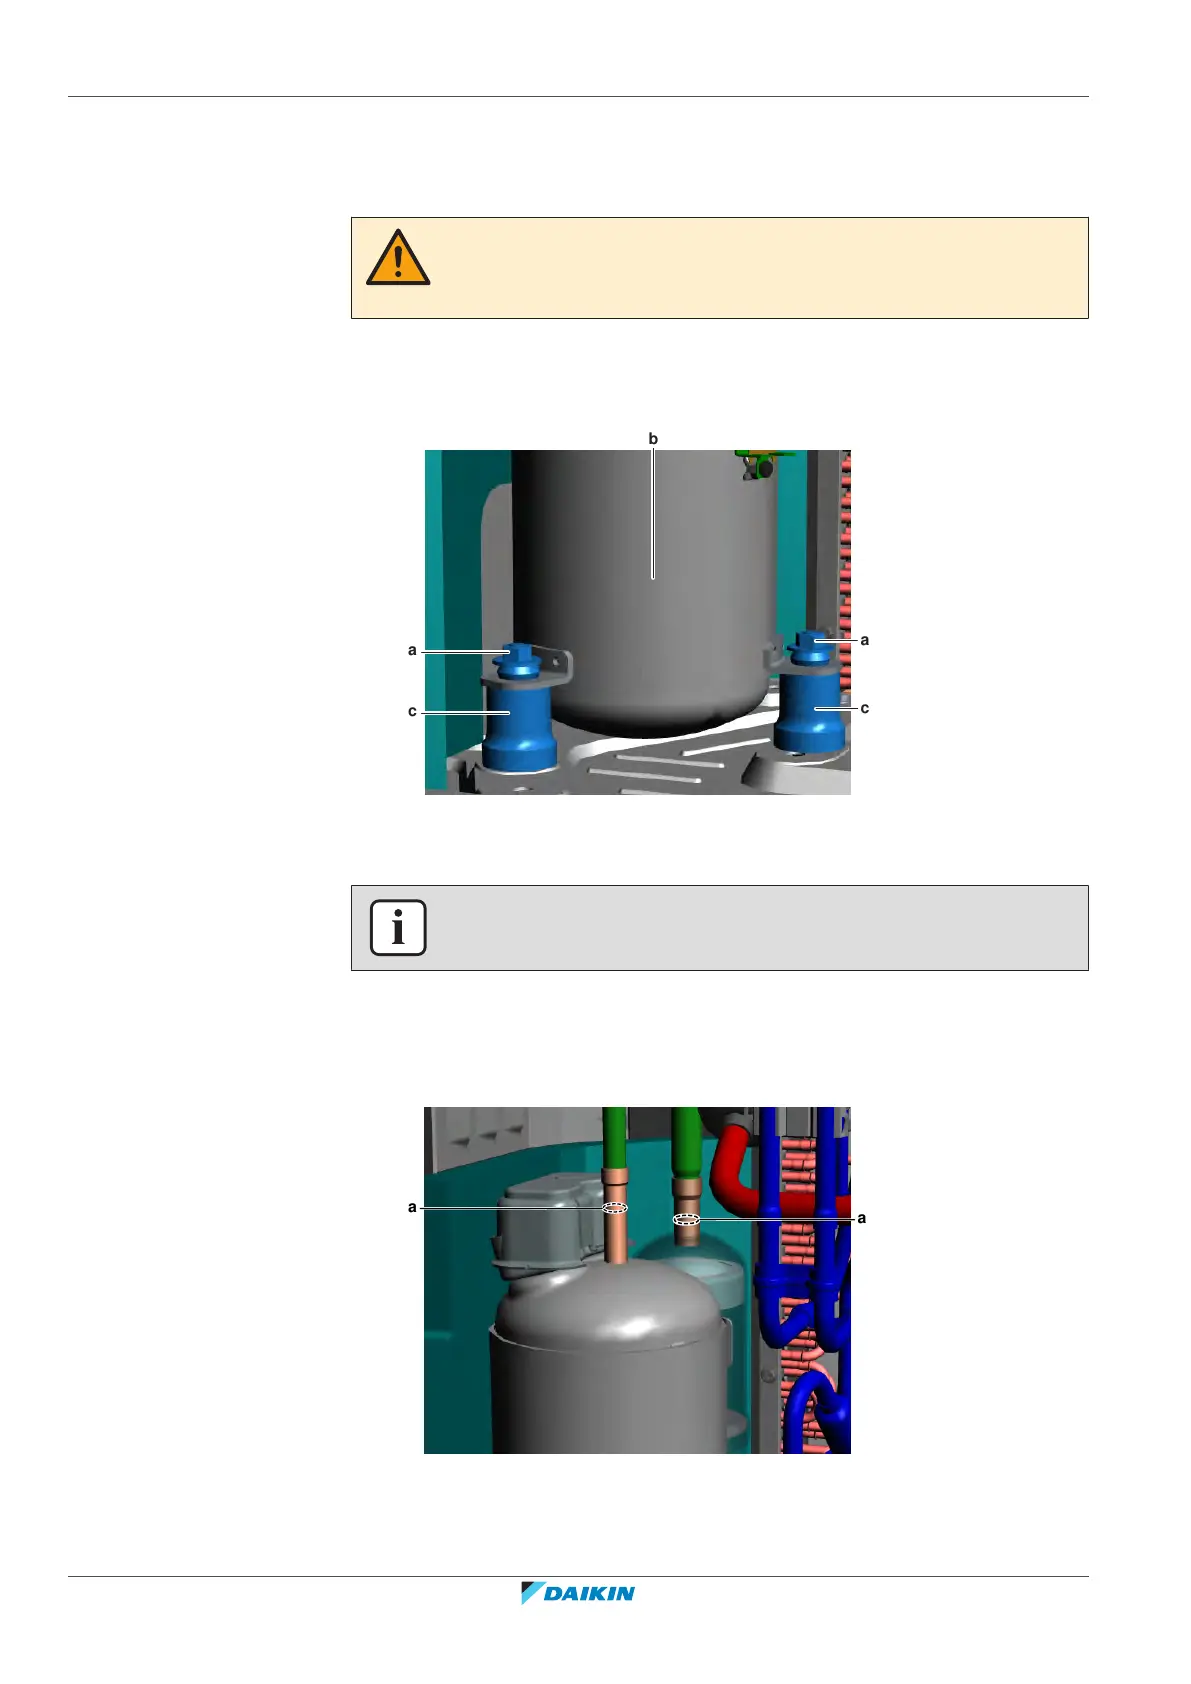
7 Supply nitrogen to the refrigerant circuit. The nitrogen pressure MUST NOT
exceed 0.02MPa.
8 Wrap a wet rag around the compressor pipes and any other components near
the compressor and solder the compressor pipes to the refrigerant pipes.
a Compressor pipe
 Loading...