Do you have a question about the Daikin EPGA14DAV37 and is the answer not in the manual?
General safety instructions for installation and operation, including warnings and cautions.
Precautions and warnings related to handling refrigerant, including leaks and pressure.
Detailed safety instructions for electrical wiring, grounding, and component handling.
Guidance on determining DHW tank volume and desired temperature based on consumption.
Configuration for setting a permanent power limitation level for the system.
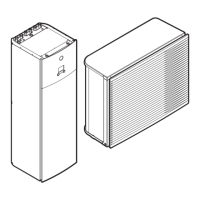
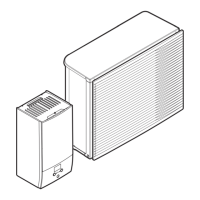
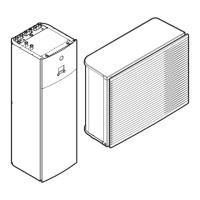
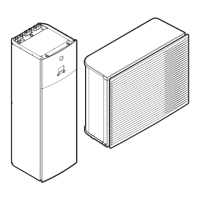
Requirements for installing the outdoor unit, including space and environmental considerations.
Safety precautions and requirements for mounting the outdoor unit.
Safety precautions and requirements for mounting the indoor unit.
Requirements for water circuits, including pipe material, force, tools, and insulation.
Step-by-step instructions for connecting water piping to the outdoor and indoor units.
Instructions for connecting the main power supply to the indoor unit.
Settings related to room temperature control, schedules, and frost protection.
A table summarizing all configurable field settings, their codes, ranges, and default values.
A checklist of items to verify after installation and before system power-up.
Procedure for checking and adjusting the minimum flow rate for system operation.
Safety warnings related to electrocution, burns, and electrostatic discharge during maintenance.
Safety warnings and precautions to follow before and during troubleshooting.
Possible causes and corrective actions when the unit does not heat or cool as expected.
A comprehensive list of error codes, detailed error codes, and their descriptions.
| Cooling Capacity | 4.0 kW |
|---|---|
| Heating Capacity | 5.0 kW |
| Refrigerant | R32 |
| Voltage (V) | 220-240V |
| Noise Level | 45 dB |
| Sound Level (dB) | 45 dB |
| Power Supply | Single Phase |