2 | Components
Service manual
85
FTXF20~71A + FTXF20~25B + FTXF20~42C + ATXF20~71A + ATXF20~42C
+ RXF20~71A + RXF20~60B + RXF20~42C + ARXF20~71A + ARXF20~42C
Split Sensira R32
ESIE18-12E – 2021.02
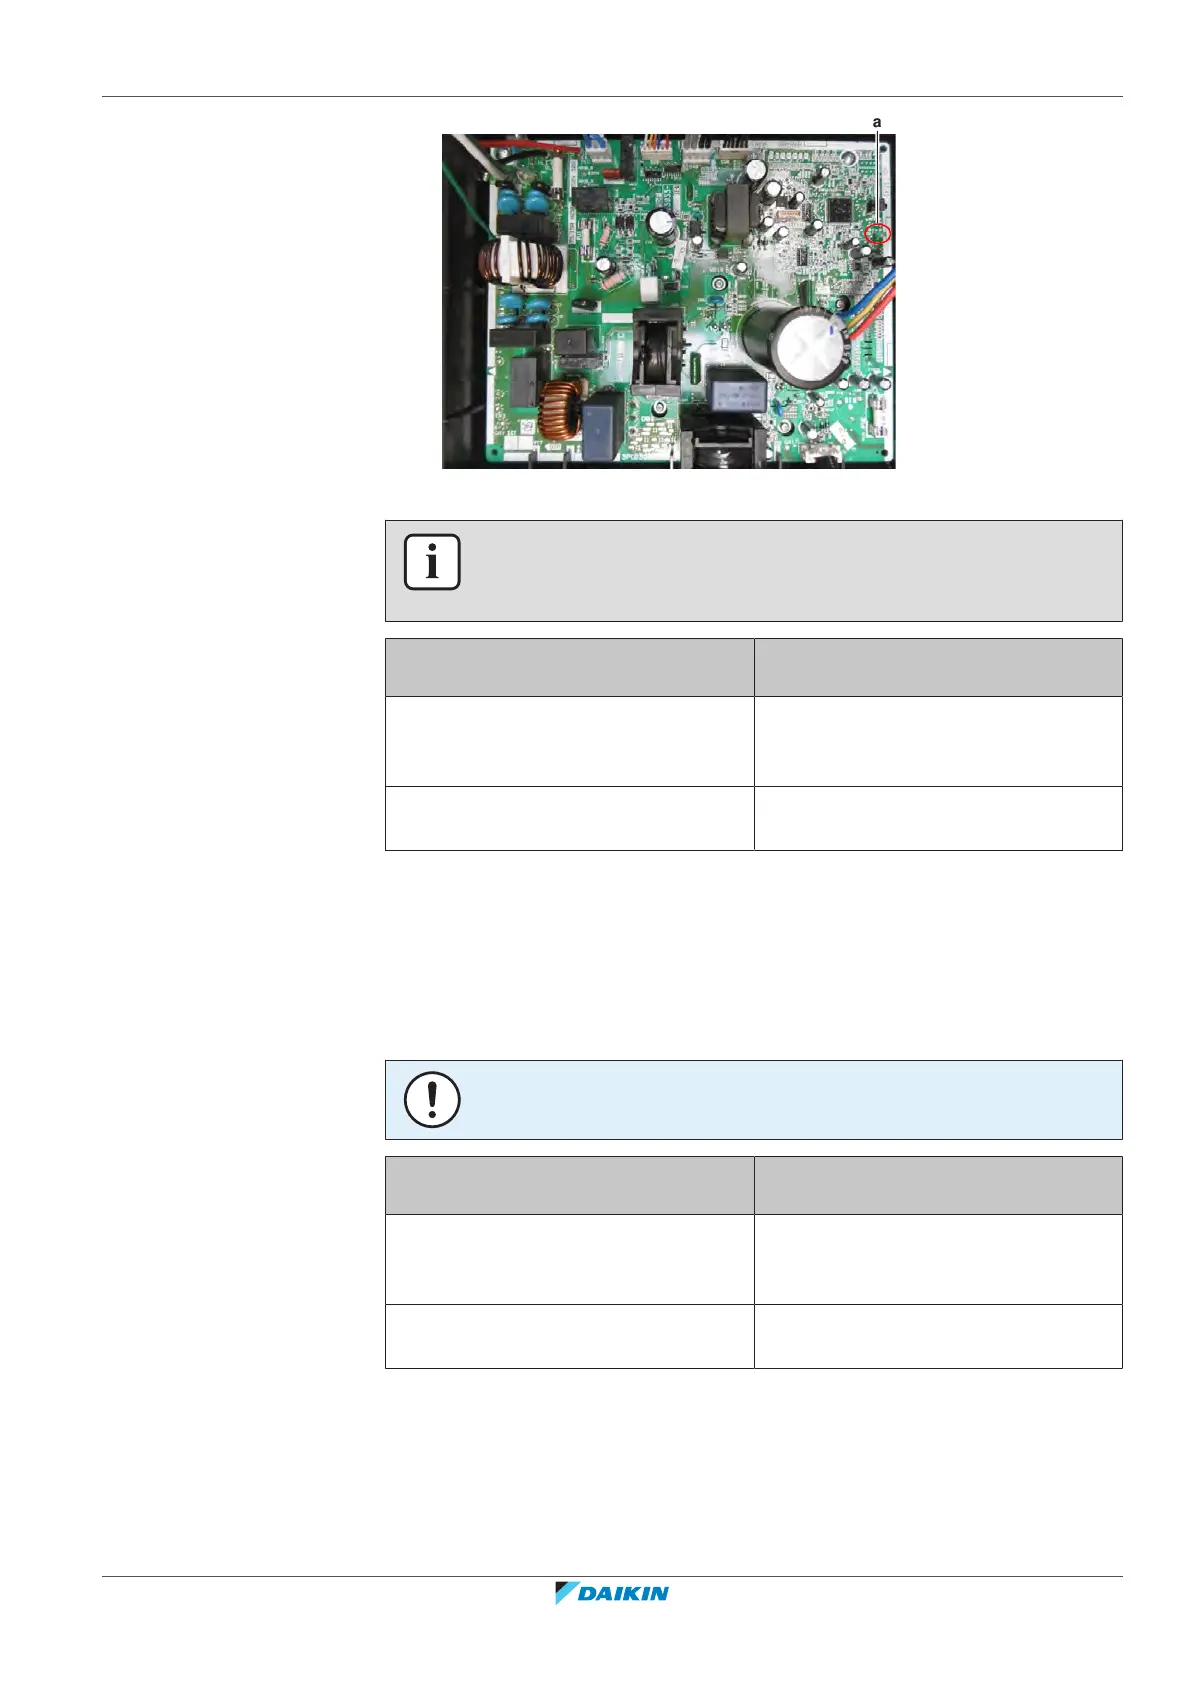
a HAP LED
INFORMATION
Make sure the correct software is available on the PCB. If NOT, update using the
updater tool.
Does the HAP LED blink in regular
intervals (1second ON/1second OFF)?
Action
Yes Return to "Checking procedures"[484]
of the main PCB and continue with the
next procedure.
No Replace the main PCB, see "Repair
procedures"[489].
To check if the correct spare part is installed
Prerequisite: First perform all earlier main PCB checks, see "Checking
procedures"[484].
1 Visit your local spare parts webbank.
2 Enter the model name of your unit and check if the installed spare part
number corresponds with the spare part number indicated in the webbank.
NOTICE
Also check that the correct spare part is installed for the capacity adapter.
Is the correct spare part for the PCB
installed?
Action
Yes Return to "Checking procedures"[484]
of the main PCB and continue with the
next procedure.
No Replace the main PCB, see "Repair
procedures"[489].
To check the wiring of the main PCB
Prerequisite: First perform all earlier main PCB checks, see "Checking
procedures"[484].
Prerequisite: Stop the unit operation via the user interface.
1 Turn OFF the respective circuit breaker.